
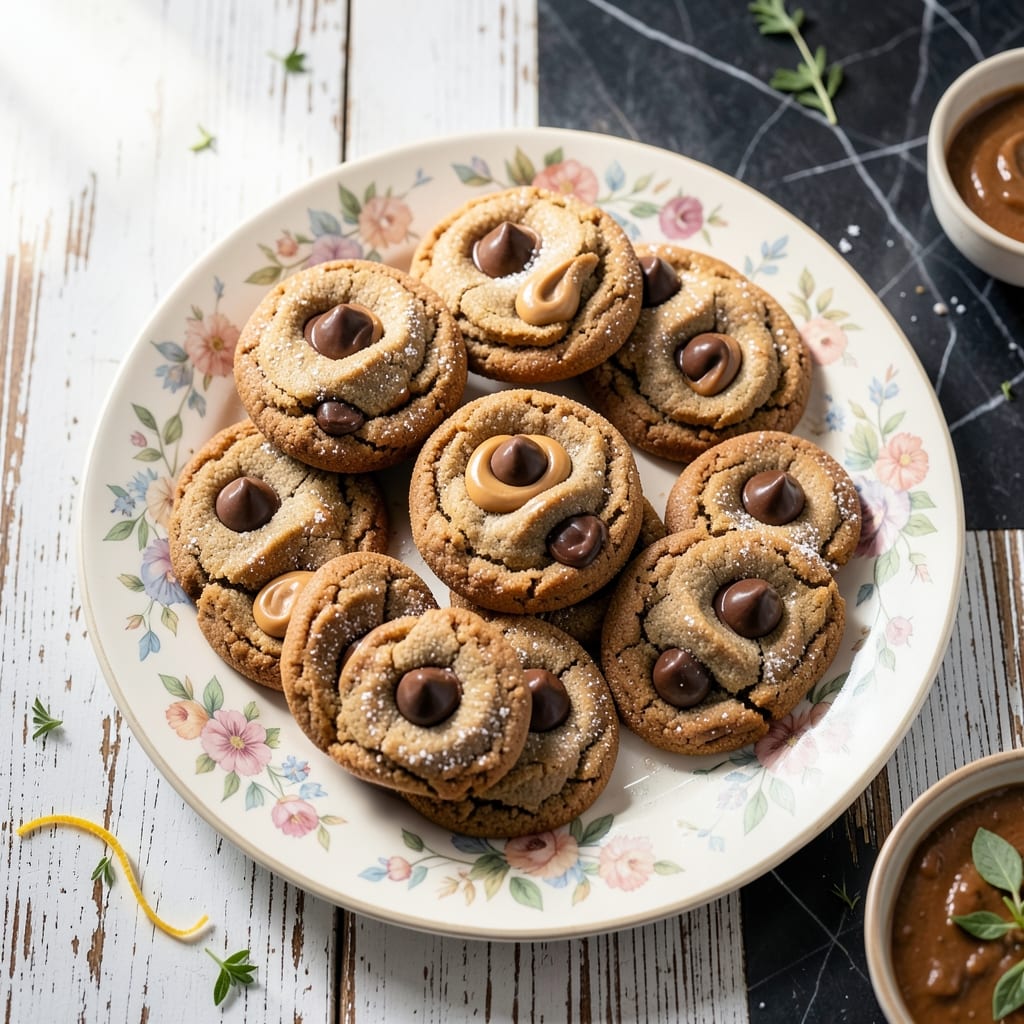
These cookies deliver a melty chocolate surprise in every bite, combining classic peanut butter flavor with hidden pockets of gooey goodness. I developed this recipe after testing countless variations to achieve the perfect texture and flavor balance.
The secret is pressing whole mini candies into the dough balls before baking, ensuring each cookie has a rich chocolate center. This technique guarantees that every bite contains that beloved peanut butter and chocolate combination we all crave.
You’ll get cookies with crisp edges, tender centers, and those irresistible chocolate pockets that stretch when pulled apart. The candies soften during baking but maintain their shape, creating the ideal contrast to the peanut butter base.
Perfect for gatherings or a special treat, these cookies always disappear first from the dessert table. Here’s how to make them at home.
Ingredients for Peanut Butter Cookie Recipe with Mini Reese’s Cups
Classic ingredients with a fun twist. Peanut butter meets chocolate in every bite.
| Ingredient | Amount | Notes |
|---|---|---|
| Creamy Peanut Butter 🥜 | 1 cup | Natural or commercial variety |
| Unsalted Butter 🧈 | ½ cup | Softened to room temperature |
| Granulated Sugar 🧂 | ¾ cup | Fine white sugar |
| Light Brown Sugar 🧂 | ¾ cup | Packed firmly into cup |
| Large Egg 🥚 | 1 whole | Room temperature preferred |
| Vanilla Extract 💧 | 2 tsp | Pure extract recommended |
| All-Purpose Flour 🌾 | 1 ½ cups | Spoon and level method |
| Baking Soda 🧂 | 1 tsp | Ensures proper rise |
| Salt 🧂 | ½ tsp | Fine table salt |
| Mini Reese's Peanut Butter Cups 🍫 | 24 pieces | Unwrapped, whole for centers |
The peanut butter is key here. Jif or Skippy give that classic texture, but natural works too (just stir it well). I grab mine from Target or Walmart—any major brand does the trick. For the butter, unsalted is essential so you control the salt content. The Reese’s cups? Mini size only—regular are too big for the dough balls and won’t cook right.
No peanut butter? Almond or cashew butter swap in at 1:1, but the flavor changes. Brown sugar can be all white sugar (texture suffers a bit). Out of vanilla? Maple syrup at half the amount in a pinch. The flour can be gluten-free 1:1 blend if needed. For extra richness, chill the dough 30 minutes before baking.
Dough balls freeze beautifully for 3 months—bake straight from frozen, adding 2-3 minutes. Baked cookies keep 5 days in airtight container. Fresh is best though (they disappear fast). Don’t overbake—centers stay soft if edges are just golden.
Why You’ll Love This Recipe
- One Bowl Wonder: I mix everything in a single bowl—creamy peanut butter, sugars, and egg—no fancy equipment needed.
- Crowd Pleaser: Perfect for bake sales, potlucks, or when my kids beg for a treat to share with friends.
- Stays Fresh: These cookies keep well for days in an airtight container—if they last that long, which they never do in my house.
Step-by-Step Instructions for Peanut Butter Cookies With Mini Reese’s Cups
Here’s the method that guarantees gooey centers and perfect texture every time.
Step 1: Cream Peanut Butter and Butter with Sugars
In a large mixing bowl, beat the 1 cup Creamy Peanut Butter and 0.5 cup Unsalted Butter together until smooth and fully combined. I use an electric mixer on medium speed for this—it blends them in about 1 minute without overworking.
Add the 0.75 cup Granulated Sugar and 0.75 cup Light Brown Sugar, then beat for another 2-3 minutes until the mixture is light and fluffy. You’ll notice it changes from dense to airy—this incorporates the air needed for tender cookies.
Step 2: Incorporate Egg and Vanilla
Beat in the 1 whole Large Egg until fully combined, scraping down the sides of the bowl as needed. Then add the 2 tsp Vanilla Extract and mix for another 30 seconds until uniform.
The mixture should look slightly glossy at this stage. If it appears separated, keep mixing—it will come together. This step builds the base flavor that makes these cookies irresistible.
Step 3: Combine Dry Ingredients and Form Dough
In a separate bowl, whisk together the 1.5 cups All-Purpose Flour, 1 tsp Baking Soda, and 0.5 tsp Salt. Gradually add this to the wet mixture, mixing on low speed just until the flour disappears—overmixing makes cookies tough.
The dough will be thick and slightly sticky. Fold in 12 pieces Mini Reese’s Peanut Butter Cups (halved) at this stage for extra chocolate in every bite. Save the remaining 12 pieces for the centers.
Step 4: Shape Cookies and Add Chocolate Centers
Preheat oven to 350°F and line baking sheets with parchment. Scoop 2-tablespoon portions of dough and roll into balls. Place them 2 inches apart on the sheets.
Press a Mini Reese’s Peanut Butter Cup into the center of each dough ball, then fold the dough around it to fully enclose. The cookie will spread as it bakes, so don’t worry if the seal isn’t perfect.
Step 5: Bake to Golden Perfection
Bake for 10-12 minutes until the edges are light golden brown. The centers will look slightly underdone—that’s perfect. They’ll continue setting as they cool on the baking sheet for 5 minutes.
Transfer to a wire rack to cool completely. The Mini Reese’s Peanut Butter Cups will be molten when they first come out, so resist the urge to bite in immediately. Each cookie will have a gooey chocolate surprise in the center.
Pro Tips For Making Peanut Butter Cookie Recipe With Mini Reese’S Cups
- Chill the Dough: After mixing, refrigerate the dough for at least 30 minutes—I learned this the hard way when my first batch spread into flat, greasy puddles. The butter firms up, keeping the cookies thick and the Reese’s from sinking to the bottom.
- Use Room-Temp Butter: Let the unsalted butter soften on the counter for about an hour before creaming. Cold butter leaves lumps, and melted butter ruins the texture—this is the only way to get that perfect, even crumb.
- Press Reese’s Deep: Nestle the mini Reese’s cups into the dough balls before baking, pushing them in halfway so they don’t roll off. I wasted a whole batch watching them slide around like hockey pucks.
- Bake Until Edges Brown: Pull the cookies when the edges are just golden, even if the centers look soft. They’ll firm up as they cool, and overbaking turns them dry—I still regret that first crumbly, overdone tray.
Common Mistakes When Making This Dish
Overmixing the Dough
Once you add the flour, mix just until it disappears—about 30-45 seconds on low speed. Overmixing develops gluten, leading to tough, dense cookies instead of tender ones. I learned this the hard way testing recipes for my first cookbook. 💡
Wrong Candy Size
Only mini Reese’s cups work here. Regular size won’t bake properly and will ooze out. Press one into each dough ball’s center, fully enclosing it. If they peek through, the chocolate can burn during baking.
Skipping the Cooling
Let cookies rest on the baking sheet for 5 minutes after removing from the oven. The centers need this time to set. If you transfer too soon, they’ll crumble apart. David always sneaks one early and regrets it.
Incorrect Oven Temp
Bake at exactly 350°F. Hotter ovens brown the outside before centers cook. Cooler ones spread too much, losing that perfect thickness. I recommend an oven thermometer—many home ovens run 25°F off.
Under-creaming Butter
Beat the peanut butter and butter with sugars for 2-3 minutes until light and fluffy. Skipping this step results in flat, greasy cookies. You’ll see the mixture change from dense to airy—that’s your visual cue.
Overcrowding the Pan
Space dough balls 2 inches apart. These spread significantly during baking. If too close, they’ll merge into one giant cookie. I use parchment paper and rotate pans halfway through for even baking.
Nutrition Facts
Frequently Asked Questions
Can I use regular Reese’s cups instead of minis?
No, regular cups are too large and won’t bake properly. The minis melt perfectly in 10-12 minutes without oozing out.
How do I prevent the chocolate from burning?
Make sure the mini cups are fully enclosed in dough. Also, bake at exactly 350°F and remove when edges are just golden.
Can I make these gluten-free?
Yes! Swap the 1.5 cups all-purpose flour for a 1:1 gluten-free blend. Let the dough rest 10 minutes before scooping for best texture.
How long will these stay fresh?
Store in an airtight container at room temperature for up to 5 days. For longer storage, freeze the dough balls for up to 3 months.

- Peanut Brittle Recipe With Dry Roasted Peanuts: Crunchy Caramelized Sweetness - October 7, 2026
- Peanut Butter and Banana Bread Recipe UK: Moist Crumb With Nutty Swirls - October 7, 2026
- Frittata Recipe Oven: Fluffy Eggs with Crisp Golden Top - October 7, 2026