
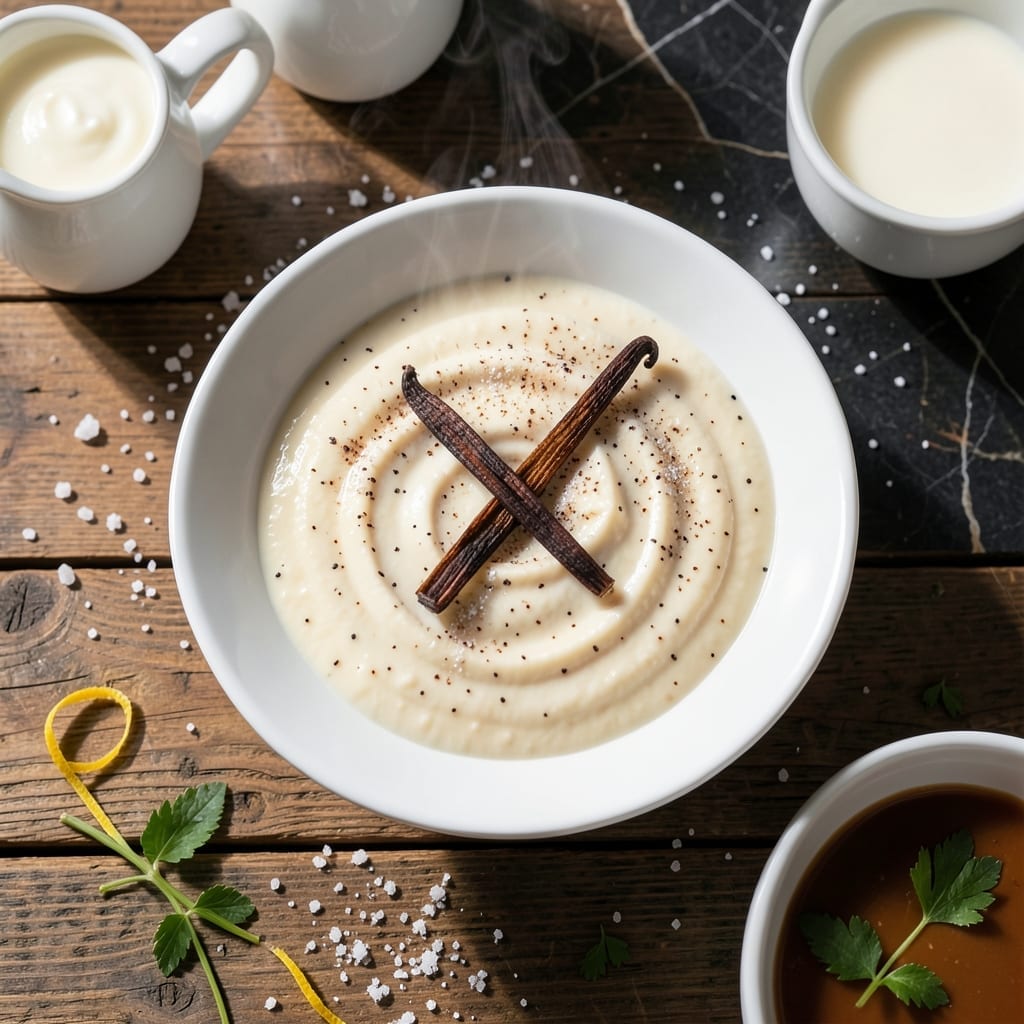
Achieving silky smooth vanilla custard at home is simpler than you think. This proven method delivers professional results without complicated techniques or special equipment.
The key is gentle heat and constant stirring—this prevents curdling while creating that signature creamy texture. I’ve refined this process over years to ensure foolproof results every time.
What you’ll get is a rich, velvety dessert that stands alone or enhances pies, trifles, and pastries. The vanilla flavor shines through without overpowering the delicate custard base.
Ready in 20 minutes, this recipe proves that classic desserts don’t need to be difficult. Here’s how to make it perfectly.
Ingredients for Vanilla Custard Recipe Easy
Rich dairy, sweet vanilla, and a touch of cornstarch create this velvety classic dessert base.
| Ingredient | Amount | Notes |
|---|---|---|
| Whole Milk 🥛 | 3 cups | Full-fat for richest texture |
| Heavy Cream 🥛 | 1 cup | Do not substitute half-and-half |
| Granulated Sugar 🍚 | ¾ cup | Fine grain for smooth dissolution |
| Large Egg Yolks 🥚 | 6 whole | Room temperature for even mixing |
| Pure Vanilla Extract 🌿 | 2 tsp | High-quality for best flavor |
| Vanilla Bean 🌿 | 1 whole | Split and scraped, optional |
| Cornstarch 🌾 | 2 tbsp | Thickening agent for stability |
| Salt 🧂 | ¼ tsp | Fine sea salt preferred |
| Unsalted Butter 🧈 | 2 tbsp | For finishing gloss |
The dairy is non-negotiable for authentic texture. Whole milk and heavy cream from Whole Foods or your local dairy farm deliver the richest results. Avoid ultra-pasteurized products—they lack the necessary fat content. For the vanilla, Nielsen-Massey extract offers exceptional depth, while a fresh vanilla bean (available at Sur La Table) elevates the flavor profile significantly.
No heavy cream? Full-fat coconut milk works in a pinch (though the flavor changes slightly). Need to skip egg yolks? Cornstarch slurry can thicken, but expect a less custardy texture. For sugar, superfine baker’s sugar dissolves more readily, though regular granulated works with vigorous whisking. The butter finish is optional but adds a professional sheen.
Custard keeps 3-4 days refrigerated in an airtight container. A thin skin may form on top—simply stir it back in or cover with plastic wrap pressed directly on the surface. Do not freeze, as the texture will separate. Best served chilled but not ice-cold to appreciate the full flavor.
Why You’ll Love This Recipe
- One-Bowl Wonder: I just whisk the yolks, sugar, and vanilla in one bowl—no fancy tools, no mess.
- Rich Vanilla Dream: The heavy cream and real vanilla make it taste like the fancy bakery version, but better.
- Dessert or Filling: I’ve spooned it over fruit, layered it in cakes, even eaten it straight from the fridge.
- Keeps for Days: Honestly, it tastes even better the next day, and it holds in the fridge for up to four.
Step-by-Step Instructions for Vanilla Custard
This straightforward method ensures a velvety texture with minimal effort and maximum flavor.
Step 1: Infuse Dairy with Vanilla and Heat
In a medium saucepan, combine the 3 cups Whole Milk and 1 cup Heavy Cream. If using the 1 whole Vanilla Bean, split it lengthwise with a sharp knife, scrape the seeds into the dairy, and add the pod as well. This infuses the mixture with intense vanilla flavor as it heats.
Place the saucepan over medium heat and warm the mixture until it begins to steam and tiny bubbles form at the edges—do not let it boil. Stir occasionally to prevent scorching. Remove from heat once the edges reach a gentle simmer, about 5-7 minutes, then let it steep for 10 minutes to deepen the vanilla flavor.
Step 2: Whisk Egg Yolks, Sugar, and Cornstarch
In a separate bowl, whisk together the 0.75 cup Granulated Sugar and 2 tbsp Cornstarch until no lumps remain. Add the 6 whole Large Egg Yolks and whisk vigorously for 1-2 minutes until the mixture turns pale yellow and slightly thickens. This step ensures a smooth, lump-free custard.
The cornstarch stabilizes the custard, preventing curdling and giving it a silky consistency. The sugar should be fully dissolved, so keep whisking until the mixture looks uniform. Real talk: skipping this step risks a grainy texture, so don’t rush it.
Step 3: Temper Egg Mixture with Warm Dairy
Slowly pour the warm dairy mixture into the egg yolk mixture, whisking constantly to prevent the eggs from scrambling. This tempering process gradually raises the temperature of the eggs, ensuring they blend smoothly with the hot liquid. Discard the vanilla bean pod if used.
Once fully combined, pour the mixture back into the saucepan. Return it to medium-low heat and cook, stirring constantly with a wooden spoon or silicone spatula, until the custard thickens enough to coat the back of the spoon. This should take 8-10 minutes.
Step 4: Finish with Butter, Vanilla, and Salt
Remove the saucepan from heat and stir in the 2 tbsp Unsalted Butter, 2 tsp Pure Vanilla Extract, and 0.25 tsp Salt. The butter adds a glossy finish and rich mouthfeel, while the vanilla extract enhances the flavor. Stir until the butter is fully melted and the custard is smooth.
Taste and adjust seasoning if needed. The custard should be thick but still pourable—it will thicken further as it cools. If it seems too thick, whisk in a splash of warm milk to reach your desired consistency.
Step 5: Cool and Serve
Pour the custard into a clean bowl or individual serving dishes. Press plastic wrap directly onto the surface to prevent a skin from forming. Let it cool to room temperature, then refrigerate for at least 2 hours or until fully chilled.
Serve the custard cold, topped with fresh berries, a sprinkle of cinnamon, or a drizzle of honey. The texture should be luxurious and velvety, with a rich vanilla aroma in every spoonful. This makes 4 servings of perfectly smooth custard.
Pro Tips For Making Vanilla Custard Recipe Easy
- Temper the yolks: Slowly drizzle the hot milk mixture into the egg yolks while whisking constantly—I learned this the hard way after scrambling eggs in my first batch.
- Use real vanilla: Skip the imitation stuff; a good splash of pure vanilla extract actually changes the outcome, and you’ll taste the difference.
- Low and slow heat: Keep the custard at a gentle simmer, never boiling, or it’ll curdle. I was skeptical until I tried it and saw how silky it turned out.
- Strain before chilling: Pour the custard through a fine-mesh sieve to catch any cooked bits—sounds weird, but it works and gives you that ultra-smooth texture.
Storing and Reheating This vanilla custard recipe easy
Refrigerator Storage
Let your custard cool to room temperature first—this prevents condensation. Transfer to an airtight container or cover the bowl tightly with plastic wrap pressed directly on the surface. Store at 40°F or below for up to 4 days. ❄️
Freezing Not Recommended
Freezing custard causes separation and a grainy texture upon thawing. The delicate emulsion breaks down, ruining that signature silky smooth consistency. If you must freeze, portion into ice cube trays for small batches, but expect compromised quality.
Reviving Chilled Custard
If a thin skin forms on top, simply whisk it back in before serving. For best texture, let the custard sit at room temperature for 10-15 minutes before serving. This softens it slightly without warming the entire batch.
Reheating Gently
Warm individual portions in a saucepan over low heat, stirring constantly. Add 1-2 tsp milk to restore creaminess. Avoid microwaving, as it can create hot spots that scramble the eggs. 🔥
Make-Ahead Tips
Prepare the custard up to 2 days ahead for best flavor development. The vanilla intensifies as it chills. Store in the fridge in a shallow, wide container for even cooling and easier portioning.
Nutrition Facts
Frequently Asked Questions
Can I use whole eggs instead of just yolks?
You can, but the texture will be less rich and creamy. Yolks contain more fat, which gives custard its velvety consistency. Using whole eggs may also make the custard slightly firmer.
Why did my custard turn lumpy?
Lumps usually mean the eggs scrambled from too much heat or uneven mixing. Always temper the eggs with warm dairy and cook on low to medium-low heat, stirring constantly.
How do I know when it’s done?
The custard is ready when it coats the back of a spoon and leaves a clean line when you run your finger through it. This happens at about 170-175°F.
Can I make this without cornstarch?
Yes, but it will be less stable. Cornstarch helps prevent curdling and gives a smoother finish. If omitting, cook extra gently and remove from heat as soon as it thickens.

- Beef Kidney Recipe Keto: Bold Flavors with Low-Carb Simplicity - October 8, 2026
- Pea Salad Recipe With Egg and Mayonnaise: Classic Creamy Potluck Favorite - October 8, 2026
- Peach Salsa Canning Recipe No Tomatoes: Sweet and Spicy Preservation - October 8, 2026