
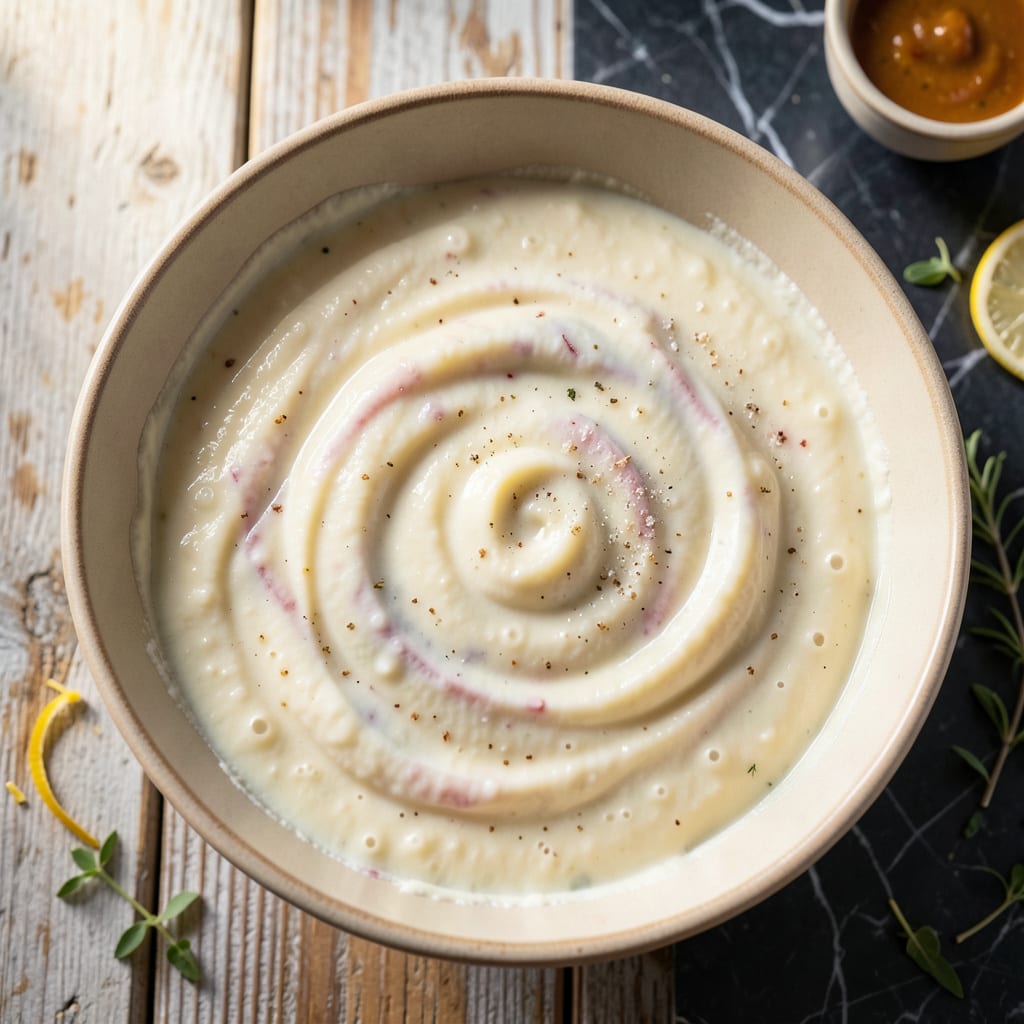
This 5-day fermented starter creates the perfect base for sweet, tangy Amish friendship bread without commercial yeast. The natural fermentation process develops complex flavors that store-bought versions simply can’t match.
With just a few simple ingredients and daily attention, you’ll cultivate a living starter ready to transform into moist, flavorful loaves. The process is surprisingly simple, yet yields results that taste like tradition in every bite.
Ingredients for Amish Friendship Bread Starter Recipe Without Yeast
A handful of pantry staples kickstarts this traditional fermented base with rich, complex flavors.
| Ingredient | Amount | Notes |
|---|---|---|
| All-Purpose Flour 🌾 | 2 cups | Unbleached preferred for fermentation |
| Granulated Sugar 🍚 | ¼ cup | White sugar feeds the starter best |
| Whole Milk 🥛 | 1 cup | Warm to room temperature first |
| Active Plain Yogurt 🥣 | ½ cup | Unsweetened, with live cultures |
| Baking Soda 🧂 | 1 tsp | For balancing acidity later |
| Baking Powder 🧂 | 1 tsp | Double-acting for rise |
| Salt 🧂 | 1 tsp | Fine sea salt preferred |
| Ground Cinnamon 🌿 | 1 tsp | Freshly ground for best flavor |
| Vanilla Extract 🌿 | 1 tsp | Pure extract, not imitation |
| Light Brown Sugar 🍚 | ½ cup | Packed, for sweetness and moisture |
| Vegetable Oil 🫒 | ½ cup | Neutral flavor like canola or sunflower |
| Pecans 🌰 | ½ cup | Chopped, for texture and richness |
[recipeingredientscaler]
The flour is the foundation here. King Arthur unbleached all-purpose is ideal—its consistent protein content ensures reliable fermentation. The yogurt must contain live cultures (check the label), as these are the microorganisms that will do the work. Whole milk provides the necessary fats and sugars, but 2% will work in a pinch. Avoid ultra-pasteurized milk, as the process can inhibit fermentation.
No yogurt? Buttermilk with live cultures at the same quantity works well. For a dairy-free version, use unsweetened coconut yogurt (ensure it has active cultures). The brown sugar can be swapped for honey or maple syrup, but adjust the liquid slightly. If you’re out of pecans, walnuts or almonds make fine substitutes—just chop them finely.
The starter will ferment at room temperature for 5 days. Store it in a non-metal container (glass or plastic) and stir daily. Once active, it can be refrigerated for up to 10 days between feedings, or frozen for 3 months for long-term storage.
Why You’ll Love This Recipe
- No Yeast Needed: I love that this starter skips the yeast entirely—just flour, sugar, milk, yogurt, and baking soda do all the work.
- Sweet and Tangy: The yogurt gives it this subtle tang that balances the sugar perfectly, making every bite interesting.
- Feeds the Freezer: I always keep a batch of starter in the fridge, ready to bake into bread whenever the craving hits.
Step-by-Step Instructions for Amish Friendship Bread Starter
This 5-day fermentation process creates a vibrant starter for sweet loaves with perfect tang.
Step 1: Create the Initial Ferment
In a clean glass or ceramic bowl, whisk together the 2 cups All-Purpose Flour, 0.25 cup Granulated Sugar, and 1 cup Whole Milk until smooth. The mixture will be thick but pourable.
Cover loosely with a clean kitchen towel or cheesecloth secured with a rubber band. This allows airflow while protecting from dust. Place in a warm spot (around 70-75°F) and let ferment for 24 hours.
You’ll notice small bubbles forming on the surface and sides of the bowl within 12-18 hours, signaling the beginning of fermentation. The mixture may develop a slightly sour aroma, which is normal and indicates proper activity.
Step 2: Incorporate the Yogurt Culture
After the initial 24-hour period, stir in the 0.5 cup Active Plain Yogurt thoroughly. The live cultures in the yogurt will accelerate the fermentation process and introduce beneficial bacteria.
Cover again and let sit for another 24 hours. This time, the mixture should become noticeably bubblier and may rise slightly. The aroma will intensify, developing a more pronounced tang that’s characteristic of a healthy starter.
If your kitchen is cooler than 70°F, you might need an additional 6-8 hours to achieve proper fermentation. Look for a foamy texture and a consistent bubbling pattern throughout the mixture.
Step 3: Begin Daily Stirring Routine
For the next three days, stir the mixture vigorously with a wooden spoon once every 24 hours. This incorporates oxygen and ensures even fermentation throughout the starter.
Each day, you should notice the mixture becoming more active. The bubbles will increase in size and number, and the volume may rise by 25-50%. The color will also lighten slightly as fermentation progresses.
The aroma will evolve from mildly sweet to pleasantly sour. If you notice any off smells (like rotten eggs or strong ammonia), this indicates contamination and you should discard the batch and start over with clean utensils.
Step 4: Final Fermentation and Readiness Check
On the fifth day, your starter should be at peak activity. It will have doubled in volume, with large bubbles throughout and a strong, tangy aroma. The texture should be spongy and slightly elastic when stirred.
To test for readiness, drop a small spoonful into a glass of water. If it floats, your starter is ready to use. This float test confirms that the mixture has developed sufficient gas production for baking.
At this point, you can either use the starter immediately in a bread recipe or begin the maintenance cycle of feeding it with equal parts flour, sugar, and milk every 5-7 days to keep it alive for future use.
Pro Tips For Making Amish Friendship Bread Starter Recipe Without Yeast
- Use Room-Temp Yogurt: Cold yogurt can shock the starter—pull it out 30 minutes before mixing. I learned this the hard way after my first batch smelled funky.
- Whisk the Flour: Aerate the all-purpose flour before measuring; packed flour makes a dense starter. Sounds fussy, but it actually changes the outcome.
- Skip Metal Utensils: Metal can react with the acidic yogurt—stick to wood or plastic when stirring. My grandmother swore by this, and she was right.
- Stir Daily, No Exceptions: Even if you forget, don’t skip two days in a row. After neglecting mine for 48 hours, I had to start over.
Storing and Reheating This Dish
Room Temperature Storage
Once your starter is active, keep it at room temperature for daily use. Store it in a glass jar with a loose lid—I use Ball mason jars with the ring unscrewed. Stir it every 24 hours and feed it equal parts flour, sugar, and milk to maintain activity. 💡
Refrigerator Storage
For less frequent use, transfer your starter to the fridge in an airtight container. It can rest for up to 7-10 days between feedings. Before using, bring it back to room temperature and feed it twice daily for 24-48 hours to revive its activity.
Freezing for Long-Term
For long-term storage, portion your starter into freezer-safe bags or containers. It will keep for up to 3 months frozen. To revive, thaw in the fridge overnight, then feed it every 12 hours for 2-3 days until fully active and bubbly.
Reviving a Neglected Starter
If you’ve neglected your refrigerated starter, don’t despair. Remove any dark liquid (hooch) on top, then feed it with 1 cup flour, ⅓ cup sugar, and 1 cup milk. Repeat every 12 hours until it shows consistent bubbles and doubles in size.
Starter Sharing
To share your starter, portion 1 cup into a clean jar with a note of feeding instructions. I like to include a simple recipe card with baking tips. This tradition keeps the friendship chain alive. ❤️
Nutrition Facts
Frequently Asked Questions
What if my starter smells bad?
A slight sour aroma is normal, but rotten or ammonia-like smells mean contamination. Discard and start fresh with clean utensils.
Can I use non-dairy milk?
Yes, unsweetened coconut or almond milk works if paired with dairy-free yogurt containing live cultures. Avoid ultra-pasteurized options.
How do I know it’s ready?
Drop a spoonful in water—if it floats, it’s active. Look for doubled volume, large bubbles, and a tangy scent.
What container works best?
Use glass or food-grade plastic. Avoid metal, which can react with acids. A loose lid allows airflow during fermentation.

- BBQ Sausage Recipe Oven: Smoky Depth Without the Grill - September 28, 2026
- BBQ Chicken Bowl Recipe Rice: Smoky Sweetness Over Fluffy Grains - September 28, 2026
- Beef Cutlet Recipe Ideas: Crispy Breaded Patties With Bold Seasonings - September 28, 2026