
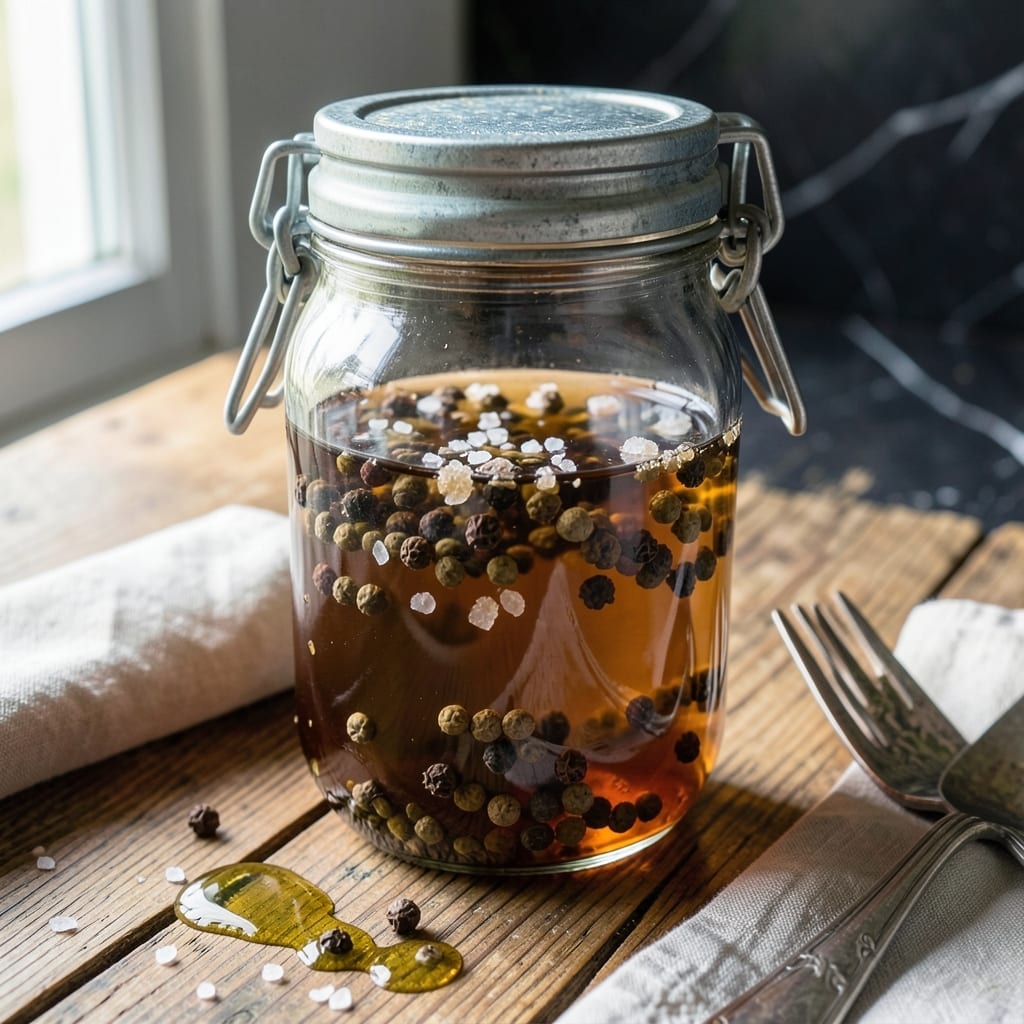
This apple cider vinegar brine is my go-to for keeping vegetables crisp and vibrant long after harvest. The tangy base preserves natural flavors while adding a bright, clean sharpness that enhances without overpowering.
I developed this ratio after testing various strengths—the balance of vinegar to water creates the ideal environment for preserving texture and taste. A touch of sweetener softens the acidity, making it versatile for everything from cucumbers to red onions.
Use it for quick pickles or as a marinade base that tenderizes while adding depth. The liquid stays fresh for months in the refrigerator, ready whenever you need to extend the life of garden produce.
Simple ingredients, proven results. This is the foundation of great pickling at home.
Ingredients for Apple Cider Vinegar Brine
Eight ingredients transform produce into crisp, tangy pickles with lasting freshness.
| Ingredient | Amount | Notes |
|---|---|---|
| Apple Cider Vinegar 🍎 | 2 cups | Raw, unfiltered preferred for depth |
| Water 💧 | 2 cups | Filtered or distilled recommended |
| Granulated Sugar 🍚 | 2 tbsp | Organic cane or white, dissolves easily |
| Kosher Salt 🧂 | 1 tbsp | Diamond Crystal for consistent texture |
| Black Peppercorns 🌶️ | 1 tsp | Whole, lightly crushed for infusion |
| Mustard Seeds 🌿 | 1 tsp | Yellow or brown, adds subtle complexity |
| Dried Bay Leaves 🍃 | 2 whole | Turkish or California, for aroma |
| Garlic Cloves 🧄 | 4 cloves | Smashed to release flavor quickly |
The vinegar is the backbone—Bragg or Heinz apple cider vinegar are reliable choices. Look for the “with the mother” label if you want that extra depth (it’s the cloudy stuff at the bottom). Whole Foods or Trader Joe’s carry both. Water quality matters here; if your tap water tastes off, use filtered. The salt should be non-iodized for pickling—Diamond Crystal kosher salt is my go-to.
Swapping sugar? Maple syrup or agave work at a 1:1 ratio, but they’ll add color. No mustard seeds? Coriander seeds at half the amount give a different but pleasant twist. Skip the bay leaves if you must, but they add that subtle background note. For garlic, shallots can substitute (use 2 whole), but the flavor will be milder.
This brine keeps 2-3 months in the fridge in a sealed jar. The flavors deepen over time, so don’t be afraid to make a big batch. If you notice any cloudiness or odd smells, it’s time to toss it (though this is rare with the proper vinegar-to-water ratio).
Why You’ll Love This Recipe
- 5-Minute Mix: I just stir together apple cider vinegar, water, sugar, salt, and peppercorns—no cooking, no fuss.
- Bright Tangy Kick: The vinegar’s sharpness balanced with sugar and salt makes every bite pop.
- Works for Everything: I’ve used this brine for pork, chicken, even veggies—it never lets me down.
- Pantry Staples Only: Honestly, I always have these ingredients on hand, so it’s a last-minute lifesaver.
Step-by-Step Instructions for Apple Cider Vinegar Brine
This method ensures maximum flavor infusion with perfectly balanced acidity and sweetness.
Step 1: Combine the Liquid Base
In a medium saucepan, pour in the 2 cups Apple Cider Vinegar and 2 cups Water. I prefer using filtered or distilled water here to avoid any chlorine or mineral flavors that might interfere with the brine’s purity.
Set the pan over medium-high heat and bring just to a simmer. You want to see tiny bubbles forming at the edges but not a rolling boil. This gentle heat helps dissolve the dry ingredients while preserving the vinegar’s delicate flavors.
Step 2: Dissolve the Sugar and Salt
Once the liquid is simmering, add the 2 tbsp Granulated Sugar and 1 tbsp Kosher Salt. Stir continuously with a wooden spoon until both are completely dissolved—this should take about 1-2 minutes.
The sugar adds subtle sweetness to balance the vinegar’s tang, while the kosher salt provides consistent seasoning without any metallic aftertaste. Watch for the mixture to become clear with no visible granules at the bottom of the pan.
Step 3: Toast the Whole Spices
Remove the pan from heat and immediately add the 1 tsp Black Peppercorns, 1 tsp Mustard Seeds, and 2 whole Dried Bay Leaves. The residual heat will gently toast these spices, releasing their aromatic oils into the brine.
Let them steep for 2-3 minutes until the mixture becomes fragrant. The peppercorns add subtle heat, the mustard seeds contribute earthy depth, and the bay leaves provide a floral aroma that rounds out the flavor profile.
Step 4: Infuse with Garlic
Peel and smash the 4 cloves Garlic Cloves to release their essential oils, then add them to the warm brine. The smashed cloves will infuse more flavor than whole ones, but won’t make the brine bitter like minced garlic might.
Let the mixture cool to room temperature—about 30-45 minutes. This cooling period allows all the flavors to meld together while the garlic mellows into the liquid. You’ll notice the brine taking on a golden hue as the ingredients infuse.
Step 5: Strain and Use
Once completely cooled, strain the brine through a fine-mesh sieve into a clean jar or container to remove the solids. Press gently on the spices with a spoon to extract maximum flavor, but don’t force any sediment through.
Your brine is now ready to use. For best results, submerge your proteins completely and refrigerate for the recommended brining time. The liquid should be at room temperature before adding to your food to maintain food safety.
Pro Tips For Making Apple Cider Vinegar Brine
- Heat the Water First: Dissolve the sugar and salt in hot water before adding vinegar—this ensures they fully incorporate instead of sinking to the bottom.
- Use Raw Vinegar: I learned this the hard way—skip the pasteurized stuff and use raw, unfiltered apple cider vinegar for that tangy depth it’s known for.
- Avoid Metal Containers: Brining in a metal bowl can react with the vinegar and give your food a metallic taste—glass or food-grade plastic only.
- Add Ice for Speed: After mixing, add a handful of ice cubes to cool the brine quickly so you can start brining right away without waiting hours.
Flavor Customization for This apple cider vinegar brine
Herb-Infused Variation
Add 1 tbsp fresh dill or 1 tsp dried dill weed to the brine while it’s warm. This pairs beautifully with cucumbers and green beans. I also like adding 3-4 sprigs fresh thyme for a more complex herbal note. 🌿
Spicy Kick
For heat lovers, toss in 1 sliced jalapeño or ½ tsp red pepper flakes during the cooling phase. The heat will mellow slightly over time but still provide a nice punch. I’ve found this works particularly well with red onions and carrots.
Citrus Twist
Add 2 strips of lemon or orange peel (about 1-inch wide) while the brine cools. The citrus oils brighten the flavor profile. Remove the peel after 24 hours to prevent bitterness.
Sweet & Spiced
Increase the sugar to 3 tbsp and add 1 cinnamon stick and 3 whole cloves for a warmer, slightly sweeter brine. This variation is fantastic for pickling fruits like peaches or pears.
Umami Depth
Stir in 1 tbsp soy sauce or 1 tsp fish sauce after straining for an umami boost. This works especially well with mushrooms or as a marinade for tofu. I prefer low-sodium soy sauce to control the saltiness. 💡
Smoky Flavor
Add ½ tsp smoked paprika or 1 tsp liquid smoke to the cooled brine. This imparts a subtle smokiness that pairs wonderfully with meats or hearty vegetables like beets and cauliflower.
Nutrition Facts
Frequently Asked Questions
How long can I store this in the fridge?
Your brine stays fresh for 2-3 months in an airtight container. The flavors actually improve over time as they meld together. Just check for any cloudiness or off odors before using.
What’s the best container to use?
Glass jars or bottles work best—they won’t absorb odors or react with the acidity. Avoid metal containers, as they can corrode. Mason jars with tight-fitting lids are ideal for both storage and pickling.
Can I reuse the brine after pickling?
Yes, but only once. Strain out any solids, bring to a boil for 5 minutes, then cool before reusing. The flavor will be milder the second time around.
Why did my vegetables turn soft?
This usually happens if the brine wasn’t strong enough or the veggies sat too long. Stick to the 1:1 vinegar-to-water ratio and refrigerate after 24-48 hours for crisp results.

- BBQ Sausage Recipe Oven: Smoky Depth Without the Grill - September 28, 2026
- BBQ Chicken Bowl Recipe Rice: Smoky Sweetness Over Fluffy Grains - September 28, 2026
- Beef Cutlet Recipe Ideas: Crispy Breaded Patties With Bold Seasonings - September 28, 2026