
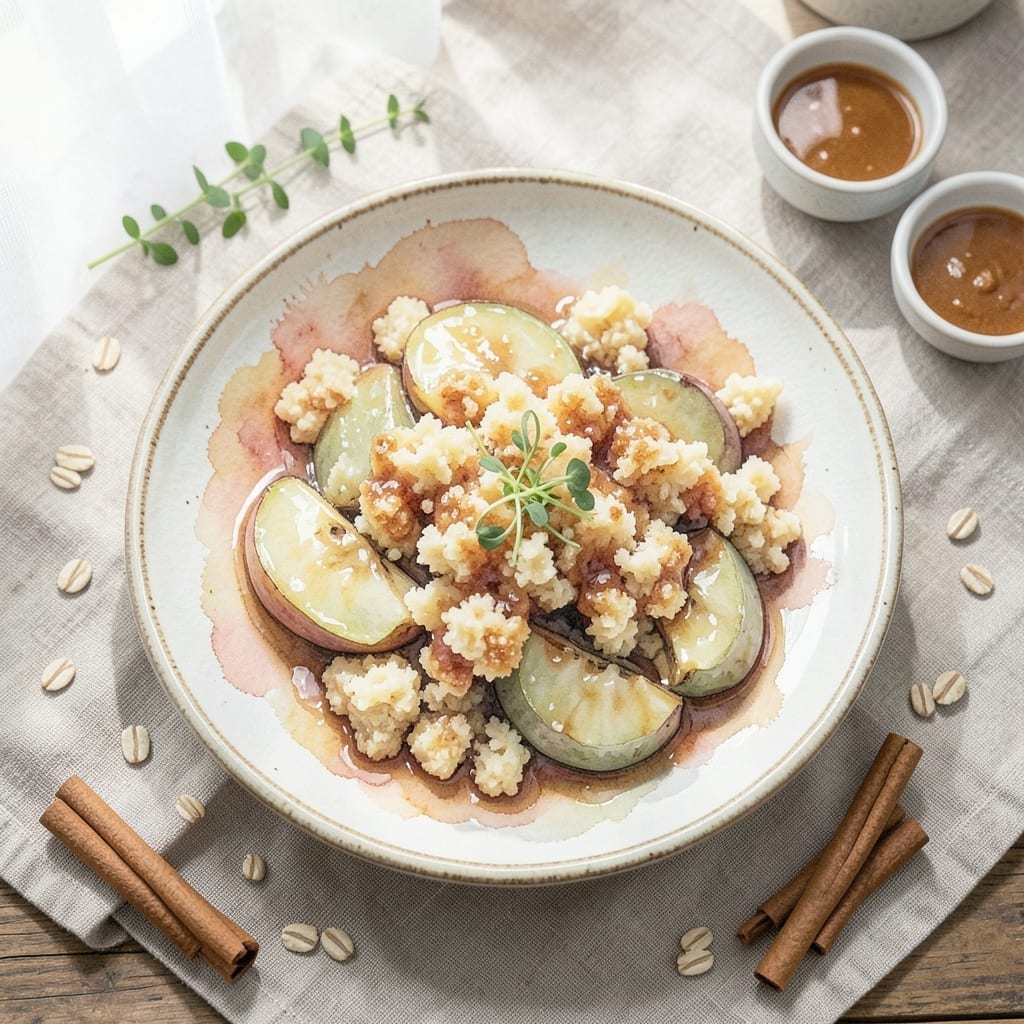
There’s something comforting about warm spiced apples topped with a golden oat crumble, especially when you can make it entirely on the stovetop. This method delivers the same cozy flavors as a baked version but with less fuss and no oven required.
The apples soften into a fragrant, saucy filling while the oats toast to a perfectly crisp texture right in the pan. I’ve tested this approach countless times, and it never fails to produce a dessert that feels both rustic and refined.
What you’ll end up with is a dish that balances tender, cinnamon-kissed apples with a buttery, crunchy topping—all achieved in under 30 minutes. It’s the ideal way to satisfy a sweet craving without turning on the oven.
Serve it warm with a scoop of vanilla ice cream or a dollop of whipped cream. Here’s how to make it.
Ingredients for Apple Crumble Recipe Stove Top
Pantry staples plus fresh apples make this stovetop dessert happen in minutes.
| Ingredient | Amount | Notes |
|---|---|---|
| Granny Smith Apples 🍏 | 6 whole | Peeled, cored, sliced |
| Old-Fashioned Rolled Oats 🌾 | 1 ½ cups | For crisp topping texture |
| All-Purpose Flour 🌾 | ¾ cup | For crumble binding |
| Light Brown Sugar 🍚 | ½ cup | Packed, for filling |
| Granulated Sugar 🍚 | ¼ cup | For crumble topping |
| Ground Cinnamon 🌿 | 2 tsp | For warm spice flavor |
| Unsalted Butter 🧈 | ½ cup | Cold, cubed for crumble |
| Lemon Juice 🍋 | 1 tbsp | Freshly squeezed preferred |
| Vanilla Extract 🌿 | 1 tsp | Pure for best flavor |
| Salt 🧂 | ¼ tsp | Balances sweetness |
| Cornstarch 🌾 | 1 tbsp | Thickens apple filling |
The apples are key here. Granny Smith hold their shape best (that tart crunch is perfect), but Honeycrisp or Fuji work too—just expect softer slices. I grab mine from Whole Foods when they’re in season, but any grocery store apples are fine. For the oats, old-fashioned rolled give that ideal crisp texture. Skip the quick oats—they turn to mush.
No brown sugar? Coconut sugar at a 1:1 ratio works great. Out of cinnamon? Apple pie spice at the same amount gets you close. If you only have salted butter, reduce the added salt by half. The lemon juice brightens everything up—bottled works in a pinch (but fresh is better). Want more texture? Add chopped walnuts to the crumble.
The crumble topping keeps in an airtight container for 1 week at room temp. Prep the apples ahead—they’ll brown a bit but that’s fine. Leftovers reheat beautifully in a skillet with a splash of water. Best within 3 days.
Why You’ll Love This Recipe
- One Pot Wonder: I love that this comes together on the stovetop—no oven, no fuss, just a pan and 20 minutes.
- Tart Meets Sweet: Granny Smiths keep it bright while the brown sugar oats turn caramel-crisp. Honestly, the contrast is ridiculous.
- Weeknight Hero: Between us, it’s my Tuesday dessert and my Sunday brunch showstopper.
- Budget Friendly: A handful of pantry staples and apples that keep for weeks—this costs less than takeout.
Step-by-Step Instructions for Apple Crumble
Make this comforting dessert entirely on your stovetop for a warm, spiced treat with minimal effort.
Step 1: Prepare the Apple Filling
Peel, core, and slice all 6 whole Granny Smith Apples into even ¼-inch thick pieces. I like to keep the slices uniform so they cook at the same rate. Toss them immediately with 1 tbsp Lemon Juice to prevent browning.
In a large, heavy-bottomed pot, combine the apples with 0.5 cup Light Brown Sugar, 2 tsp Ground Cinnamon, 1 tsp Vanilla Extract, and 1 tbsp Cornstarch. The cornstarch will thicken the juices into a luscious sauce as the apples release their liquid.
Step 2: Cook the Apples to Tenderness
Place the pot over medium heat and stir frequently. You’ll notice the apples begin to soften and release juices after about 5 minutes. Reduce the heat to medium-low and continue cooking for another 8-10 minutes.
The filling is ready when the apples are tender but still hold their shape and the liquid has thickened to a syrupy consistency. If it looks too thin, cook for another 2-3 minutes—the sauce will thicken further as it cools.
Step 3: Make the Oat Crumble Topping
While the apples cook, prepare the topping. In a medium bowl, combine 1.5 cups Old-Fashioned Rolled Oats, 0.75 cup All-Purpose Flour, 0.25 cup Granulated Sugar, and 0.25 tsp Salt. Mix until evenly distributed.
Cut in the 0.5 cup Unsalted Butter (cold and cubed) using a pastry cutter or your fingers. Work the butter into the dry ingredients until the mixture resembles coarse crumbs with some pea-sized clumps. This texture ensures a crisp, golden topping.
Step 4: Crisp the Topping on the Stovetop
Once the apples are tender, spread the oat mixture evenly over the top. Press down lightly to help it adhere. Cover the pot and cook over low heat for 5-7 minutes to allow the topping to warm through.
Then, uncover and increase the heat to medium. Cook for another 3-5 minutes, stirring the topping occasionally, until it turns golden brown and crisp. Watch closely to prevent burning.
Let it sit for 5 minutes off the heat before serving to allow the topping to set slightly. The contrast of warm, spiced apples with the buttery, crisp oat topping is irresistible.
Pro Tips For Making Apple Crumble Recipe Stove Top
- Precook the Apples: Par-cook the Granny Smith apples in the pan for 5-7 minutes before adding the crumble topping—this softens them just enough so they don’t stay hard under the oats.
- Chill the Crumble: Pop the oat-flour-brown sugar mix in the freezer for 10 minutes while the apples cook; it keeps the topping from turning into a single dense layer.
- Skip the Over-Stirring: Once the crumble is on, resist the urge to stir—just let it crisp undisturbed for 8-10 minutes on medium-low heat.
- Swap Half the Flour: Replace ¼ cup of the all-purpose flour with ground almonds for a nuttier taste and a crumble that actually stays crumbly.
Essential Equipment for apple crumble recipe stove top
Essential Pan Choice
For even cooking and proper crumble crisping, use a heavy-bottomed pot or deep skillet with a lid. I swear by my enamel-coated cast iron from Le Creuset—it distributes heat beautifully and prevents hot spots that could burn the topping.
Wooden Spoon Necessity
A sturdy wooden spoon is your best friend for stirring both the apple filling and the crumble topping. It won’t scratch your cookware like metal utensils can. I keep a 12-inch bamboo spoon dedicated to my stovetop desserts.
Pastry Cutter Advantage
While you can use your fingers, a pastry cutter makes quick work of incorporating cold butter into the dry ingredients. The OXO Good Grips model has comfortable handles and cuts through butter effortlessly. 💡
Lid Requirement
Don’t skip the lid—it’s crucial for the 5-7 minutes of covered cooking that steams the topping. A tight-fitting lid traps just enough moisture to help the crumble set before crisping. I use the glass lid that came with my pot so I can monitor progress.
Heat Diffuser Option
If your stove runs hot, consider a heat diffuser to prevent burning the crumble. This simple $15 tool from Cuisinart creates a buffer between the flame and your pan, giving you more control over the toasting process.
Serving Tools
Have a large serving spoon ready—the deep kind for ice cream works perfectly. The apples release juices even after cooking, so a slotted spoon helps serve portions without excess liquid. I always keep a stainless steel ice cream scoop in my utensil drawer for this purpose. ✨
Nutrition Facts
Frequently Asked Questions
Can I use a different type of apple?
Yes! While Granny Smith hold their shape best, Honeycrisp or Fuji work too. Sweeter varieties will soften more but still taste great.
Why cover the pot when crisping the topping?
Covering for 5-7 minutes steams the topping, helping it set before browning. This prevents a dry, crumbly texture and ensures even cooking.
How do I prevent a soggy crumble?
Use cold butter and avoid overmixing the topping. Cook uncovered at the end on medium heat until golden. Let it rest 5 minutes before serving.
Can I make this ahead?
The filling keeps 2 days in the fridge. Reheat gently, then crisp the topping fresh for best texture. Store leftovers in an airtight container.

- BBQ Sausage Recipe Oven: Smoky Depth Without the Grill - September 28, 2026
- BBQ Chicken Bowl Recipe Rice: Smoky Sweetness Over Fluffy Grains - September 28, 2026
- Beef Cutlet Recipe Ideas: Crispy Breaded Patties With Bold Seasonings - September 28, 2026