
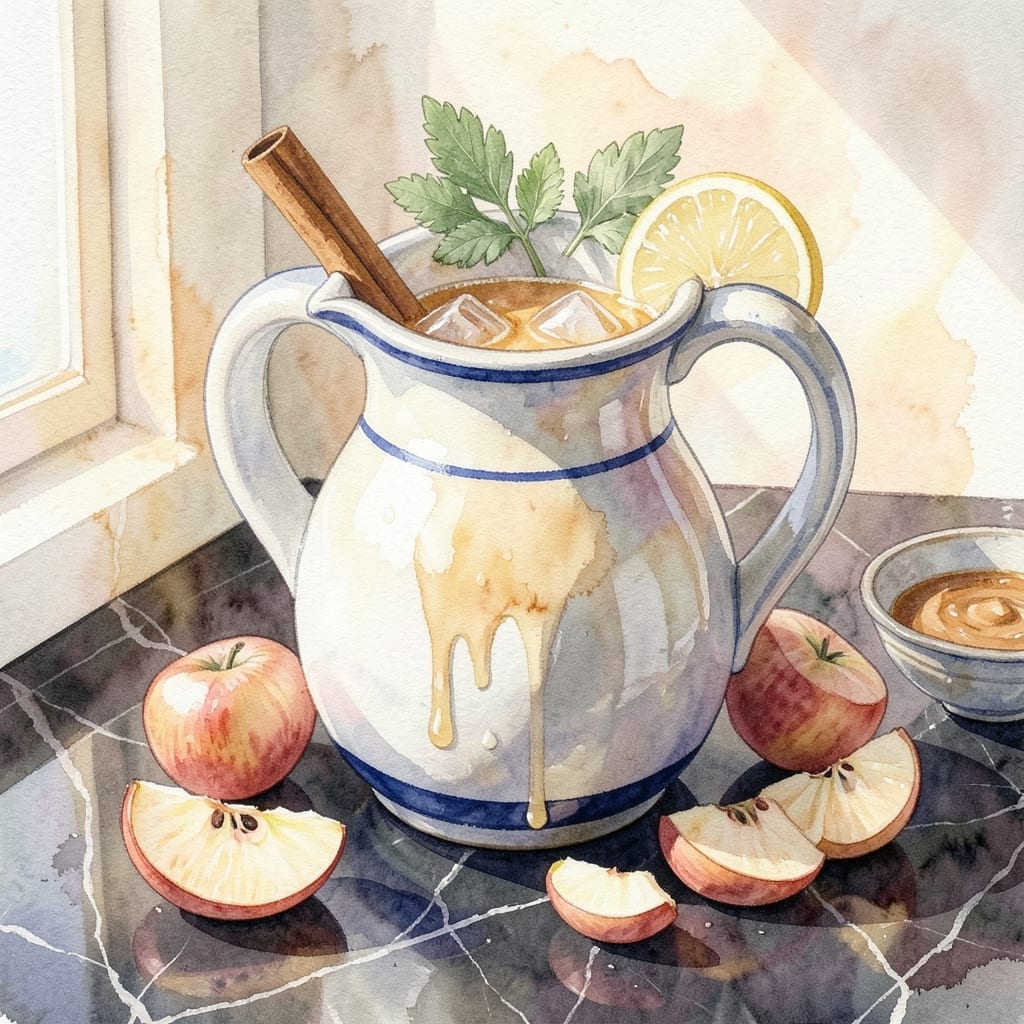
There’s nothing quite like the taste of fresh apple juice made in your own kitchen. This method transforms whole apples into pure, vibrant liquid sweetness without added sugars or preservatives.
The process is straightforward: wash, chop, and press the apples to extract every drop of flavor. Using a mix of sweet and tart varieties creates a balanced profile that’s both refreshing and satisfying.
You’ll need just a few tools—a good juicer or fine mesh strainer—and about 20 minutes to produce juice that tastes far superior to store-bought versions. The result is crisp, clean, and bursting with natural apple flavor.
Serve it chilled for the perfect thirst-quencher, or use it as a base for smoothies and cocktails. This is freshness you can taste in every sip.
Ingredients for Apple Juice Recipe at Home
Fresh apples and a juicer are all you need for this vibrant drink.
| Ingredient | Amount | Notes |
|---|---|---|
| Sweet Apples 🍎 | 8 whole | Gala or Fuji recommended |
| Tart Apples 🍏 | 4 whole | Granny Smith preferred |
| Water 💧 | ½ cup | For rinsing apples |
| Lemon Juice 🍋 | 1 tbsp | Freshly squeezed for brightness |
| Ice Cubes ❄️ | 2 cups | For chilling juice |
| Cinnamon Stick 🌿 | 1 whole | Optional for infusion |
| Honey | 0 tbsp | Omit for vegan purity |
The apples make or break this. Farmers markets have the best selection, but any grocery store with a good produce section works. Look for apples that are firm, vibrant in color, and heavy for their size—those are the juiciest. I like mixing Gala (sweet) with Granny Smith (tart) for that perfect balance. Organic isn’t mandatory, but give them a good wash either way.
No juicer? A fine mesh strainer and some elbow grease get you 90% there. Don’t have tart apples? Extra lemon juice can brighten up all-sweet varieties. The cinnamon stick is totally optional, but it adds a nice warmth if you’re feeling fancy. The water is just for rinsing—use cold to keep everything crisp.
Fresh juice is best within 24-48 hours. Store it in a sealed jar in the fridge. The lemon juice helps prevent browning, but expect some color change over time. Freeze in ice cube trays for smoothies (good for 3 months).
Why You’ll Love This Recipe
- No Fuss Blending: I just chop the apples, toss them in the blender with water, and strain—no fancy equipment needed.
- Balanced Sweet-Tart: The mix of sweet and tart apples with a squeeze of lemon juice hits that just-right freshness every time.
- Crowd-Pleasing Pitcher: I make a big batch for brunch, and it disappears faster than the mimosas.
- Pocket-Friendly Refreshment: A bag of apples and a lemon cost less than a single bottle of store-bought juice, and it tastes way better.
Step-by-Step Instructions for Apple Juice at Home
Here’s how to transform fresh fruit into vibrant, homemade juice with minimal effort.
Step 1: Prepare and Rinse the Apples
Start by thoroughly washing all 8 whole Sweet Apples and 4 whole Tart Apples under cool running water. I use a vegetable brush to remove any wax or residue from the skins, especially important for conventionally grown fruit.
Place the washed apples in a large bowl and cover them with 0.5 cup Water. Add the 1 tbsp Lemon Juice and swish the apples around gently. The lemon juice helps remove any remaining surface impurities while adding a subtle brightness to the final juice. Let them soak for 2-3 minutes before draining.
Step 2: Core and Chop the Apples
Remove the apples from the water and pat them dry. Using an apple corer or paring knife, remove the cores and any seeds. I leave the skins on for extra fiber and flavor, but you can peel them if you prefer a smoother juice.
Cut each apple into quarters or eighths, depending on the size of your juicer’s feed tube. Smaller pieces ensure your juicer can process them efficiently without jamming. The combination of sweet and tart varieties creates a beautifully balanced flavor profile that’s neither too sweet nor too sharp.
Step 3: Juice the Apples and Infuse with Cinnamon
Feed the apple pieces through your juicer according to the manufacturer’s instructions. I like to alternate between sweet and tart apples as I juice to maintain that perfect flavor balance throughout the process. The juice will come out slightly foamy at first – this is normal and will settle as it sits.
Pour the fresh juice into a large pitcher. If using, add the 1 whole Cinnamon Stick to the pitcher and let it infuse for 10-15 minutes while you finish juicing. This adds a warm, aromatic depth that complements the apple flavors beautifully. Stir occasionally to help distribute the cinnamon’s essence.
Step 4: Chill and Serve
Once all apples are juiced, remove the cinnamon stick if used. Add 2 cups Ice Cubes to the pitcher to rapidly chill the juice. The ice will slightly dilute the juice, so taste and adjust if needed – though with this perfect apple ratio, it should be just right.
Stir the juice gently with the ice for 1-2 minutes until it reaches your desired temperature. The juice should be vibrant and slightly effervescent when first made, with a beautiful golden hue. Serve immediately in chilled glasses for the freshest experience, or store in the refrigerator for up to 3 days in an airtight container.
Pro Tips For Making Apple Juice Recipe At Home
- Use Both Apple Types: Mix sweet and tart apples—like Fuji and Granny Smith—for balanced flavor. I learned this the hard way after making a batch that was cloyingly sweet.
- Skip the Peeling: Leave the skins on for extra color and nutrients, just wash them well. Sounds weird, but it works and saves a ton of time.
- Strain While Warm: Press and strain the juice while it’s still warm from blending or cooking—it flows better and you’ll get more yield.
- Add Lemon Last: Stir in the lemon juice right before serving, not during cooking, to keep the fresh, bright flavor. I was skeptical until I tried it.
Essential Equipment for This Dish
Juicer Options
For serious juicing, I recommend a masticating juicer like the Omega J8006. It extracts maximum juice with minimal foam and handles apples with ease. The slower speed preserves more nutrients and enzymes. 💪
Budget-Friendly Alternative
A fine mesh strainer and wooden spoon work surprisingly well. Press apple pieces against the strainer over a bowl. It takes more effort but costs under $20. I keep one in my pantry for occasional use.
Prep Tools
An apple corer makes quick work of removing cores and seeds. I use the OXO Good Grips model—it’s comfortable and durable. A sharp paring knife works too for more control over the cuts.
Straining Accessories
For clearer juice, line your strainer with cheesecloth. This catches the finest pulp particles. I also keep a large mixing bowl handy to catch the juice as it strains through.
Storage Solutions
Use glass mason jars for storing fresh juice—they don’t absorb odors and are easy to clean. I prefer 32-ounce wide-mouth jars for my weekly batches. They’re perfect for fridge or freezer storage.
Optional Add-Ons
A citrus juicer helps extract every drop of lemon juice. The Cuisinox model is my go-to. For cinnamon infusion, a long-handled spoon makes stirring easier without removing the stick prematurely.
Nutrition Facts
Frequently Asked Questions
Do I need to peel the apples first?
No, leaving the skins on adds fiber and enhances flavor. Just wash them thoroughly to remove any wax or residue. The skins also give the juice a beautiful color.
Can I use only one type of apple?
You can, but mixing sweet and tart varieties creates a more balanced taste. If using one type, add extra lemon juice to brighten the flavor. Gala alone will be sweeter, while Granny Smith alone will be sharper.
How long does homemade juice stay fresh?
Fresh juice lasts 24-48 hours in the fridge in an airtight container. For longer storage, freeze in ice cube trays for up to 3 months. Always use clean utensils when serving to prevent contamination.
Why is my juice foamy?
Foam is normal when juicing apples. Let it sit for 5-10 minutes to settle. For less foam, juice at a slower speed or use a masticating juicer. Skim off the foam before serving if desired.

- BBQ Sausage Recipe Oven: Smoky Depth Without the Grill - September 28, 2026
- BBQ Chicken Bowl Recipe Rice: Smoky Sweetness Over Fluffy Grains - September 28, 2026
- Beef Cutlet Recipe Ideas: Crispy Breaded Patties With Bold Seasonings - September 28, 2026