
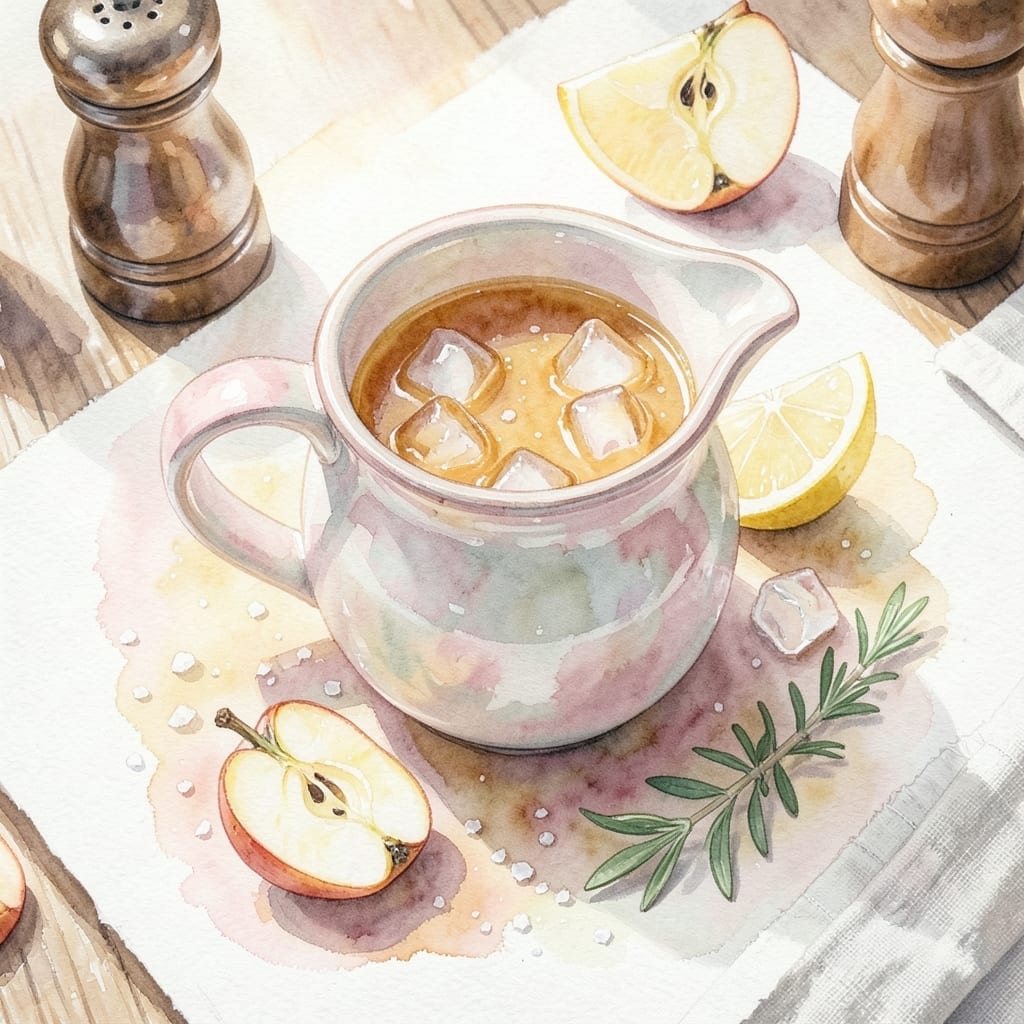
There’s nothing quite like the pure, vibrant taste of fresh-pressed apple juice straight from your own kitchen. This simple method transforms whole apples into a crisp, naturally sweet beverage in under 20 minutes.
No specialized equipment is needed—just a blender and fine mesh strainer. The process captures every drop of liquid while leaving behind pulp and seeds, delivering smooth, unfiltered juice packed with authentic flavor.
You’ll end up with a bright, refreshing drink that’s far superior to store-bought versions. The natural sweetness of ripe apples shines through, with no added sugar required.
Serve chilled for the best experience, or use as a base for smoothies and cocktails. This technique works with any apple variety you prefer.
Ingredients for Apple Juice Recipe Video
Four ingredients transform into crisp, naturally sweet juice in no time.
| Ingredient | Amount | Notes |
|---|---|---|
| Apples 🍎 | 8 whole | Any variety, cored and quartered |
| Water 💧 | ½ cup | For blending assistance |
| Lemon Juice 🍋 | 1 tbsp | Freshly squeezed for brightness |
| Ice Cubes ❄️ | 2 cups | For chilling juice quickly |
The apples are everything here. Farmers market apples (especially Honeycrisp or Fuji) give you the sweetest, most flavorful juice, but grocery store varieties work too. Just make sure they’re ripe and firm—no bruises or soft spots. I usually grab a mix of sweet and tart apples for balance. Organic if you can swing it, but conventional is fine if you wash them well.
No fresh apples? Frozen apple slices (thawed first) work in a pinch, though the texture might be slightly different. Want extra zing? Add a teaspoon of fresh ginger. Prefer it sweeter? Toss in a pitted date or two while blending. Skip the water if you’re using a high-powered blender—it’ll handle the apples just fine on its own.
This juice is best served immediately but keeps in the fridge for 2-3 days in a sealed container. The flavor actually deepens overnight. Freeze leftovers in ice cube trays for smoothies later (good for 3 months).
Why You’ll Love This Recipe
- 5-Minute Blend: I toss in apples, water, and a squeeze of lemon—blender does the rest. Honestly, it’s faster than waiting in line for store-bought.
- Crisp & Bright: The lemon juice cuts the sweetness just right, and the ice keeps it refreshing. That first sip? Pure autumn in a glass.
- Kid-Approved Batch: I make a big jug on Sunday, and the kids grab it all week for snacks or lunchboxes. Between us, it’s the only way they’ll eat their fruit.
- Pennywise Sip: A bag of apples and a lemon cost less than a single bottle of juice. I’ll be real: my wallet notices the difference.
Step-by-Step Instructions for Fresh Apple Juice
Here’s the method I swear by for the freshest, most vibrant homemade juice you’ve ever tasted.
Step 1: Prep the Apples for Optimal Extraction
Start by coring and quartering all 8 whole Apples. I leave the skin on for maximum flavor and fiber—it makes a noticeable difference in the final juice. Make sure to remove all stems and seeds thoroughly, as these can impart bitter flavors.
As you work, transfer the apple pieces to your blender. I use a high-speed blender for this, but any standard model will work. The key is getting the apples into uniform pieces so they blend evenly without leaving large chunks.
This prep step takes about 5 minutes and sets you up for smooth blending. If your apples are particularly large, you might need to cut them into sixths instead of quarters to fit comfortably in the blender.
Step 2: Blend with Liquid for Smooth Consistency
Add the prepped apples to the blender along with 0.5 cup Water. The water helps the blender process the fruit more efficiently and prevents it from getting stuck. I’ve found this amount perfect for achieving the right consistency without diluting the flavor.
Blend on high for 30-45 seconds until completely smooth. You’ll know it’s ready when there are no visible apple chunks remaining and the mixture has a uniform, slightly frothy appearance. Stop and scrape down the sides if needed, then blend again briefly.
This step is where the magic happens—the apples break down completely, releasing all their natural sweetness and creating that beautiful, vibrant puree that will become your juice.
Step 3: Strain for Crystal-Clear Freshness
Place a fine-mesh strainer over a large pitcher or bowl and line it with cheesecloth for extra clarity. Pour the apple puree into the strainer and let it drip naturally for 5-10 minutes. Don’t rush this process—patience yields the clearest juice.
I gently press the solids with a spatula to extract every last drop, but avoid squeezing too hard as this can push bitter pulp into your juice. The straining process separates the liquid from the fiber, giving you that smooth, professional-quality juice.
You should end up with about 3-4 cups of fresh apple juice, depending on the variety and juiciness of your apples. The leftover pulp can be composted or saved for baking.
Step 4: Chill and Brighten the Flavor
Add 1 tbsp Lemon Juice to the strained juice and stir well. The lemon juice not only adds a subtle brightness that enhances the apple flavor, but it also helps prevent browning. I always use freshly squeezed for the best flavor.
Now add 2 cups Ice Cubes to the pitcher. This rapidly chills the juice to serving temperature while also diluting it just enough to achieve the perfect consistency. The ice will melt within 5-10 minutes, at which point your juice is ready to serve.
Give it a final stir to combine everything evenly. The juice should be cold, slightly frothy, and have a beautiful, appetizing color that makes it impossible to resist.
Pro Tips For Making Apple Juice Recipe Video
- Use Ripe Apples: I learned this the hard way—green apples give you tart juice that needs way too much sugar. Go for fully ripe ones, even if they’re a little soft, for natural sweetness.
- Strain Twice: After blending, strain through a fine mesh sieve, then do it again with cheesecloth. Sounds tedious, but it removes all the pulp for that smooth, clear juice everyone loves.
- Skip the Seeds: Sounds obvious, but I’ve rushed it before and ended up with bitter juice. Core the apples properly—those little seeds can ruin the flavor if they sneak in.
- Add Ice Last: Chill the juice in the fridge first, then pour over ice cubes. If you add ice too early, it dilutes the flavor as it melts—I was skeptical until I tried it.
Make-Ahead Tips for This Recipe
Prep Ahead
Wash and core all 8 whole Apples the night before and store them in an airtight container in the fridge. This saves 10 minutes on the day of juicing while keeping the apples fresh and crisp.
Batch Processing
Double or triple the recipe—this juice keeps beautifully. I blend in batches to avoid overloading my blender. A standard blender handles 4-5 apples at a time with 0.5 cup Water.
Strain in Advance
Strain the puree up to 12 hours ahead and store the juice in a pitcher. Add the 1 tbsp Lemon Juice immediately to prevent browning. Stir before serving to redistribute any settled pulp. 💡
Quick Chill
Freeze 2 cups Ice Cubes in a zip-top bag for rapid chilling. If you’re making juice for a crowd, use chilled water instead of ice to avoid diluting the flavor too much.
Pulp Storage
Save the leftover pulp in a sealed container for 2-3 days in the fridge. I use it in muffins, pancakes, or applesauce. Freeze for up to 3 months in 1-cup portions.
Flavor Boosters
Prep add-ins like ginger slices or cinnamon sticks ahead of time. Add them to the blender with the apples for infused juice. A 1-inch ginger piece adds a nice zing. ✨
Nutrition Facts
Frequently Asked Questions
Do I need a juicer for this?
No, a standard blender works perfectly. The key is straining the blended puree through a fine-mesh sieve to remove pulp. It takes 5-10 minutes of straining time but yields smooth juice.
Can I use apple skins?
Yes! Leaving skins on adds fiber and deeper flavor. Just wash apples thoroughly first to remove any wax or residue. The skins blend right in and don’t affect texture after straining.
How long does fresh juice last?
Store in an airtight container in the fridge for 2-3 days. The flavor actually improves overnight, but it’s best consumed fresh. For longer storage, freeze in ice cube trays for 3 months.
What if my juice turns brown?
Browning is natural oxidation. Adding 1 tbsp Lemon Juice immediately after straining helps prevent this. If it happens, the juice is still safe to drink—just less visually appealing.

- BBQ Sausage Recipe Oven: Smoky Depth Without the Grill - September 28, 2026
- BBQ Chicken Bowl Recipe Rice: Smoky Sweetness Over Fluffy Grains - September 28, 2026
- Beef Cutlet Recipe Ideas: Crispy Breaded Patties With Bold Seasonings - September 28, 2026