
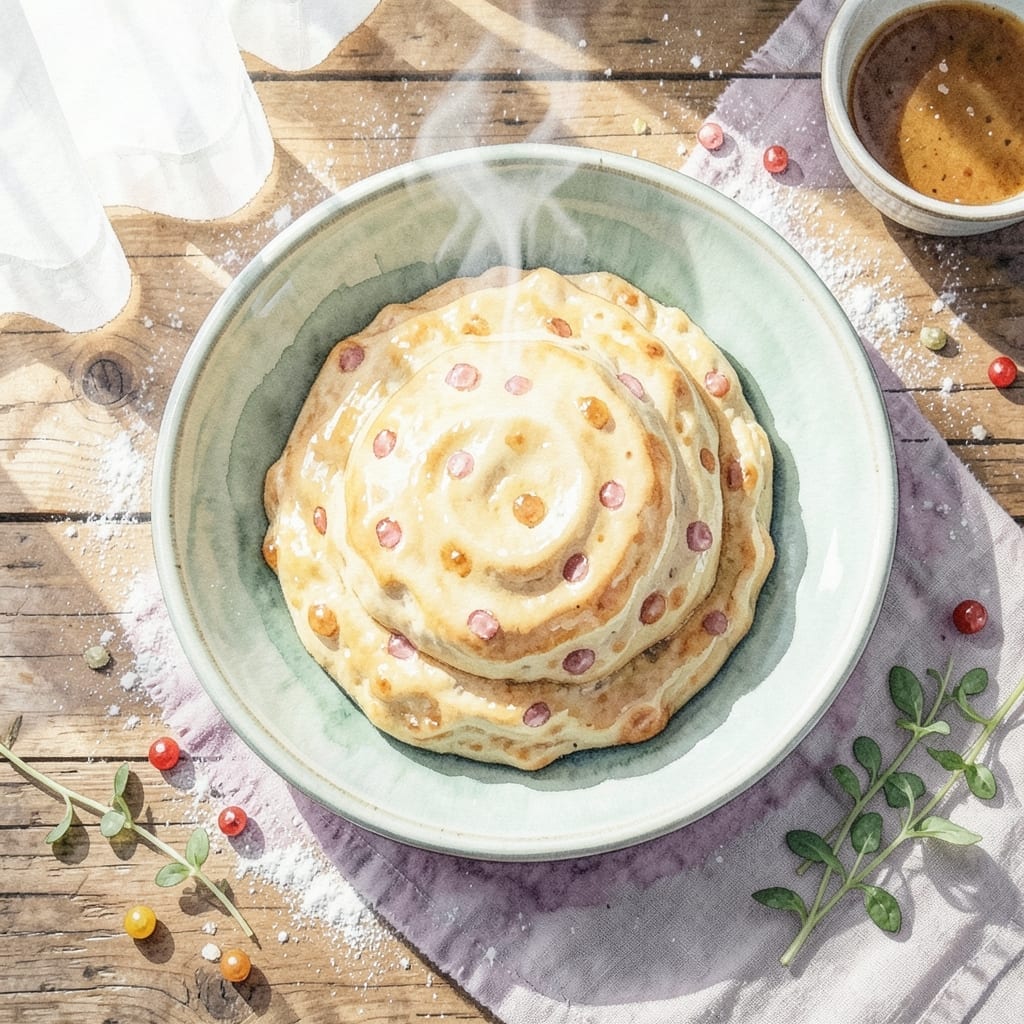
I used to think making pie dough from scratch was some kind of black magic—until I cracked the code myself.
This recipe turns simple ingredients into flaky, buttery layers that shatter at the touch. The secret is keeping everything cold and handling the dough just enough to hold it together, nothing more.
You’ll end up with a crust that bakes up golden and crisp, with pockets of butter that create those coveted layers. It’s the kind of dough that makes people think you’ve been baking for years.
Perfect for apple pie or any fruit filling you love. Here’s how to make it happen.
Ingredients for Apple Pie Dough Recipe from Scratch
Cold butter, flour, and a little patience create dough that bakes up golden and crisp.
| Ingredient | Amount | Notes |
|---|---|---|
| All-Purpose Flour 🌾 | 2 ½ cups | Spoon and level method |
| Unsalted Butter 🧈 | 1 cup | Cold, cubed into 1/2-inch pieces |
| Granulated Sugar 🍚 | 1 tbsp | Optional for sweetness |
| Salt 🧂 | 1 tsp | Fine sea salt preferred |
| Ice Water 💧 | ½ cup | Plus 1-2 tbsp as needed |
| Apple Cider Vinegar 🍏 | 1 tbsp | Or white vinegar |
| Large Egg Yolk 🥚 | 1 whole | Optional for extra richness |
The butter is everything here. Use a high-quality brand like Plugrá or Kerrygold—it has higher fat content, which means flakier layers. Cut it into cubes and chill those too (yes, even the cubes). Most supermarkets carry these brands, but Whole Foods or a local specialty store will have the best selection. If your butter is warm or greasy, pop the cubes back in the freezer for 10 minutes.
No vinegar? Lemon juice works in a pinch. Skip the sugar if you’re using a sweet filling—it’s just for balancing flavor. The egg yolk adds richness but skip it for a vegan version (just use ice water). All-purpose flour is ideal, but pastry flour at a 1:1 ratio gives an even more tender crust. Don’t substitute cake flour—it’s too light.
Dough keeps in the fridge for 2 days or freezes for 3 months. Wrap it tightly in plastic—press it right against the surface to prevent air pockets. Thaw frozen dough overnight in the fridge before rolling.
Why You’ll Love This Recipe
- 5-Ingredient Simplicity: I just dump flour, cold butter, a pinch of sugar and salt, then ice water—no fancy steps, no stress.
- Buttery Crisp Layers: The cold butter creates flaky layers that crackle with every bite, and the hint of sugar balances the tart apples perfectly.
- Holiday or Tuesday: I’ve rolled this out for Thanksgiving pies and also for a random weeknight galette when the craving hits.
- Freezer Friendly: Honestly, I always make a double batch—this dough freezes beautifully, so I’m never more than 10 minutes away from pie.
Step-by-Step Instructions for Apple Pie Dough From Scratch
Here’s the method I use for perfect, flaky pie dough that never fails me.
Step 1: Cut Butter Into Flour for Ideal Texture
In a large bowl, whisk together the 2.5 cups All-Purpose Flour, 1 tbsp Granulated Sugar, and 1 tsp Salt. This ensures even distribution of the dry ingredients, which is crucial for consistent flavor in every bite.
Add the 1 cup Unsalted Butter (cubed into ½-inch pieces) to the flour mixture. Using your fingers or a pastry cutter, work the butter into the flour until the mixture resembles coarse crumbs with pea-sized butter pieces visible. This step creates the flaky layers we’re after—don’t overwork it or you’ll end up with tough dough.
Real talk: Keep your hands cold. If the butter starts to melt, pop the bowl in the freezer for 5 minutes to chill everything back down. The key is maintaining those distinct butter pieces that will create steam pockets during baking.
Step 2: Add Liquid Ingredients to Bind the Dough
In a small bowl, combine the 0.5 cup Ice Water, 1 tbsp Apple Cider Vinegar, and 1 whole Large Egg Yolk. The vinegar tenderizes the dough while the egg yolk adds richness and makes the crust easier to handle.
Create a well in the center of your flour-butter mixture and pour in the liquid ingredients. Using a fork, gently stir until the dough just begins to come together. You’ll see it start to clump—that’s your signal to stop mixing. Overmixing develops gluten, which makes for tough pie crust.
Here’s the thing—you might need that extra 1-2 tbsp of ice water mentioned in the ingredients. Add it 1 tablespoon at a time only if the dough seems too dry to hold together when pressed. The amount can vary based on your flour and humidity.
Step 3: Chill the Dough for Optimal Workability
Turn the dough out onto a lightly floured surface and divide it into two equal portions. Gently shape each into a disk about 1 inch thick. Wrap each disk tightly in plastic wrap, pressing down to remove any air pockets.
Refrigerate the dough for at least 1 hour, or up to 2 days. This resting period allows the flour to fully hydrate and the butter to firm up, making the dough much easier to roll out. It also prevents shrinkage during baking.
I’ve found that chilling overnight gives the best texture. The longer rest time allows the gluten to relax completely, resulting in a more tender crust that holds its shape beautifully when baked.
Step 4: Roll and Shape for Your Pie
Remove one disk of dough from the refrigerator and let it sit at room temperature for 10-15 minutes to soften slightly. On a lightly floured surface, roll the dough into a circle about ⅛ inch thick and 12 inches in diameter.
To transfer the rolled dough to your pie dish without tearing, loosely roll it around your rolling pin, then unroll it over the dish. Gently press it into the bottom and up the sides, being careful not to stretch the dough. Trim any excess, leaving a ½-inch overhang for crimping.
For a double-crust pie, repeat with the second disk of dough. If making a lattice top, cut the second disk into strips before chilling for 15 minutes to firm up before weaving. The cold dough will hold its shape better for intricate designs.
Pro Tips For Making Apple Pie Dough Recipe From Scratch
- Chill the Butter: Cut your unsalted butter into small cubes and refrigerate for 20 minutes before mixing—this keeps it cold so it doesn’t melt into the flour, which is what gives you that flaky crust.
- Use Ice Water: Measure out your water and add ice cubes to it before starting; the colder the water, the less it’ll develop gluten in the flour, making your dough tender instead of tough.
- Don’t Overwork It: I learned this the hard way—mix just until the dough comes together, even if it looks a little shaggy, or you’ll end up with a dense, chewy crust.
- Rest the Dough: After shaping, let it chill in the fridge for at least 1 hour—this relaxes the gluten and makes rolling out way easier, plus it prevents shrinking when baked.
Regional Styles of This Recipe
Southern Style
In the South, we often add 1 tbsp of shortening alongside the butter for extra tenderness. The shortening has a higher melting point than butter, creating a flakier texture. I learned this trick from my grandmother, who swore by Crisco for her prize-winning pies.
Midwestern Tradition
Midwestern bakers often use lard instead of butter for a more stable dough that holds its shape well. Replace the butter with 1 cup of leaf lard for a crust that’s crisp yet tender. This was the standard in rural kitchens where butter was a luxury.
New England Approach
New Englanders love their cider vinegar in pie dough—it tenderizes the gluten while adding a subtle tang. Some even use 1 tbsp of sour cream in place of the egg yolk. The result is a crust that’s both flaky and slightly chewy. 💛
French Influence
For a French-style pâte brisée, reduce the sugar to ½ tsp and add 1 tsp of baking powder for lift. Roll the dough thinner (1/16 inch) for a delicate, crisp base that works beautifully with fruit fillings.
Texas Two-Step
Texas bakers often make a double crust by rolling out two separate sheets. The bottom crust is blind-baked for 10 minutes at 375°F to prevent sogginess. This method ensures a crisp base even with juicy apple fillings.
California Twist
West Coast bakers love incorporating whole wheat flour for a nuttier flavor. Replace ½ cup of all-purpose flour with whole wheat pastry flour for a healthier version that still delivers on flakiness. The vinegar helps tenderize the whole grain. ✨
Nutrition Facts
Frequently Asked Questions
Why is it important to keep the butter cold?
Cold butter creates steam pockets during baking, which makes the crust flaky. If it melts too soon, the layers won’t form properly.
Can I make this dough in advance?
Yes! The dough keeps in the fridge for 2 days or freezes for 3 months. Wrap it tightly in plastic to prevent air pockets.
What if my dough cracks while rolling?
Let it warm slightly at room temperature for 5-10 minutes, then try again. If cracks persist, patch with extra dough.
Can I use a food processor?
A food processor works well for cutting butter into flour. Pulse until pea-sized crumbs form, then transfer to a bowl to add liquids.

- BBQ Sausage Recipe Oven: Smoky Depth Without the Grill - September 28, 2026
- BBQ Chicken Bowl Recipe Rice: Smoky Sweetness Over Fluffy Grains - September 28, 2026
- Beef Cutlet Recipe Ideas: Crispy Breaded Patties With Bold Seasonings - September 28, 2026