
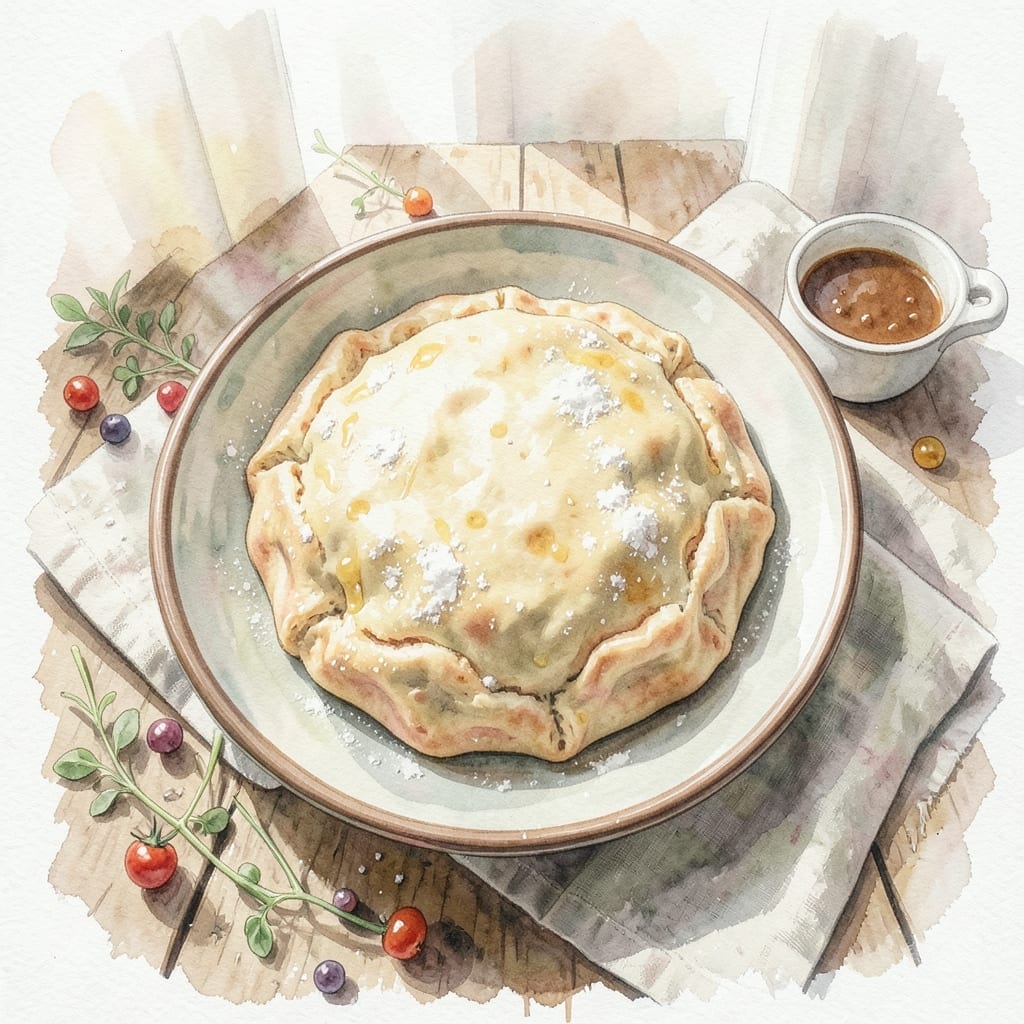
Achieving flaky pie dough requires precision, and this recipe delivers exactly that with metric measurements for consistent results every time.
I developed this method after years of testing ratios and techniques, focusing on cold ingredients and minimal handling to create layers that puff beautifully during baking.
The key is using ice water and chilled butter, cut into the flour until just pea-sized crumbs remain, then resting the dough to allow gluten relaxation before rolling.
What emerges is a golden crust with distinct, flaky layers that shatter at the touch, providing the perfect foundation for any apple pie filling.
Ingredients for Apple Pie Dough Recipe Grams
Precise metric measurements ensure flaky, consistent pie dough every single time you bake.
| Ingredient | Amount | Notes |
|---|---|---|
| All-Purpose Flour 🌾 | 250 g | Chilled in freezer for 30 minutes |
| Unsalted Butter 🧈 | 227 g | Cut into 1/2-inch cubes, chilled |
| Ice Water 💧 | 120 ml | Plus extra as needed |
| Granulated Sugar 🍚 | 15 g | Fine grain for even distribution |
| Salt 🧂 | 5 g | Fine sea salt preferred |
| Apple Cider Vinegar 🍏 | 15 ml | For tenderness and flakiness |
| Egg Yolk 🥚 | 1 whole | Optional, for richer dough |
The butter must be cold—European-style unsalted (like Plugrá or Kerrygold) has higher fat content, which creates superior layers. Weigh your flour for accuracy; scooping can compact it and yield tough dough. King Arthur Flour is a reliable brand for all-purpose. Chill the flour before mixing to prevent the butter from melting prematurely.
No apple cider vinegar? White vinegar or lemon juice works at the same quantity. For a vegan version, omit the egg yolk or replace with 15 ml aquafaba. The sugar can be omitted if you prefer a less sweet crust, but it aids in browning. If using salted butter, reduce the salt by half to avoid over-salting.
Dough can be refrigerated for up to 3 days or frozen for 3 months. Wrap tightly in plastic wrap to prevent drying. For best results, let the dough rest in the fridge for at least 1 hour before rolling to relax the gluten fully.
Why You’ll Love This Recipe
- I’ll be real: I always make a double batch and freeze one for emergency pie cravings.
- No-Fuss Mixing: Honestly, I just dump the flour, cold butter, and a pinch of salt in a bowl, pulse it, and add ice water—no fancy techniques.
- Buttery Perfection: That flaky crust with pockets of cold butter melting into the dough? It’s what makes apple pie worth the effort.
- Budget Savior: All-purpose flour and basic pantry staples mean I can whip this up without a special grocery trip.
Step-by-Step Instructions for Apple Pie Dough
Master the technique for creating perfectly flaky layers with metric precision.
Step 1: Chill and Prepare the Dry Ingredients
Begin by placing the 250 g All-Purpose Flour in the freezer for 30 minutes to chill completely. This step is crucial for maintaining the cold temperature needed to create flaky layers.
In a large mixing bowl, whisk together the chilled flour, 15 g Granulated Sugar, and 5 g Salt. The fine grain of the sugar ensures even distribution throughout the dough, preventing any gritty texture in the final product.
Step 2: Cut in the Cold Butter
Add the 227 g Unsalted Butter, which should be cut into ½-inch cubes and thoroughly chilled, to the dry ingredients. Using a pastry cutter or your fingertips, work the butter into the flour mixture until it resembles coarse crumbs with pea-sized butter pieces visible.
This stage is critical—you want to maintain distinct butter pieces rather than fully incorporating them. These visible butter chunks will create the flaky layers as they melt during baking. Work quickly to keep the butter cold throughout the process.
Step 3: Add the Liquid Ingredients
Create a well in the center of the flour-butter mixture. In a small bowl, combine the 120 ml Ice Water, 15 ml Apple Cider Vinegar, and 1 whole Egg Yolk. The vinegar adds tenderness to the dough while the egg yolk enriches it, creating a more robust structure.
Pour the liquid mixture into the well and use a fork to gradually incorporate the dry ingredients, starting from the center and working outward. Stop mixing as soon as the dough begins to come together—overworking will develop gluten and result in a tough crust rather than a flaky one.
Step 4: Form and Chill the Dough
Turn the dough out onto a lightly floured surface and gently knead it just until it forms a cohesive ball, being careful not to overwork it. Divide the dough into two equal portions and shape each into a disk about 1-inch thick.
Wrap each disk tightly in plastic wrap and refrigerate for at least 1 hour, or up to 2 days. This chilling period allows the gluten to relax and the butter to re-solidify, making the dough easier to roll out and ensuring maximum flakiness in the finished pie crust.
Pro Tips For Making Apple Pie Dough Recipe Grams
- Chill the Butter: Cut your unsalted butter into small cubes and refrigerate for at least 20 minutes before mixing. I learned this the hard way—warm butter makes a tough, flat crust instead of that flaky texture we all want.
- Measure Ice Water: Use exactly 60-70 grams of ice water per 200 grams of flour. After ruining two batches with too much water, I finally realized precise measurements actually change the outcome.
- Rest the Dough: Give your dough a solid 30-60 minutes in the fridge after mixing. Sounds weird, but it works—this relaxes the gluten and makes rolling much easier.
- Skip the Overmixing: Mix just until the dough comes together, even if it looks a bit shaggy. My grandmother swore by this, and she was right: overworking the dough makes it tough.
Troubleshooting Perfect Results
Dough Too Dry
If your dough feels crumbly and won’t hold together, it likely needs more liquid. Add ice water 1 tbsp (15 ml) at a time, mixing gently until it just comes together. I’ve found that humidity can affect flour absorption, so don’t rush this step. 💧
Dough Too Sticky
Overly sticky dough usually means too much water or butter that melted. Lightly dust your surface with 10-15 g flour and chill the dough for an extra 15-20 minutes before working with it. Avoid adding too much flour, as this can toughen the crust.
Butter Melting Prematurely
If you see butter smearing rather than staying in chunks, your ingredients or workspace may be too warm. Pause and chill everything for 10 minutes. I keep my kitchen cool and work quickly to prevent this. Using European-style butter like Plugrá helps, as it has a higher melting point.
Tough or Dense Crust
This happens when gluten over-develops. To fix it, handle the dough as little as possible and ensure you’re using the minimum liquid needed. If it’s already rolled out, try folding it like a book and giving it another 30-minute rest in the fridge before rolling again.
Uneven Rolling
If your dough cracks or resists rolling evenly, it may need more rest time. Let it sit at room temperature for 5-10 minutes to soften slightly, then try again. Rotate the dough 90 degrees between rolls to maintain an even thickness. 🔥
Shrinking During Baking
Excessive shrinking is often due to under-resting. Always chill your dough for at least 1 hour before rolling. If it still shrinks, try docking (pricking) the dough with a fork before baking to release steam and prevent puffing.
Nutrition Facts
Frequently Asked Questions
Why use grams instead of cups for pie dough?
Grams provide precision that cups can’t—flour compacts differently every time you scoop. 250 g flour is always the same, but 2 cups can vary by 20-30 g. This consistency is key for reliable, flaky results every bake.
Can I make this dough without a food processor?
Use your fingertips to cut the cold butter into the flour until pea-sized crumbs form. The key is working quickly to keep the butter from melting. Many bakers prefer this hands-on method for better control.
How long can I store the dough in the fridge?
Wrapped tightly, it stays fresh for up to 3 days. For longer storage, freeze for up to 3 months. Always thaw overnight in the fridge before rolling for best texture.
What if my dough cracks while rolling?
Let it rest at room temperature for 5-10 minutes to soften slightly. If it still cracks, patch with extra dough and chill again. Avoid over-flouring the surface, as this can dry it out.

- BBQ Sausage Recipe Oven: Smoky Depth Without the Grill - September 28, 2026
- BBQ Chicken Bowl Recipe Rice: Smoky Sweetness Over Fluffy Grains - September 28, 2026
- Beef Cutlet Recipe Ideas: Crispy Breaded Patties With Bold Seasonings - September 28, 2026