
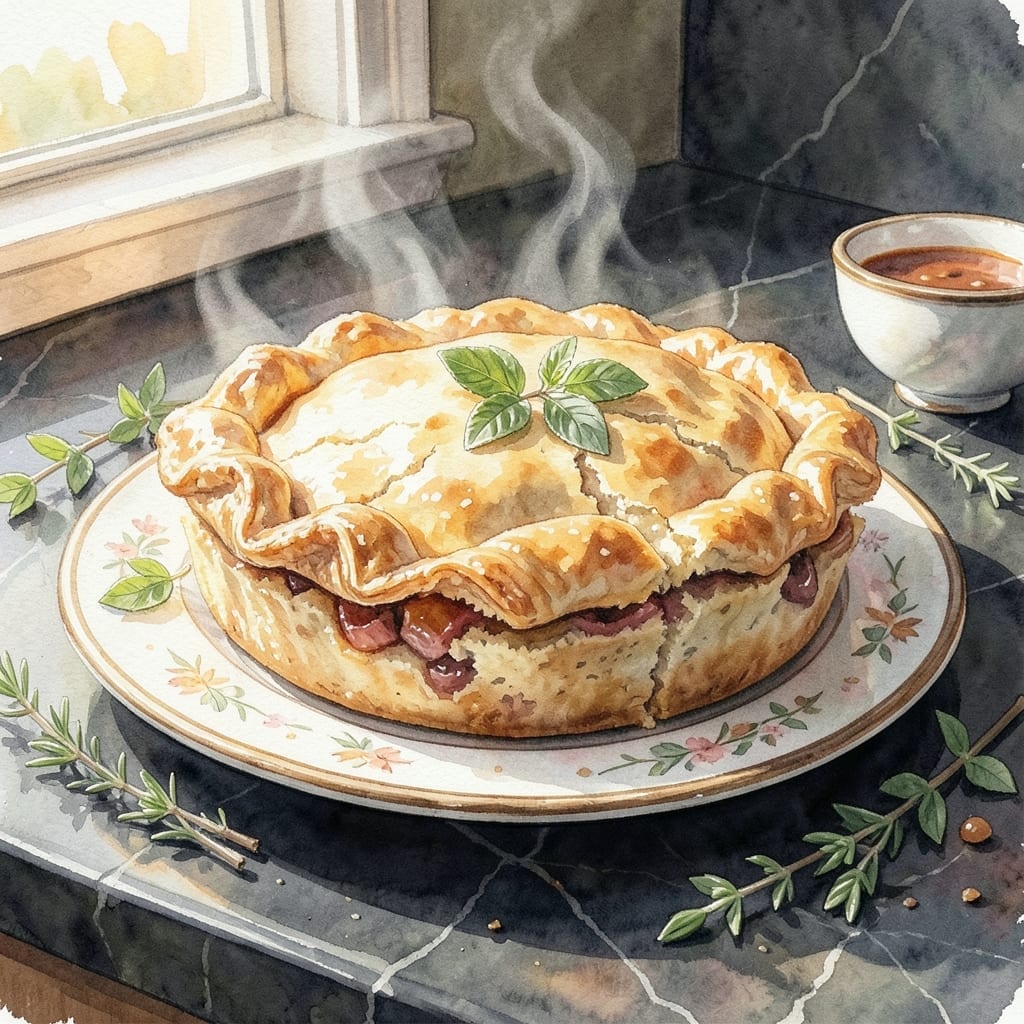
There’s a timeless appeal to a warm apple pie fresh from the oven, and this version delivers classic flavor with a smart shortcut. Using pre-made pie filling streamlines the process while maintaining that beloved homemade taste we all crave.
The lattice crust adds visual elegance and allows the sweet apple filling to peek through, creating a beautiful presentation with minimal effort. This approach cuts down on prep time without sacrificing the flaky, buttery texture that makes apple pie so irresistible.
You’ll achieve a golden-brown crust that shatters with each bite, encasing tender apples in a perfectly spiced syrup. The aroma alone will have everyone gathering in the kitchen before it even cools.
Serve it warm with a scoop of vanilla ice cream for the ultimate comfort dessert experience. This method proves that excellent results don’t always require starting from scratch.
Ingredients for Apple Pie Recipe Made with Pie Filling
Short list. Warm pie. Classic dessert with a smart shortcut.
| Ingredient | Amount | Notes |
|---|---|---|
| Pre-Made Apple Pie Filling 🍎 | 2 cans | 21 oz cans recommended |
| Refrigerated Pie Crust 🥧 | 2 sheets | 1 box contains 2 sheets |
| All-Purpose Flour 🌾 | 2 tbsp | For dusting work surface |
| Granulated Sugar 🍚 | 2 tbsp | For sprinkling on crust |
| Unsalted Butter 🧈 | 2 tbsp | Melted for brushing crust |
| Ground Cinnamon 🌿 | ½ tsp | Optional for extra spice |
| Large Egg 🥚 | 1 whole | For egg wash on crust |
| Vanilla Extract 💧 | 1 tsp | For enhanced flavor |
| Vanilla Ice Cream 🍦 | 1 cup | For serving, optional |
| Salt 🧂 | ¼ tsp | For balancing sweetness |
The pie filling does the heavy lifting here. Comstock or Lucky Leaf brands work great—just make sure it’s the kind with actual apple slices, not that weird gel stuff. I grab mine at Walmart (cheap and reliable) or Trader Joe’s if I’m feeling fancy. The refrigerated pie crust? Pillsbury is the move (the red box). Keep it cold until you’re ready to roll—warm dough gets sticky and hard to work with.
Swap the apple for cherry or blueberry filling if that’s your thing. No egg for the wash? Milk or cream works in a pinch. Out of cinnamon? Apple pie spice or a dash of nutmeg keeps it cozy. The sugar on top is optional, but it gives that bakery-style sparkle (don’t skip it). Want to make it extra? Add a sprinkle of coarse sugar for crunch.
Baked pie keeps 2 days at room temp or 5 days in the fridge. Reheat slices in the microwave for 15 seconds to get that fresh-out-of-the-oven feel. The ice cream? Well, that’s a must-use-within-a-week situation (not that it’ll last that long).
Why You’ll Love This Recipe
- No-Fuss Assembly: I just unroll the crust, dump in the filling, and fold—no peeling or slicing apples here.
- Buttery Crisp: That flaky crust with the warm, spiced filling? Honestly, it tastes like I spent hours baking.
- Crowd Pleaser: Between us, even the picky eaters at my potluck go back for seconds.
- Budget Friendly: A can of filling and store-bought crust keep my wallet happy and my dessert game strong.
Step-by-Step Instructions for Apple Pie Made With Pie Filling
This lattice crust method delivers that classic look with minimal effort and maximum flavor.
Step 1: Prepare the Work Surface and Bottom Crust
Lightly dust your work surface with the 2 tbsp All-Purpose Flour to prevent sticking. Unroll one of the 2 sheets Refrigerated Pie Crust and press it gently into a 9-inch pie dish. I like to crimp the edges slightly now—this helps seal in the filling later.
Use a fork to dock the bottom by poking small holes across the surface. This prevents air bubbles from forming during baking. Trim any excess crust hanging over the edge, leaving about ½ inch for sealing the lattice later.
Step 2: Season and Fill the Pie
Open the 2 cans Pre-Made Apple Pie Filling and pour them into the prepared crust. Spread it out evenly with a spoon. For extra depth, I stir in the 0.5 tsp Ground Cinnamon and 0.25 tsp Salt right into the filling—this balances the sweetness perfectly.
Drizzle the 1 tsp Vanilla Extract over the top of the filling. It might seem small, but it enhances the apple flavor beautifully. Don’t stir after adding the vanilla; let it settle naturally as the pie bakes.
Step 3: Create and Apply the Lattice Top
Unroll the second sheet of Refrigerated Pie Crust and cut it into 1-inch wide strips using a sharp knife or pizza cutter. I find that cutting on the parchment paper it comes with makes this step super easy and mess-free.
Arrange half the strips horizontally across the pie, spacing them about 1 inch apart. Fold back every other strip, then place a vertical strip perpendicular to them. Unfold the folded strips over the vertical strip. Repeat this process, alternating which strips you fold back, until the entire pie is covered.
Step 4: Seal, Glaze, and Bake to Golden Perfection
Press the ends of the lattice strips into the bottom crust edge to seal. Trim any excess. In a small bowl, whisk the 1 whole Large Egg with 1 tablespoon water to create an egg wash. Brush this generously over the entire lattice top and exposed crust edges.
Sprinkle the 2 tbsp Granulated Sugar evenly over the egg wash. This creates that beautiful, glossy, slightly crisp finish. Bake in a preheated 375°F oven for 45-50 minutes, until the crust is deep golden brown and the filling is bubbling through the lattice.
About 15 minutes before it’s done, I brush the crust with the 2 tbsp Unsalted Butter (melted) for extra richness and shine. If the edges start browning too quickly, cover them loosely with foil.
Step 5: Cool and Serve with Style
Let the pie cool on a wire rack for at least 2 hours before slicing. This allows the filling to set properly—cutting too soon will give you a runny mess instead of perfect slices. The lattice should hold its shape beautifully, and the crust will be flaky and golden.
Serve warm slices with a scoop of the 1 cup Vanilla Ice Cream on top. The contrast of the hot, spiced apple filling with the cold, creamy ice cream is what makes this pie truly special. Each serving delivers that classic apple pie experience with a fraction of the effort.
Pro Tips For Making Apple Pie Recipe Made With Pie Filling
- Chill the Crust: Let the refrigerated pie crust sit out for 15 minutes before rolling—it softens just enough to press into the pan without cracking. I learned this the hard way after wrestling with cold, brittle dough.
- Drain the Filling: Strain the pre-made apple pie filling in a colander for 10 minutes to remove excess syrup, or your pie will be soggy. Sounds tedious, but it actually changes the outcome.
- Vent the Top: Cut 4-5 small slits in the top crust before baking, or steam will build up and make the crust gummy. My grandmother swore by this, and she was right.
- Brush with Butter: Melt 1 tablespoon of unsalted butter and brush it over the top crust before baking for a golden, flaky finish. I skip this when I’m lazy, but the pie looks noticeably better when I don’t.
Health Benefits of These Flavors
Fiber-Rich Filling
This dish delivers a solid dose of dietary fiber from the apples—about 4-5 grams per serving—which supports digestive health and keeps you feeling full. The filling retains most of the fruit’s natural fiber since it includes real apple slices, not just syrup. 💪
Vitamin C Boost
Apples provide a natural source of vitamin C, with each serving offering around 10% of your daily needs. While not as high as fresh fruit, the pre-made filling still contributes to your immune-supporting nutrient intake. I appreciate how this classic treat sneaks in some nutritional value.
Low Fat Indulgence
With most of the fat coming from the crust, this dessert remains relatively light at about 8-10 grams of fat per slice. The refrigerated pie crust is lower in saturated fat than many homemade versions, making it a smarter choice for occasional indulgence.
Antioxidant Properties
Apples contain quercetin and other antioxidants that help combat inflammation. Even in canned filling, these compounds remain present. The cinnamon I add boosts this further—just ½ tsp provides measurable antioxidant benefits.
Energy from Natural Sugars
The apples provide natural sugars for quick energy, while the crust’s carbs offer sustained release. A slice contains about 250-300 calories, making it a reasonable portion for a dessert. I find it’s the perfect pick-me-up after a light dinner.
Comfort with Nutritional Perks
While clearly a treat, this creation proves desserts can offer more than just empty calories. The combination of fiber, vitamins, and antioxidants means you can enjoy that warm, spiced apple goodness with a few extra health benefits. 💛
Nutrition Facts
Frequently Asked Questions
Can I use a solid top crust instead of lattice?
Roll out the second crust and place it over the filling. Cut 4-5 slits in the center to allow steam to escape. You’ll get the same great flavor with even less effort.
Why does my crust get soggy on the bottom?
This usually happens when the filling is too wet. Try sprinkling 1 tbsp cornstarch over the bottom crust before adding the filling to absorb excess moisture. Also, ensure your oven is fully preheated to 375°F.
Can I make this ahead of time?
Yes! Bake the pie completely, then let it cool. Store at room temperature for up to 2 days or in the fridge for up to 5 days. Reheat slices in the microwave for 15 seconds.

- BBQ Sausage Recipe Oven: Smoky Depth Without the Grill - September 28, 2026
- BBQ Chicken Bowl Recipe Rice: Smoky Sweetness Over Fluffy Grains - September 28, 2026
- Beef Cutlet Recipe Ideas: Crispy Breaded Patties With Bold Seasonings - September 28, 2026