
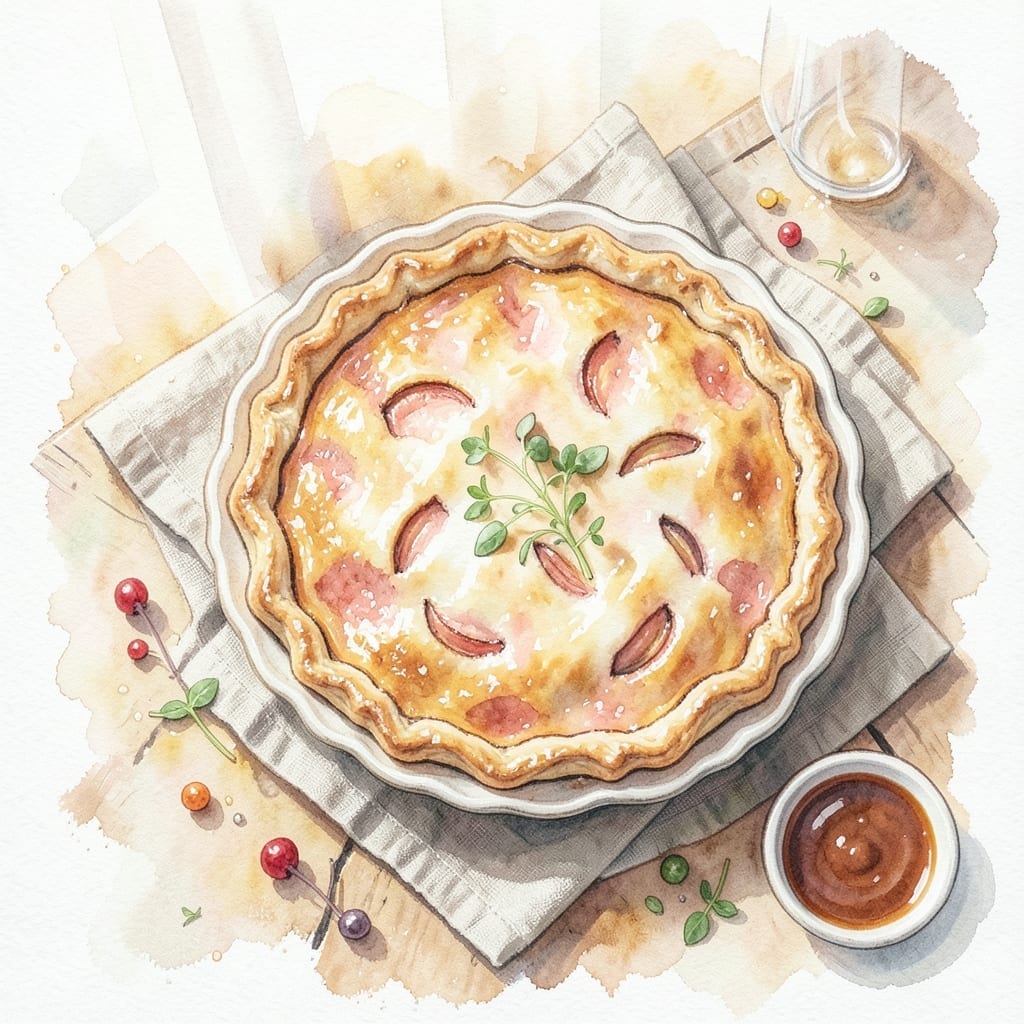
Achieving a perfect apple pie starts with the right oven temperature and timing. After years of testing, I’ve found the ideal balance for a golden, flaky crust and a tender, spiced filling that never turns mushy.
The key is baking at a high initial temperature to set the crust, then reducing the heat to ensure the filling cooks evenly. This method guarantees a crisp, buttery exterior and a warm, fragrant center with every slice.
This recipe delivers a pie that’s as beautiful as it is delicious—no soggy bottoms, no undercooked apples. Just a classic dessert with layers of thinly sliced fruit and a crust that shatters at the touch.
Follow these steps for a pie that impresses every time, with a filling that’s perfectly spiced and a crust that stays crisp from the first bite to the last.
Ingredients for Apple Pie Recipe Oven Temp
Classic ingredients for a timeless dessert with a buttery, flaky crust and spiced apple filling.
| Ingredient | Amount | Notes |
|---|---|---|
| All-Purpose Flour 🌾 | 2 ½ cups | Plus extra for dusting |
| Granulated Sugar 🍚 | ¾ cup | Divided for crust and filling |
| Salt 🧂 | 1 tsp | Fine sea salt preferred |
| Unsalted Butter 🧈 | 1 cup | Cold, cubed for crust |
| Ice Water 💧 | ½ cup | Plus extra as needed |
| Granny Smith Apples 🍏 | 8 whole | Peeled, cored, thinly sliced |
| Brown Sugar 🍯 | ¾ cup | Light or dark variety |
| Ground Cinnamon 🌿 | 1 tbsp | Freshly opened canister |
| Ground Nutmeg 🌰 | ¼ tsp | Freshly grated if possible |
| Lemon Juice 🍋 | 1 tbsp | Freshly squeezed |
| Vanilla Extract 🌿 | 1 tsp | Pure extract recommended |
| Cornstarch 🌽 | 2 tbsp | For thickening filling |
| Large Egg 🥚 | 1 whole | For egg wash on crust |
| Coarse Sugar 🍚 | 1 tbsp | For sprinkling on top |
The flour and butter are the foundation of that perfect flaky crust. King Arthur Flour is my go-to for consistent results, and Plugra or European-style butter gives you that extra richness. Keep everything cold—warm butter means tough crust. For the apples, Granny Smith holds up best to baking, but a mix with Honeycrisp adds sweetness without mush.
No Granny Smith? Use half McIntosh and half Fuji for texture balance. Out of cornstarch? Instant tapioca works at the same amount. The cinnamon should be fresh—if it’s been in your cabinet for years, it’s lost its punch. Penzeys is great for spice quality. The egg wash is optional but gives that golden, professional shine.
The crust dough keeps in the fridge for 2 days, or freeze for 3 months. The filling can be prepped a day ahead—just toss apples with lemon juice to prevent browning. Baked pie stays fresh at room temperature for 2 days, or refrigerate for 5 days.
Why You’ll Love This Recipe
- One Bowl Wonder: I mix the flour, sugar, and cold butter right in the same bowl—no extra dishes, just a flaky crust waiting to happen.
- Buttery Crisp: That unsalted butter and a hot oven give the crust a golden, crackly finish that’s worth every bite.
- Holiday Hero: Between us, this pie steals the show at potlucks and Sunday dinners alike.
- Leftovers? Please: Honestly, it tastes even better the next day—if there’s any left by then.
Step-by-Step Instructions for Apple Pie
Achieve the ideal bake with these tested steps for flaky crust and perfectly spiced filling.
Step 1: Prepare the Pie Crust
In a food processor, pulse the 2.5 cups all-purpose flour with the 1 tsp salt and 0.75 cup granulated sugar until combined. Add the 1 cup unsalted butter (cold and cubed) and pulse until the mixture resembles coarse crumbs with pea-sized butter pieces visible.
With the processor running, slowly add the 0.5 cup ice water through the feed tube, adding just enough for the dough to come together when pinched. Turn the dough out onto a lightly floured surface and divide it into two equal portions. Shape each into a disk, wrap in plastic, and refrigerate for 1 hour.
Step 2: Make the Apple Filling
In a large bowl, combine the 8 whole Granny Smith apples (peeled, cored, and thinly sliced) with the 0.75 cup brown sugar, 1 tbsp ground cinnamon, 0.25 tsp ground nutmeg, 1 tbsp lemon juice, 1 tsp vanilla extract, and 2 tbsp cornstarch. Stir until the apples are evenly coated.
Let the mixture sit for 15 minutes to allow the apples to release some of their juices. This step ensures the filling sets properly during baking and prevents a soggy bottom crust.
Step 3: Assemble and Crimp the Pie
On a lightly floured surface, roll out one disk of dough to a 12-inch circle. Transfer it to a 9-inch pie dish, pressing gently into the bottom and sides. Trim any excess dough, leaving a ½-inch overhang.
Add the apple filling, mounding slightly in the center. Roll out the second disk of dough and place it over the filling. Trim the edges, leaving a ½-inch overhang, then fold the edges under and crimp with a fork or your fingers. Cut 4-5 slits in the top crust to allow steam to escape.
Step 4: Bake to Golden Perfection
Preheat your oven to 375°F. Brush the top crust with the 1 whole large egg (lightly beaten) and sprinkle evenly with the 1 tbsp coarse sugar. Place the pie on a baking sheet to catch any drips.
Bake for 50-60 minutes until the crust is deep golden brown and the filling is bubbling through the slits. If the edges begin to brown too quickly, cover them with aluminum foil or a pie shield. The pie is done when the apples are tender and the crust is crisp.
Step 5: Cool Before Serving
Transfer the pie to a wire rack and let it cool for at least 2 hours before slicing. This cooling period allows the filling to set, making it easier to slice and ensuring each piece holds its shape.
Serve warm or at room temperature. The crust should be flaky and golden, while the filling should be thick, spiced, and perfectly balanced with the tartness of the Granny Smith apples.
Pro Tips For Making Apple Pie Recipe Oven Temp
- Preheat Fully First: I learned this the hard way—crank your oven to 425°F and give it a full 20 minutes to stabilize before the pie goes in. A properly heated oven guarantees that flaky crust from the start.
- Chill the Dough: After mixing your flour, butter, and ice water, let the dough rest in the fridge for at least 30 minutes. This keeps the butter firm so it creates those perfect layers when baked.
- Skip Warm Butter: Resist the urge to soften your unsalted butter first—cold, cubed butter cut into the flour is what gives you that crumbly, flaky texture. Warm butter just makes a tough crust.
- Vent the Top: Cut a few 1-inch slits in the top crust before baking. This lets steam escape and prevents a soggy bottom or a burst seam—sounds simple, but it saves every pie.
Serving Suggestions for This Dish
Warm Serving Style
Serve each slice warm with a scoop of vanilla bean ice cream for the classic à la mode experience. The contrast of hot filling and cold ice cream is irresistible. I use Ben & Jerry’s for its rich texture.
Dessert Wine Pairing
A glass of Moscato d’Asti from Italy complements the pie beautifully with its honeyed, peachy notes. For a non-alcoholic option, sparkling apple cider enhances the apple flavors. 🍷
Whipped Cream Option
Top with homemade whipped cream—whip 1 cup heavy cream with 2 tbsp powdered sugar and ½ tsp vanilla until soft peaks form. Add a sprinkle of cinnamon for extra warmth.
Cheese Pairing
Serve with a slice of sharp aged cheddar like Cabot Vermont for a New England tradition. The salty cheese contrasts wonderfully with the sweet, spiced filling.
Coffee or Tea
A cup of dark roast coffee or Earl Grey tea with a slice of pie makes for a cozy afternoon treat. The bitterness cuts through the sweetness. ☕
Garnish Ideas
Drizzle with caramel sauce or sprinkle with chopped toasted pecans for added texture. A dusting of powdered sugar gives a bakery-style finish.
Nutrition Facts
Frequently Asked Questions
Why start baking at a high temperature?
Starting at 375°F sets the crust quickly, creating that coveted flaky texture. It prevents the bottom from turning soggy while the filling cooks through.
How do I prevent the edges from burning?
If the edges brown too fast, cover them with aluminum foil or use a pie shield after 30 minutes. This protects the crust while the center finishes baking.
Can I bake the pie at a lower temperature for longer?
Yes, but it may result in a less crisp crust. Baking at 350°F for 70-80 minutes works, but monitor closely for even browning.
How do I know when the pie is done?
The crust should be deep golden brown, and the filling should bubble through the vents. The apples will be tender when pierced with a knife.

- BBQ Sausage Recipe Oven: Smoky Depth Without the Grill - September 28, 2026
- BBQ Chicken Bowl Recipe Rice: Smoky Sweetness Over Fluffy Grains - September 28, 2026
- Beef Cutlet Recipe Ideas: Crispy Breaded Patties With Bold Seasonings - September 28, 2026