
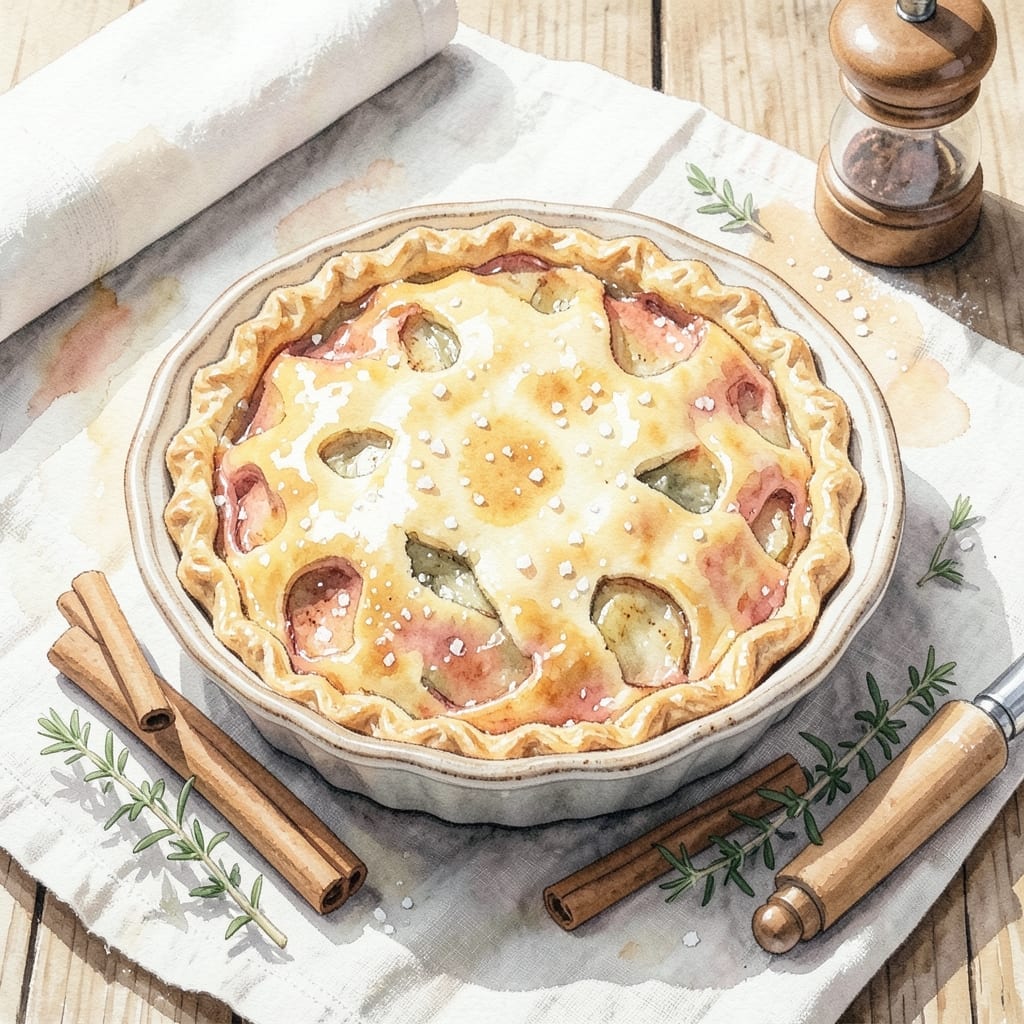
Achieving the perfect apple pie starts with mastering the right oven temperature for that flaky, golden crust. This tried-and-true method ensures your crust bakes evenly without burning, while the filling cooks to tender, spiced perfection.
The key is preheating your oven to the precise temperature that creates steam quickly, which lifts the crust layers. I’ve tested this approach countless times, and it consistently delivers a crisp, buttery crust that shatters with every bite.
You’ll end up with a pie that’s golden on top, tender inside, and filled with juicy apples that hold their shape. The temperature control makes all the difference between a good pie and a showstopper.
Ready to bake with confidence? This recipe guides you through every step for consistent, professional results.
Ingredients for Apple Pie Recipe Temperature
Classic ingredients come together for that golden, buttery crust and perfectly spiced filling you crave.
| Ingredient | Amount | Notes |
|---|---|---|
| All-Purpose Flour 🌾 | 2 ½ cups | Plus extra for dusting surface |
| Unsalted Butter 🧈 | 1 cup | Cold, cubed for flaky layers |
| Granulated Sugar 🍚 | ¼ cup | Plus extra for sprinkling |
| Salt 🧂 | 1 tsp | Fine sea salt preferred |
| Ice Water 💧 | ½ cup | Plus 1 tbsp as needed |
| Granny Smith Apples 🍏 | 8 whole | Peeled, cored, thinly sliced |
| Light Brown Sugar 🟤 | ¾ cup | Packed, for filling sweetness |
| Ground Cinnamon 🌿 | 2 tsp | Fresh for best aroma |
| Ground Nutmeg 🌰 | ¼ tsp | Freshly grated preferred |
| Lemon Juice 🍋 | 1 tbsp | Freshly squeezed to prevent browning |
| Vanilla Extract 🌿 | 1 tsp | Pure extract for depth |
| Unsalted Butter 🧈 | 2 tbsp | For dotting filling |
| Egg 🥚 | 1 whole | For egg wash finish |
The butter is non-negotiable here. European-style butter (like Plugrá or Kerrygold) has higher fat content for superior flakiness. For the apples, Granny Smith holds shape best, but a mix with Honeycrisp adds sweetness. I grab mine from local orchards in fall, but grocery store works fine (just avoid mealy ones). Cold ingredients are key—keep everything chilled until assembly.
No Granny Smith? Jonathan or Braeburn work well. Swap brown sugar for white if needed, but the molasses note in brown adds depth. Fresh lemon juice prevents browning— bottled works in a pinch (just use the same amount). For the crust, vegetable shortening can replace half the butter for extra flake. Skip the egg wash? Milk or cream gives a similar sheen (just brush before baking).
Unbaked pie keeps 2 days in the fridge. Baked pie stays fresh 3-4 days at room temperature, covered. Freeze unassembled pie for up to 3 months—bake from frozen, adding 10-15 minutes. The crust is best the day it’s baked, but the filling tastes even better the next day.
Why You’ll Love This Recipe
- Minimal Ingredients: I love that this only needs flour, butter, sugar, salt, and ice water—no fancy shopping required.
- Buttery Crust: The cold butter and ice water make the flakiest crust I’ve ever baked.
- Weeknight Friendly: I can prep the dough ahead and bake it fresh when guests arrive.
- Budget Savior: Honestly, it’s cheaper than store-bought and tastes ten times better.
Step-by-Step Instructions for Apple Pie
Here’s the method I swear by for achieving that ideal balance of flaky crust and tender filling.
Step 1: Prepare the Pie Crust Dough
In a large bowl, combine the 2.5 cups all-purpose flour, 1 tsp salt, and 0.25 cup granulated sugar. I like to whisk these dry ingredients together first to ensure even distribution. This prevents any pockets of salt or sugar in your finished crust.
Cut in the 1 cup unsalted butter (cold and cubed) using a pastry cutter or your fingers until the mixture resembles coarse crumbs with pea-sized butter pieces visible. Sprinkle in the 0.5 cup ice water, 1 tablespoon at a time, mixing gently with a fork until the dough just comes together. You’ll know it’s ready when it holds its shape when pressed.
Divide the dough into two equal portions, flatten into discs, and wrap in plastic. Chill for at least 1 hour—this resting period allows the gluten to relax and the butter to firm up, which is crucial for that flaky texture we’re after.
Step 2: Prepare the Apple Filling
Peel, core, and thinly slice the 8 whole Granny Smith apples. As you work, toss the slices with 1 tbsp lemon juice to prevent browning. In a large bowl, combine the apples with 0.75 cup light brown sugar, 2 tsp ground cinnamon, and 0.25 tsp ground nutmeg.
Add the 1 tsp vanilla extract and mix gently but thoroughly. The apples should be evenly coated with the sugar-spice mixture. Let the filling sit for 15-20 minutes—this gives the sugar time to draw out some of the apple’s juices, creating a natural syrup that will thicken beautifully during baking.
Step 3: Assemble the Pie
On a lightly floured surface, roll out one disc of dough to a 12-inch circle. Transfer to a 9-inch pie dish, pressing gently into the bottom and up the sides. Trim the edges, leaving a ½-inch overhang. Add the apple filling, mounding slightly in the center.
Dot the filling with the 2 tbsp unsalted butter, cutting it into small pieces for even distribution. Roll out the second disc of dough and place it over the filling. Trim and crimp the edges to seal, then cut several 1-inch slits in the top crust to allow steam to escape.
Whisk the 1 whole egg with 1 tbsp water and brush evenly over the top crust. Sprinkle with a little extra granulated sugar for added crunch and shine. Chill the assembled pie for 30 minutes to firm up the dough before baking.
Step 4: Bake to Golden Perfection
Preheat your oven to 425°F. Place the chilled pie on a baking sheet (to catch any drips) and bake for 40-45 minutes, or until the crust is deep golden brown and the filling is bubbling through the vents.
If the edges begin to brown too quickly, cover them with aluminum foil or a pie shield. The pie is done when the crust is uniformly golden and you can see the juices thickly bubbling in the center. This visual cue is more reliable than timing alone.
Let the pie cool on a wire rack for at least 2 hours before slicing. I know it’s hard to resist, but this resting time allows the filling to set properly. Each slice should hold its shape with a beautiful lattice of flaky crust and tender, spiced apples beneath.
Pro Tips For Making Apple Pie Recipe Temperature
- Chill the Dough: Keep your butter and ice water cold—this prevents the crust from toughening. I learned this the hard way after pulling a rubbery pie out of the oven.
- Preheat Properly: Crank your oven to 425°F (220°C) and give it a full 20 minutes to stabilize. Sounds tedious, but it guarantees an even bake and flaky layers.
- Skip Warm Butter: Resist the urge to soften your butter ahead of time—cold, cubed butter cut into the flour creates pockets that turn into that perfect flaky texture.
- Rest Before Rolling: After mixing your dough, let it rest in the fridge for at least 30 minutes. It relaxes the gluten and makes rolling out so much easier—yes, even if you’re impatient like me.
Best Sauces and Condiments for This apple pie recipe temperature
Classic Vanilla Sauce
I love drizzling warm vanilla sauce over slices—it complements the spiced apples beautifully. Heat 1 cup heavy cream with 2 tbsp sugar and 1 tsp vanilla extract until slightly thickened. Pour lightly over each serving for a creamy contrast to the flaky crust. 💛
Spiced Caramel Drizzle
For extra decadence, make a quick caramel by melting ½ cup brown sugar with 3 tbsp butter until bubbly. Stir in ¼ tsp cinnamon and a pinch of salt, then drizzle over the pie just before serving. The warmth makes the crust even more irresistible.
Whipped Cream Topping
Fresh whipped cream is a must with apple pie. Whip 1 cup cold heavy cream with 2 tbsp powdered sugar and ½ tsp vanilla until soft peaks form. Dollop generously on top for a light, airy finish that balances the rich filling.
Cheddar Cheese Pairing
A sharp cheddar slice alongside your pie might sound unusual, but trust me—it’s a New England classic. The salty tang cuts through the sweetness perfectly. I prefer Cabot Extra Sharp for its bold flavor that stands up to the cinnamon and apples.
Bourbon Glaze
For an adult twist, reduce ½ cup bourbon with ¼ cup maple syrup and 1 tbsp butter until syrupy. Drizzle sparingly over slices. The smoky depth of bourbon enhances the warm spices in the filling.
Ice Cream Scoop
Serve each slice with a scoop of vanilla bean ice cream for a classic à la mode experience. The cold cream against the warm pie creates the perfect contrast. I always use Ben & Jerry’s for its rich, creamy texture.
Nutrition Facts
Frequently Asked Questions
What’s the ideal oven temperature for baking?
Preheat to 425°F for a crisp, golden crust. This high heat creates steam quickly, lifting the crust layers. Bake for 40-45 minutes until deep golden and bubbling.
How do I prevent the crust edges from burning?
If edges brown too fast, cover them with foil or a pie shield. This protects the delicate crust while the filling finishes cooking. Check at 20 minutes for early browning.
Why does the filling bubble through the vents?
The slits allow steam to escape, preventing a soggy crust. Bubbling juices signal the filling is thick and ready. Avoid overfilling to minimize spills.
Can I bake at a lower temperature for longer?
Not recommended. Lower temps won’t create enough steam for flaky layers. Stick to 425°F for the best texture and golden finish.

- BBQ Sausage Recipe Oven: Smoky Depth Without the Grill - September 28, 2026
- BBQ Chicken Bowl Recipe Rice: Smoky Sweetness Over Fluffy Grains - September 28, 2026
- Beef Cutlet Recipe Ideas: Crispy Breaded Patties With Bold Seasonings - September 28, 2026