
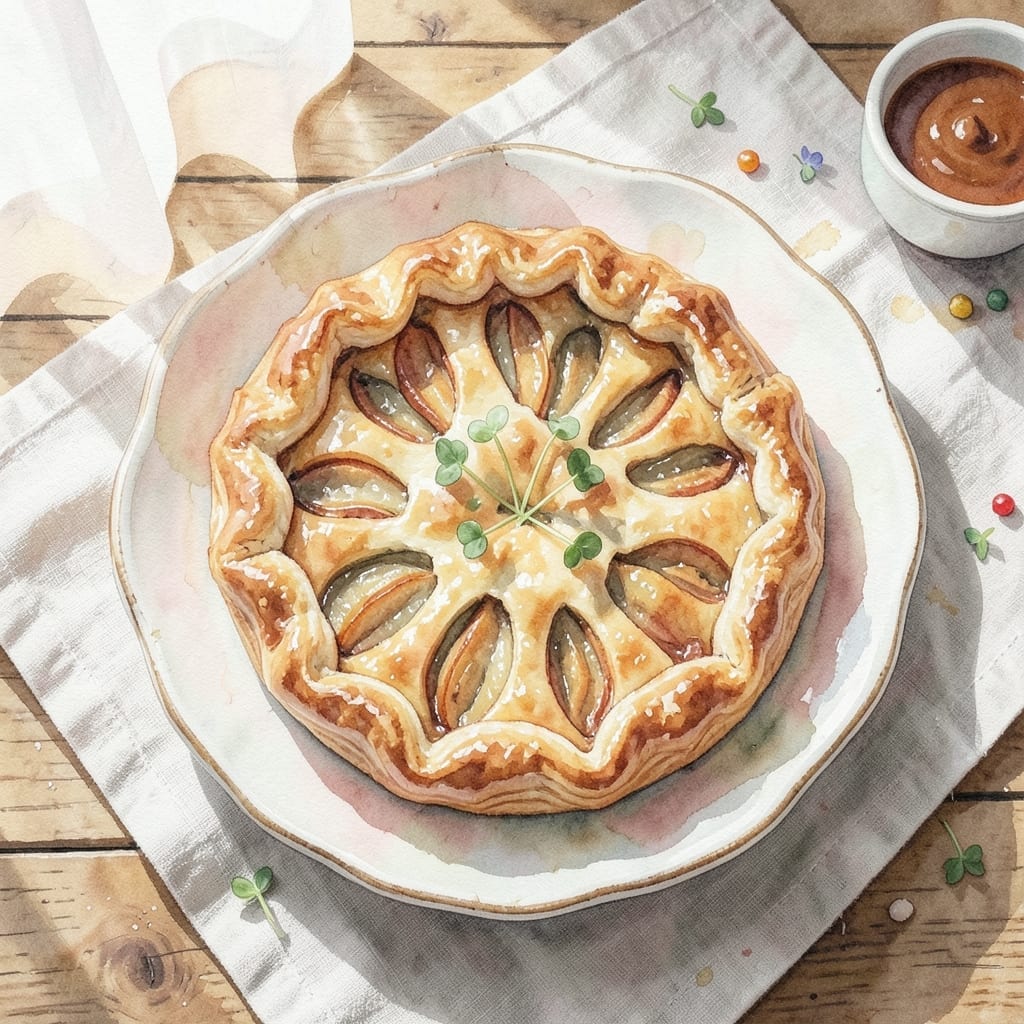
There’s nothing like the aroma of a freshly baked apple pie filling your kitchen. This Thermomix adaptation makes achieving a flaky crust and perfectly spiced filling effortless.
The Thermomix handles the dough and filling prep with precision, ensuring consistent results every time. You’ll love how the appliance simplifies traditional steps without sacrificing quality.
What you’ll get is a golden, buttery crust encasing tender, cinnamon-kissed apples. The filling stays thick and flavorful, never soggy.
Serve warm with a scoop of vanilla ice cream for the ultimate dessert experience.
Ingredients for Apple Pie Recipe Thermomix
Flaky layers and spiced apples come together for the perfect Thermomix dessert here.
| Ingredient | Amount | Notes |
|---|---|---|
| All-Purpose Flour 🌾 | 2 ½ cups | Plus extra for dusting work surface |
| Unsalted Butter 🧈 | 1 cup | Cold, cubed for crust |
| Granulated Sugar 🍚 | ¼ cup | For crust sweetness |
| Ice Water 💧 | ⅓ cup | For dough binding |
| Apples 🍏 | 6 whole | Granny Smith or Honeycrisp preferred |
| Light Brown Sugar 🍚 | ¾ cup | Packed, for filling |
| Ground Cinnamon 🌿 | 2 tsp | For classic apple pie flavor |
| Lemon Juice 🍋 | 1 tbsp | Freshly squeezed for brightness |
| Cornstarch 🌾 | 2 tbsp | For filling thickening |
| Vanilla Extract 💛 | 1 tsp | Pure extract for depth |
| Salt 🧂 | ½ tsp | Divided between crust and filling |
| Large Egg 🥚 | 1 whole | For egg wash finish |
The crust hinges on cold butter—use European-style if possible (higher fat content = better flakiness). King Arthur Flour is my go-to for all-purpose, but any unbleached brand works. For apples, Granny Smith holds shape best, but Honeycrisp adds natural sweetness with less added sugar. Grab them from Whole Foods or your local orchard when in season.
No pie apples? Firm pears work in a pinch (Bosc or Anjou). Swap cornstarch for instant tapioca at a 1:1 ratio. Brown sugar can be coconut sugar for a deeper molasses note. Out of vanilla? Maple syrup at half the amount adds complexity. The egg wash is optional—milk or cream works too for a golden finish.
Dough keeps wrapped in plastic for 2 days in the fridge, or freeze for 3 months. Baked pie stays fresh at room temp for 2 days (cover loosely). Slices reheat beautifully at 350°F for 10 minutes—never microwave, it ruins that flaky texture you worked for.
Why You’ll Love This Recipe
- Hands-Off Mixing: The Thermomix does the heavy lifting—flour, butter, and ice water turn into perfect pastry while I prep the apples.
- Buttery, Spiced Bliss: Unsalted butter in the crust and cinnamon-dusted apples make every bite rich and comforting.
- Sunday Dessert, Tuesday Treat: I serve it warm after roast dinner or pack slices for lunchboxes—it’s a hit either way.
- Leftovers? Unlikely: Honestly, between the five of us, it’s gone in a day, but it reheats beautifully if you manage to save a slice.
Step-by-Step Instructions for Apple Pie with Flaky Crust
Here’s my Thermomix method for achieving that perfect flaky texture with a rich cinnamon-spiced filling.
Step 1: Prepare the Thermomix Pie Crust
Add the 3 cups All-Purpose Flour, 0.25 cup Granulated Sugar, and 1 tsp Salt to your Thermomix bowl. Mix on speed 4 for 5 seconds to combine. This quick pulse ensures even distribution without overworking the flour.
Add the 1 cup Unsalted Butter (chilled and cubed) and mix on speed 5 for 10 seconds until the mixture resembles coarse crumbs. Watch for pea-sized butter pieces—that’s your signal the texture is right. With the blades running on speed 3, slowly pour in the 0.25 cup Ice Water through the lid opening until the dough just comes together.
Step 2: Chill and Roll the Dough
Turn the dough out onto a lightly floured surface dusted with some of the extra All-Purpose Flour. Divide it into two equal portions, flatten into discs, and wrap in plastic. Chill for 1 hour—this rest period relaxes the gluten and prevents shrinking during baking.
On a floured surface, roll one disc into a 12-inch circle. Transfer to a 9-inch pie dish, pressing gently into the bottom and up the sides. Trim the overhang to ½ inch and refrigerate while you roll the second disc for the top crust. The dough should feel firm but pliable, not sticky or elastic.
Step 3: Prepare the Cinnamon-Spiced Apple Filling
Peel, core, and thinly slice the 6 whole Granny Smith Apples. In a large bowl, toss the apples with the 0.75 cup Brown Sugar, 2 tsp Ground Cinnamon, 2 tbsp Lemon Juice, 2 tbsp Cornstarch, and 1 tsp Vanilla Extract. The mixture should look glossy with the apples well coated.
Let the filling sit for 10-15 minutes to allow the apples to release some juices and the cornstarch to begin absorbing them. This prevents a watery filling and ensures each slice holds its shape when served. Stir once more before assembling to redistribute the spices evenly.
Step 4: Assemble and Bake the Pie
Pour the apple filling into the chilled bottom crust, mounding slightly in the center. Place the top crust over the filling and trim the overhang to ½ inch. Fold the top crust edges under the bottom crust and crimp with your fingers or a fork to seal. Cut 4-5 slits in the top crust to allow steam to escape.
Brush the top crust with a beaten 1 whole Large Egg for a golden finish. Bake at 375°F for 50-60 minutes until the crust is golden brown and the filling is bubbling through the slits. If the edges brown too quickly, cover them with foil or a pie shield.
Let the pie cool on a wire rack for at least 2 hours before slicing to allow the filling to set. Serve warm with 1 cup Vanilla Ice Cream for the perfect contrast of temperatures and textures.
Pro Tips For Making Apple Pie Recipe Thermomix
- Chill Your Dough: After the Thermomix combines your flour, butter, and ice water, refrigerate the dough for at least 30 minutes—this prevents shrinking and guarantees a flaky crust.
- Pre-Cook the Apples: Toss your sliced apples with sugar and let them sit for 10 minutes, then drain excess liquid to avoid a soggy pie bottom.
- Avoid Overmixing: In the Thermomix, pulse the dough just until it comes together—overworking it develops gluten, making the crust tough instead of tender.
- Use Cold Butter: Cube your unsalted butter and chill it in the freezer for 15 minutes before adding it to the flour; cold butter creates those coveted flaky layers.
Make-Ahead Tips for This Recipe
Prep Ahead Dough
The pie crust can be made 2 days in advance. After forming the discs, wrap them tightly in plastic wrap and refrigerate. Cold dough is actually easier to roll out when you’re ready to assemble. 💡
Filling Prep
Peel and slice your apples up to 1 day ahead. Toss them with 1 tbsp lemon juice to prevent browning, then store in an airtight container in the fridge. This saves time on baking day.
Assemble and Freeze
You can fully assemble the pie and freeze it unbaked. Wrap tightly in two layers of plastic wrap and foil. It will keep for 2 months. Bake straight from frozen, adding 10-15 minutes to the baking time.
Bake in Advance
A baked pie stays fresh at room temperature for 2 days. Cover loosely with foil to protect the crust. For longer storage, refrigerate for up to 4 days—just warm slices briefly in the oven before serving. ⏰
Reheating Tips
For the best texture, reheat individual slices at 350°F for 8-10 minutes. This revives the flakiness of the crust. Avoid microwaving, as it makes the crust soggy.
Nutrition Facts
Frequently Asked Questions
Can I use a different type of apple?
Yes, Honeycrisp or Braeburn work well too. Granny Smith are ideal for their tartness and firm texture, but sweeter varieties will need less added sugar. Avoid soft apples like Red Delicious.
How do I prevent the bottom crust from getting soggy?
Chill the pie dish before adding dough, and sprinkle 1 tbsp breadcrumbs or 1 tbsp crushed cornflakes on the bottom crust before adding filling. This creates a moisture barrier.
Can I make a lattice top with this Thermomix dough?
Roll the second disc thinly, cut into strips, and weave over the filling. Brush with egg wash and bake as directed. The Thermomix dough handles lattice work beautifully.
What if my filling is too runny?
Add an extra 1 tbsp cornstarch to the filling mixture and let it sit for 5 more minutes before assembling. This helps thicken excess juices.

- BBQ Sausage Recipe Oven: Smoky Depth Without the Grill - September 28, 2026
- BBQ Chicken Bowl Recipe Rice: Smoky Sweetness Over Fluffy Grains - September 28, 2026
- Beef Cutlet Recipe Ideas: Crispy Breaded Patties With Bold Seasonings - September 28, 2026