
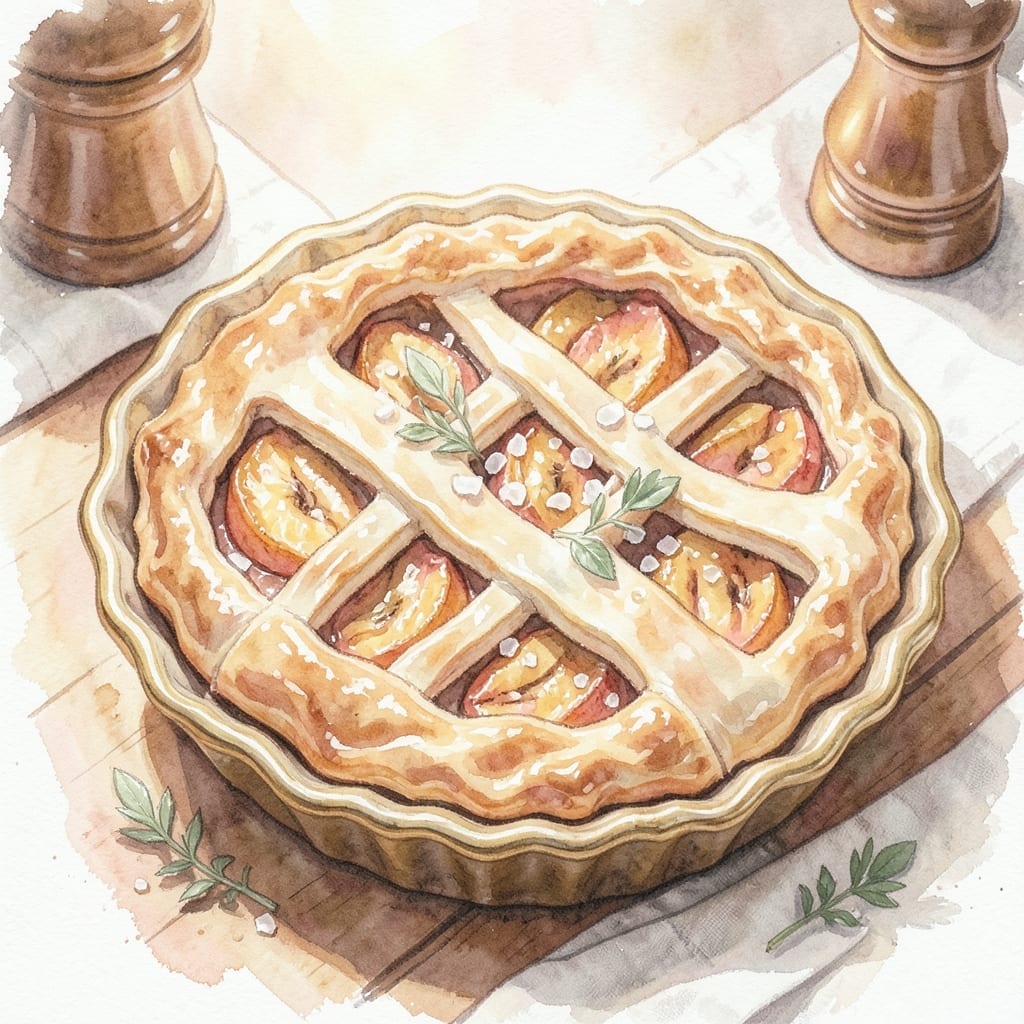
There’s nothing like the aroma of a freshly baked apple pie filling the kitchen. This version showcases Empire apples, whose perfect balance of tart and sweet makes them ideal for baking.
The key to success lies in a flaky crust and properly prepared filling. Empire apples hold their shape well during baking, creating a pie that’s both beautiful and delicious.
You’ll achieve layers of golden pastry encasing tender apple slices with just the right amount of spice. The result is a classic dessert that never fails to impress.
Serve warm with a scoop of vanilla ice cream for the ultimate comfort food experience.
Ingredients for Apple Pie Recipe Using Empire Apples
A few simple ingredients transform into that flaky, spiced apple pie you crave.
| Ingredient | Amount | Notes |
|---|---|---|
| Empire Apples 🍏 | 2 ½ lb | Peeled, cored, thinly sliced |
| All-Purpose Flour 🌾 | 2 ½ cups | Plus extra for dusting |
| Granulated Sugar 🍚 | ¾ cup | Divided for filling and crust |
| Unsalted Butter 🧈 | 1 cup | Cold, cubed for crust |
| Ice Water 💧 | 6 tbsp | For pie dough |
| Ground Cinnamon 🌿 | 1 ½ tsp | For warm spice flavor |
| Ground Nutmeg 🌰 | ¼ tsp | Freshly grated preferred |
| Salt 🧂 | ½ tsp | Divided between crust and filling |
| Lemon Juice 🍋 | 1 tbsp | Freshly squeezed to prevent browning |
| Vanilla Extract 🌿 | 1 tsp | Pure for best flavor |
| Large Egg 🥚 | 1 whole | For egg wash on crust |
| Turbinado Sugar 🍚 | 1 tbsp | For sprinkling on top |
Empire apples are the star here—look for firm, unblemished fruit at farmers markets or well-stocked grocery stores. For the crust, cold butter is non-negotiable (cut into cubes and chill before starting). I swear by King Arthur Flour for consistent results, but any all-purpose works. The cinnamon should be fresh—if it doesn’t smell like Christmas, replace it.
No Empire apples? Granny Smith plus Honeycrisp gets you close to that tart-sweet balance. Out of turbinado sugar? Regular sugar works fine, just lacks the crunch. The egg wash can be swapped for milk or cream if you’re fresh out. For extra flakiness, add 1 tbsp vodka to the dough—it evaporates faster than water, creating more layers.
Assemble the pie, then chill for 30 minutes before baking to prevent shrinking. Leftovers? Cover loosely with foil and leave at room temp for 2 days, or refrigerate for 5 days (warm slices before serving).
Why You’ll Love This Recipe
- One-Bowl Crust: I mix the flour, butter, and ice water right in the same bowl—no extra dishes, and it still turns out flaky every time.
- Empire’s Sweet Secret: These apples bake up tender with just the right tang, so the sugar does its job without overpowering.
- Bakes Like a Dream: From Sunday dessert to a Tuesday treat, it’s my reliable crowd-pleaser that never feels out of place.
- Keeps Well Overnight: Honestly, it tastes even better the next day, and I love that it stays fresh for breakfast or a midnight snack.
Step-by-Step Instructions for Apple Pie Using Empire Apples
Follow this method and you’ll get that flaky crust with a perfectly spiced, tart-sweet apple filling.
Step 1: Prepare the Pie Dough
In a large bowl, cut the 1 cup unsalted butter (cold and cubed) into the 2.5 cups all-purpose flour and ½ tsp salt using a pastry cutter or your fingers. Work quickly so the butter stays cold—this is what creates those flaky layers we’re after.
Once the mixture resembles coarse crumbs with pea-sized butter pieces, sprinkle in the 6 tbsp ice water, 1 tbsp at a time, mixing gently with a fork until the dough just comes together. Don’t overwork it, or the crust will turn tough. Divide the dough into two equal discs, wrap in plastic, and chill for 1 hour.
Step 2: Make the Apple Filling
Peel, core, and thinly slice the 2.5 lb Empire Apples. Toss them immediately with the 1 tbsp lemon juice to prevent browning. In a separate bowl, mix the 0.75 cup granulated sugar, 1.5 tsp ground cinnamon, ¼ tsp ground nutmeg, and the remaining ¼ tsp salt.
Sprinkle this mixture over the apples and add the 1 tsp vanilla extract. Gently fold everything together until the apples are evenly coated. Let the filling sit for 10 minutes while you roll out the dough—this gives the sugar time to start drawing out the apples’ natural juices.
Step 3: Assemble the Pie
On a lightly floured surface, roll out one dough disc into a 12-inch circle. Transfer it to a 9-inch pie dish, pressing gently into the bottom and sides. Trim the edges, leaving a ½-inch overhang. Add the apple filling, mounding it slightly in the center.
Roll out the second dough disc the same way and place it over the filling. Trim and crimp the edges to seal, then cut 4-5 slits in the top crust to allow steam to escape. Brush the top with the large egg beaten with 1 tsp water, then sprinkle with the 1 tbsp turbinado sugar for a crunchy, golden finish.
Step 4: Bake to Perfection
Place the pie on a baking sheet (to catch any drips) and bake in a preheated 375°F oven for 50-60 minutes. You’ll know it’s done when the crust is deep golden brown and the filling is bubbling through the vents.
If the edges start browning too quickly, cover them with a pie shield or foil. Let the pie cool for at least 2 hours before slicing—this gives the filling time to set. Serve warm, and enjoy that flaky, buttery crust with every bite of spiced, tender apples.
Pro Tips For Making Apple Pie Recipe Using Empire Apples
- Chill the Dough: After mixing the flour, butter, and ice water, let the dough rest in the fridge for at least 30 minutes—this prevents shrinking when it bakes and makes it easier to roll out.
- Precook Empire Apples: Empire apples hold their shape well, but tossing them with sugar and letting them sit for 15-20 minutes before baking softens them just enough and draws out excess juice.
- Vent the Top Crust: Cut a few large slits or a lattice pattern in the top crust to let steam escape, or you’ll end up with a soggy bottom and a cracked top.
- Brush with Butter: Right after pulling the pie from the oven, brush the crust with melted unsalted butter for a glossy finish and extra richness.
Pro Cooking Tips for This Dish
Butter Temperature Control
Keep your 1 cup unsalted butter ice cold until the moment you cut it into the flour. I freeze mine for 15 minutes before starting and work quickly to maintain those cold chunks that create flaky layers. 💡
Apple Preparation Tip
Slice your 2.5 lb Empire Apples uniformly at ¼-inch thickness for even cooking. Toss with 1 tbsp lemon juice immediately to prevent browning and enhance that tart-sweet flavor Empire apples are known for.
Chill Before Baking
After assembling your pie, refrigerate it for 30 minutes before putting it in the oven. This prevents the crust from shrinking and helps maintain those beautiful crimped edges we all love.
Baking Position
Place your pie on the lower third rack of your oven. This ensures the bottom crust gets that perfect golden color while the top doesn’t burn during the 50-60 minute bake time.
Steam Venting
Cut 4-5 slits in the top crust to allow steam to escape, but don’t go overboard. Too many vents can cause the filling to dry out. I use a small paring knife for clean, precise cuts.
Cooling Patience
Resist the urge to slice immediately. Let your pie rest for at least 2 hours after baking. This gives the filling time to set properly, making for cleaner slices and better texture. 🔥
Nutrition Facts
Frequently Asked Questions
Why use Empire apples for pie?
Empire apples hold their shape well during baking and offer a perfect balance of tart and sweet. Their firm texture prevents a mushy filling, while their flavor shines through the spices.
Can I make the dough ahead?
Yes! Prepare the dough up to 2 days in advance and refrigerate. Or freeze for up to 3 months—just thaw overnight in the fridge before rolling.
How do I prevent a soggy bottom crust?
Sprinkle 1 tbsp flour in the pie dish before adding the bottom crust. Also, bake on the lower oven rack and let the pie cool fully before slicing.
What if my crust browns too quickly?
Cover the edges with foil or a pie shield after 30 minutes of baking. This protects the crust while allowing the filling to cook through.

- BBQ Sausage Recipe Oven: Smoky Depth Without the Grill - September 28, 2026
- BBQ Chicken Bowl Recipe Rice: Smoky Sweetness Over Fluffy Grains - September 28, 2026
- Beef Cutlet Recipe Ideas: Crispy Breaded Patties With Bold Seasonings - September 28, 2026