
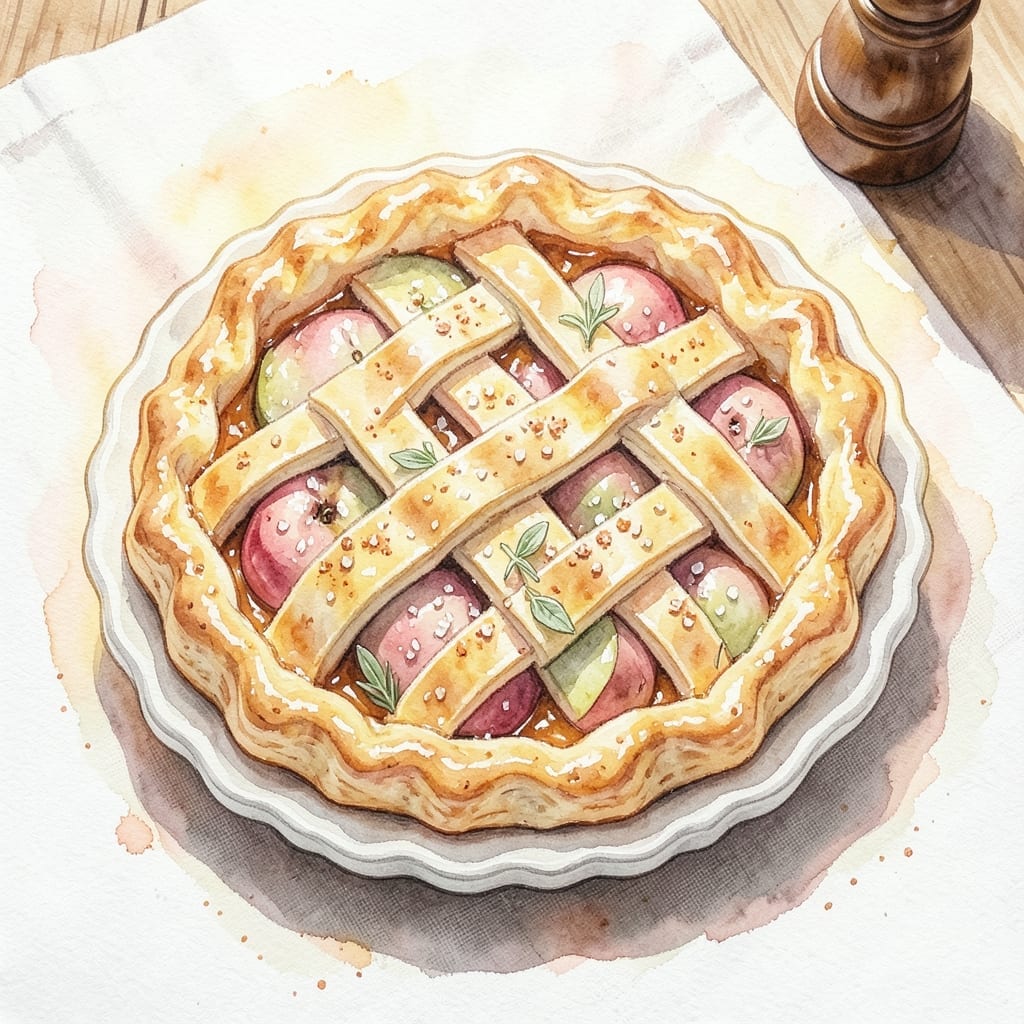
There’s something timeless about a classic apple pie, and this version proves you don’t need homemade pastry to achieve perfect results. Ready-made pastry simplifies the process without sacrificing tradition.
The lattice top creates an impressive presentation while allowing the filling to peek through. This method ensures a golden crust and a filling that’s both tender and flavorful. The secret lies in proper layering and baking techniques.
You’ll end up with a pie that looks and tastes like it came from a bakery. The apples soften into a spiced, syrupy filling, while the pastry turns flaky and crisp. It’s a dessert that never goes out of style.
Serve warm with vanilla ice cream or whipped cream for the complete experience. This recipe makes tradition effortless.
Ingredients for Apple Pie Recipe Using Ready Made Pastry
Ready-made pastry meets fresh apples and warm spices for a timeless dessert.
| Ingredient | Amount | Notes |
|---|---|---|
| Ready-Made Pie Pastry 🥧 | 2 sheets | Thawed if frozen, all-butter preferred |
| Granny Smith Apples 🍏 | 6 whole | Peeled, cored, thinly sliced |
| Honeycrisp Apples 🍎 | 2 whole | Peeled, cored, thinly sliced |
| Granulated Sugar 🍚 | ¾ cup | Plus extra for sprinkling |
| Light Brown Sugar 🟤 | ½ cup | Packed, for depth of flavor |
| Ground Cinnamon 🌿 | 2 tsp | Freshly ground preferred |
| Ground Nutmeg 🌰 | ¼ tsp | Freshly grated for best aroma |
| Salt 🧂 | ¼ tsp | Fine sea salt or kosher |
| Unsalted Butter 🧈 | 2 tbsp | Cold, cubed for dotting |
| All-Purpose Flour 🌾 | 2 tbsp | For thickening the filling |
| Lemon Juice 🍋 | 1 tbsp | Freshly squeezed to prevent browning |
| Vanilla Extract 🌿 | 1 tsp | Pure extract for best flavor |
| Large Egg 🥚 | 1 whole | For egg wash on lattice |
The pastry quality matters more than you think. Pillsbury all-butter sheets are the gold standard for store-bought—flaky layers every time. For the apples, a mix of Granny Smith and Honeycrisp gives you that perfect tart-sweet balance. Avoid pre-sliced apples (they oxidize too fast) and look for firm fruit that holds its shape. Whole Foods often stocks organic varieties with superior texture.
No Granny Smith? Braeburn or Jonagold work well—just adjust sugar down slightly. Swap brown sugar for white if needed, but you’ll lose some caramel notes. The cinnamon is non-negotiable for that classic pie flavor, but allspice or cardamom at half the amount can add complexity. If you’re out of lemon juice, a splash of orange juice works (but adds a slight citrus tang).
Assemble the pie just before baking—prevents soggy crust. Leftovers keep 2-3 days at room temperature (covered) or 1 week refrigerated. Freezes beautifully for up to 3 months. Warm slices briefly in the oven to revive that fresh-baked flakiness.
Why You’ll Love This Recipe
- No Fuss Crust: I just unroll the ready-made pastry and press it in—no mixing, no resting, no stress.
- Sweet-Tart Magic: Granny Smiths keep it sharp while Honeycrisps add that juicy sweetness, and the brown sugar ties it all together.
- Potluck Hero: I’ve brought this to book club, Sunday dinner, and even a weeknight dessert swap. Always disappears first.
- Second Slice Tomorrow: Honestly, it tastes even better the next day—if there’s any left.
Step-by-Step Instructions for Apple Pie with Ready-Made Pastry
This method ensures a flaky crust and perfectly spiced filling with minimal effort.
Step 1: Prepare the Apple Filling
In a large mixing bowl, combine the 6 whole Granny Smith Apples and 2 whole Honeycrisp Apples with 1 tablespoon Lemon Juice. Toss gently to coat—this prevents browning while you work. The mix of tart Granny Smith and sweet Honeycrisp creates balanced flavor complexity.
Add the 0.75 cup Granulated Sugar, 0.5 cup Light Brown Sugar, 2 teaspoons Ground Cinnamon, 0.25 teaspoon Ground Nutmeg, and 0.25 teaspoon Salt. Stir in the 2 tablespoons All-Purpose Flour and 1 teaspoon Vanilla Extract until the apples are evenly coated. The flour thickens the juices as the pie bakes.
Step 2: Assemble the Pie Bottom
Unfold 1 sheet Ready-Made Pie Pastry and press it into a 9-inch pie dish. Trim the edges evenly, leaving a ½-inch overhang—this will crimp with the top crust. Chill the lined dish in the refrigerator while you prepare the lattice, which prevents shrinking during baking.
Transfer the apple mixture to the pastry-lined dish, mounding slightly in the center. Dot the top with 2 tablespoons Unsalted Butter cut into small pieces. The butter melts into the filling, creating pockets of rich flavor throughout the pie.
Step 3: Create and Apply the Lattice Top
Cut the second Ready-Made Pie Pastry sheet into 10-12 strips, each about ¾-inch wide. Arrange half the strips horizontally across the filling, spacing them evenly. Fold back alternating strips and add vertical pieces to weave the lattice pattern. Press the ends into the bottom crust’s overhang.
Crimp the edges with your fingers or a fork to seal completely. This step ensures the filling stays contained and the crust bakes evenly. The lattice design allows steam to escape while showcasing the colorful filling beneath.
Step 4: Bake to Golden Perfection
Preheat oven to 375°F. Whisk the 1 whole Large Egg with 1 tablespoon water and brush evenly over the lattice and crust edges. This egg wash creates a beautiful golden-brown finish and adds subtle sheen.
Sprinkle lightly with Granulated Sugar for extra crunch. Place the pie on a baking sheet to catch drips and bake for 45-50 minutes. The pie is done when the crust is deep golden brown and the filling bubbles visibly through the lattice openings.
Step 5: Cool and Serve
Transfer the pie to a wire rack and let it cool for at least 2 hours. This resting period allows the filling to set completely—cutting too soon results in a runny slice. The internal temperature will equalize, and the flavors will meld into that classic apple pie harmony.
Serve warm with vanilla ice cream or whipped cream. Each slice should reveal distinct apple pieces suspended in a lightly spiced, glossy sauce, all encased in layers of flaky, buttery pastry.
Pro Tips For Making Apple Pie Recipe Using Ready Made Pastry
- Chill the Pastry: Let the ready-made pastry sit in the fridge for 15-20 minutes before rolling it out—this prevents shrinking and makes it easier to handle, especially with store-bought dough that’s often too soft.
- Mix Your Apples: Use both Granny Smith and Honeycrisp apples for the filling; the tartness of Granny Smith balances the sweetness of Honeycrisp, and their textures hold up better than using just one variety.
- Pre-Cook the Filling: Sauté the sliced apples with sugars for 5-7 minutes on the stovetop before baking—this softens them just enough to avoid a gap in the pie when they shrink during baking.
- Vent the Top Well: Cut 4-5 slits in the top crust, not just one or two, to let steam escape; I learned this the hard way after my first few pies burst open in the oven.
Creative Variations of apple pie recipe using ready made pastry
Caramel Apple Twist
Drizzle ½ cup store-bought caramel sauce over the apples before adding the lattice top. This creates a gooey, sweet layer that pairs beautifully with the spiced filling. I use Smucker’s for consistent quality. 🌟
Streusel Topping
Skip the lattice and make a crumble topping instead. Mix ½ cup all-purpose flour, ¼ cup light brown sugar, and ¼ cup cold butter until crumbly. Sprinkle over the filling before baking for a buttery, crisp texture.
Spiced Pear Variation
Replace 2 Honeycrisp apples with 2 ripe Bosc pears for a subtly different flavor. The pears add a delicate sweetness that complements the cinnamon and nutmeg. Slice them thinly like the apples for even baking.
Cheddar Crust Surprise
Sprinkle ½ cup shredded sharp cheddar over the bottom crust before adding the filling. This New England tradition adds a salty contrast to the sweet apples. Use Cabot for the best melt and flavor.
Maple Glaze Finish
After baking, brush the lattice with 2 tbsp warm maple syrup for a glossy, sweet finish. This adds a subtle maple note that enhances the apple and spice flavors. I prefer Grade A dark amber syrup.
Mini Hand Pies
Cut the pastry into 4-inch circles and fill each with ¼ cup apple mixture. Fold, crimp edges, and bake at 375°F for 18-20 minutes. These portable treats are perfect for picnics or lunchboxes. 💫
Nutrition Facts
Frequently Asked Questions
Can I use puff pastry instead?
Yes, but it creates a different texture. Puff pastry is flakier and lighter than traditional pie crust. Bake at the same 375°F but watch closely—it may brown faster.
Why did my pie filling turn out watery?
This usually happens if the apples weren’t tossed with enough flour. Try adding 1 extra tablespoon next time. Also, let the pie cool for the full 2 hours before slicing.
How do I prevent the crust from burning?
Cover the edges with aluminum foil or a pie shield after 30 minutes of baking. This protects the crust while allowing the filling to cook through.
Can I make this ahead of time?
Assemble the pie the night before and refrigerate. Bake as directed, adding 5-10 minutes if needed. Store leftovers at room temperature for 2-3 days.

- BBQ Sausage Recipe Oven: Smoky Depth Without the Grill - September 28, 2026
- BBQ Chicken Bowl Recipe Rice: Smoky Sweetness Over Fluffy Grains - September 28, 2026
- Beef Cutlet Recipe Ideas: Crispy Breaded Patties With Bold Seasonings - September 28, 2026