
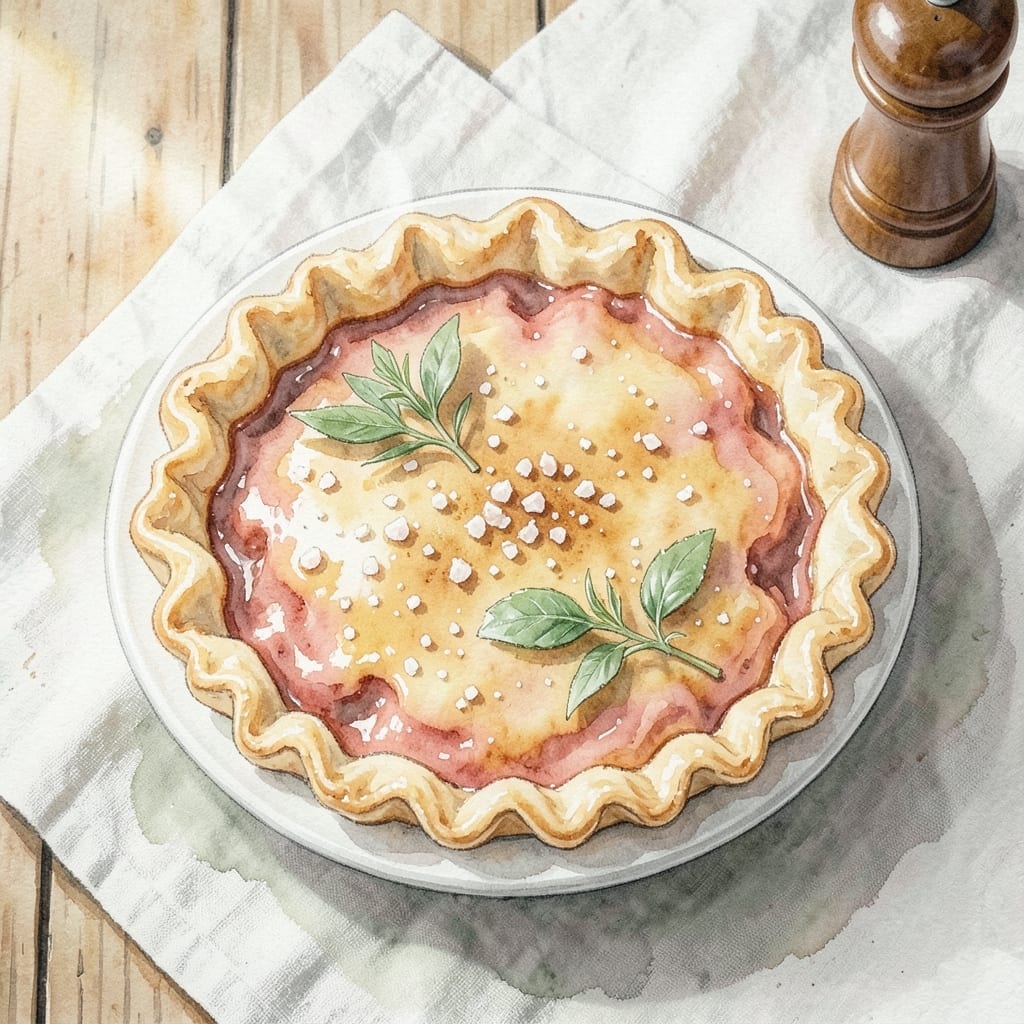
This streamlined approach delivers classic apple pie flavor with minimal effort. Using canned filling and frozen crust cuts prep time dramatically while maintaining that beloved homemade taste.
The lattice top adds visual appeal without the complexity of traditional pie weaving. I’ve tested this method repeatedly to ensure perfectly flaky crust and balanced sweetness every time.
Baking at the right temperature ensures the crust browns beautifully and the filling sets properly. The result is a pie that looks and tastes like it took hours to create.
Serve warm with vanilla ice cream for the full experience. This method proves that shortcuts can still yield impressive results.
Ingredients for Apple Pie Recipe with Canned Filling and Frozen Pie Crust
Minimal ingredients maximize classic apple pie flavor with smart shortcuts.
| Ingredient | Amount | Notes |
|---|---|---|
| Canned Apple Pie Filling 🍎 | 2 cans | 21 oz size each, well-drained |
| Frozen Pie Crust 🥧 | 2 sheets | Thawed according to package |
| All-Purpose Flour 🌾 | 2 tbsp | For dusting work surface |
| Granulated Sugar 🍚 | 1 tbsp | For sprinkling on lattice |
| Ground Cinnamon 🌿 | ½ tsp | Optional for extra warmth |
| Unsalted Butter 🧈 | 1 tbsp | Melted, for brushing crust |
| Large Egg 🥚 | 1 whole | For egg wash if desired |
| Vanilla Ice Cream 🍦 | 1 cup | For serving, optional |
| Lemon Juice 🍋 | 1 tsp | Optional to brighten filling |
| Vanilla Extract 🌿 | ½ tsp | Optional for enhanced flavor |
The frozen pie crust is the foundation here—Pillsbury or Marie Callender’s brands work reliably for that flaky texture. Look for sheets specifically labeled as pie crust (not puff pastry). I always keep a box in my freezer for emergency dessert situations. The canned filling should be 100% apple with no artificial additives for the best flavor and consistency.
No canned filling? Homemade apple pie filling works too (you’ll need about 5 cups). Want to skip the lattice? A simple top crust with vents still looks great. The egg wash is optional but adds a professional shine—brush with milk if you’re out of eggs. For extra crunch, sprinkle coarse sugar (like Sugar in the Raw) instead of granulated.
Assemble the pie just before baking—don’t let the crust sit filled or it’ll get soggy. Baked pie keeps 2-3 days at room temperature (covered). For longer storage, freeze unbaked pie for up to 2 months and bake straight from frozen, adding 10-15 minutes to the time.
Why You’ll Love This Recipe
- No Stress Baking: I just roll out the frozen crust, dump in the canned filling, and let the oven do the rest.
- Cinnamon-Spiced Comfort: That warm cinnamon in the filling pairs perfectly with the buttery crust—pure cozy in every bite.
- Potluck Hero: I bring this to gatherings and always come home with an empty dish and requests for the “recipe.”
- Budget-Friendly Treat: A can of filling and a frozen crust cost less than a takeout dessert, and honestly, it tastes better.
Step-by-Step Instructions for Apple Pie With Canned Filling and Frozen Crust
Master this streamlined technique for bakery-worthy results with store-bought shortcuts.
Step 1: Prepare the Filling and Bottom Crust
Preheat your oven to 425°F. Lightly dust your work surface with all 2 tbsp All-Purpose Flour to prevent sticking. Unfold one sheet of thawed Frozen Pie Crust and roll it out slightly to fit a 9-inch pie dish.
Carefully transfer the crust to the dish, pressing it gently against the bottom and sides. Trim any excess dough hanging over the edge, leaving about ½ inch overhang. Open both cans of Canned Apple Pie Filling, drain well, and spread evenly into the crust. For enhanced flavor, stir in the 1 tsp Lemon Juice and 0.5 tsp Vanilla Extract into the filling before adding to the crust.
Step 2: Create and Apply the Lattice Top
Unfold the second sheet of thawed Frozen Pie Crust on your floured surface. Using a sharp knife or pastry wheel, cut the dough into 10-12 even strips about ¾ inch wide. Arrange half of these strips horizontally across the filling, spacing them evenly.
Fold back every other strip, then place a vertical strip perpendicular to them. Unfold the folded strips over the vertical strip. Repeat this process, alternating which strips you fold back, until the entire pie is covered with a lattice pattern. Trim any excess dough from the edges and crimp the perimeter to seal.
Step 3: Add Finishing Touches and Bake
In a small bowl, whisk the 1 whole Large Egg until smooth. Lightly brush the lattice and crust edges with this egg wash. In a separate small bowl, mix the 1 tbsp Granulated Sugar with the 0.5 tsp Ground Cinnamon, then sprinkle this mixture evenly over the lattice.
Melt the 1 tbsp Unsalted Butter and drizzle it lightly over the lattice for added richness. Place the pie on a baking sheet to catch any drips and bake on the lower oven rack for 35-40 minutes, or until the crust is deep golden brown and the filling is bubbling visibly through the lattice.
Step 4: Cool and Serve
Remove the pie from the oven and transfer it to a wire rack. Allow it to cool for at least 2 hours before slicing—this resting time lets the filling set properly. You’ll notice the juices thicken as it cools, preventing a runny slice.
Serve each portion warm, topped with a scoop of Vanilla Ice Cream if desired. The lattice should maintain its structure, and the crust should be flaky with a rich, golden hue. Each slice should showcase the tender apple filling peeking through the woven top.
Pro Tips For Making Apple Pie Recipe With Canned Filling And Frozen Pie Crust
- Thaw the Crust: Let the frozen pie crust sit at room temperature for 15-20 minutes before unrolling—it prevents cracking and makes it easier to shape. I learned this the hard way after ruining two crusts by rushing.
- Drain the Filling: Pour the canned apple pie filling into a colander for 5 minutes to drain excess syrup, or your pie will be soggy. Sounds weird, but it works.
- Vent the Top: Cut 4-5 small slits in the top crust before baking to let steam escape, or you’ll end up with a lopsided, burst pie. My grandmother swore by this, and she was right.
- Brush with Butter: Melt 1 tablespoon of butter and brush it over the crust before baking for a golden, flaky finish. I skip this when I’m lazy, but the crust is noticeably better when I don’t.
Common Mistakes When Making Great apple pie recipe with canned filling and frozen pie crust
Skipping the Drain
Not draining the Canned Apple Pie Filling properly leads to a soggy bottom crust. I always let it sit in a colander for 5-10 minutes, pressing gently with a spoon to remove excess liquid. This step prevents the dreaded “soup pie” effect. 💡
Overworking the Crust
Thawed Frozen Pie Crust can become tough if handled too much. Unfold it once, press it into the pan, and resist the urge to stretch or re-roll. Warm dough tears easily, so work quickly and confidently.
If the crust cracks while transferring, don’t panic. Just patch it with a small piece of dough—no one will notice after baking.
Lattice Too Tight
Cutting your lattice strips too thin (less than ½ inch) makes them shrink and burn during baking. I aim for ¾ inch strips for even baking and a sturdy weave. Leave 1 inch between strips for the filling to peek through beautifully.
Skipping the Egg Wash
The egg wash isn’t just for shine—it helps the sugar stick and promotes even browning. If you skip it, your lattice may look pale and dull. I also add 1 tbsp water to the egg for a thinner, more even coating.
Baking on Wrong Rack
Always bake on the lower oven rack for the first 25 minutes, then move to the middle rack. This prevents the bottom crust from staying pale while the top burns. A baking sheet underneath catches drips and ensures even heat distribution. 🔥
Nutrition Facts
Frequently Asked Questions
Do I need to thaw the frozen crust first?
Yes, thaw according to package instructions, usually 15-30 minutes at room temperature. Working with cold dough can cause cracking. Keep it chilled until ready to roll out.
Can I use a solid top crust instead of lattice?
Roll out the second crust, place it over the filling, then cut 4-5 slits in the center. Crimp edges to seal and bake as directed. This method is even simpler.
Why did my crust shrink during baking?
This happens when the dough wasn’t properly docked (pricked with a fork) before baking. Always dock the bottom crust and avoid stretching it when fitting into the pan.
How can I make the filling less sweet?
Mix in 1 tsp lemon juice or ½ tsp cinnamon with the drained canned filling. These add complexity and balance the sweetness without altering texture.

- BBQ Chicken Bowl Recipe Rice: Smoky Sweetness Over Fluffy Grains - September 28, 2026
- Beef Cutlet Recipe Ideas: Crispy Breaded Patties With Bold Seasonings - September 28, 2026
- Bluefin Tuna Recipe Ideas: Sushi-Grade Seared and Sesame-Crusted - September 28, 2026