
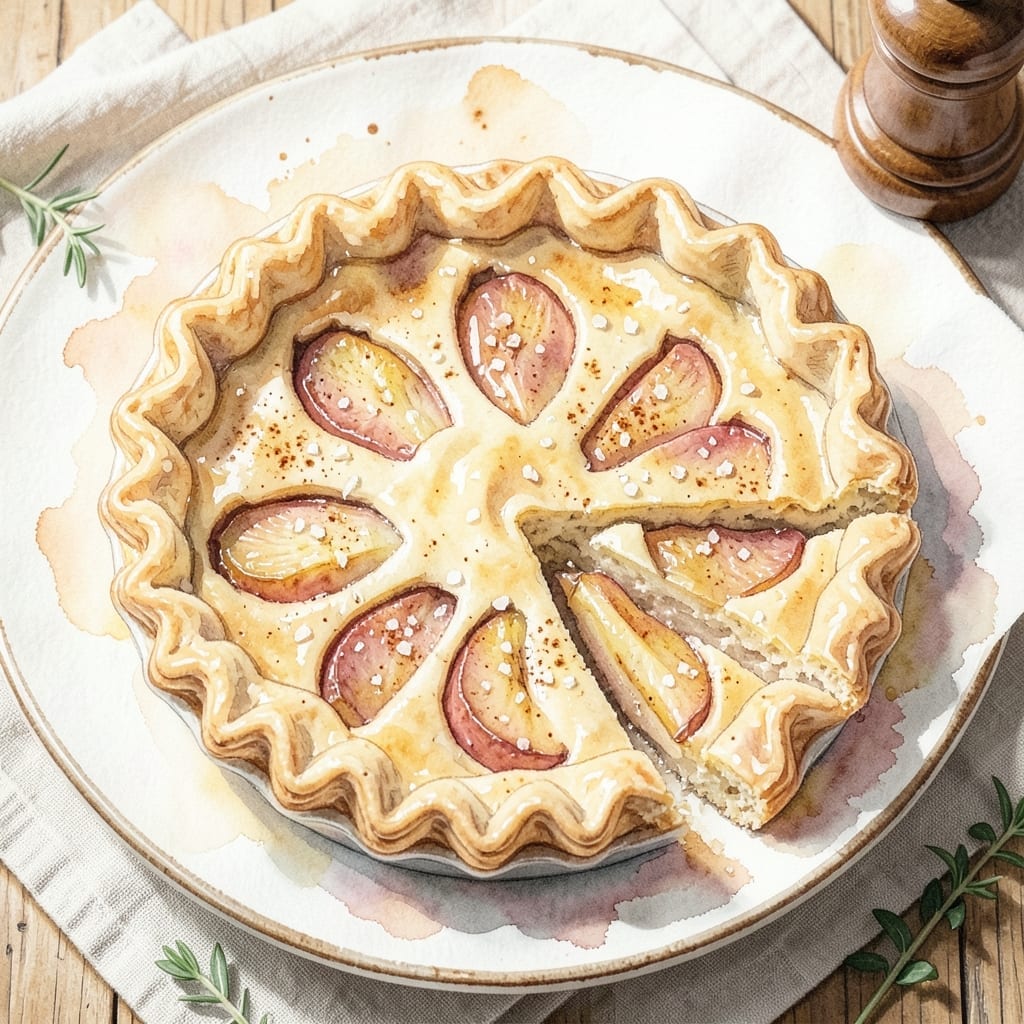
There’s nothing like the aroma of a freshly baked apple pie filling the kitchen, especially when you can skip the crust-making hassle. This approach delivers all the comfort of a homemade apple pie with half the effort.
Using a prepared crust doesn’t mean sacrificing quality. The filling comes together with a simple mix of tender apples, warm spices, and a touch of sugar, creating a perfectly spiced center that’s impossible to resist.
The result is a golden pie with a flaky top and a filling that’s both sweet and subtly tangy. It’s the kind of dessert that feels like a hug in every bite, without the usual time commitment.
Ready in under an hour, this method proves you don’t need to make everything from scratch to enjoy a classic treat.
Ingredients for Apple Pie Recipe with Prepared Crust
A few pantry staples and fresh apples come together for this cozy, spiced dessert.
| Ingredient | Amount | Notes |
|---|---|---|
| Prepared Pie Crust 🥧 | 2 whole | Refrigerated, 9-inch rounds |
| Granny Smith Apples 🍏 | 6 whole | Peeled, cored, sliced thin |
| Honeycrisp Apples 🍎 | 2 whole | Peeled, cored, sliced thin |
| Granulated Sugar 🧂 | ¾ cup | Adjust to taste preference |
| Brown Sugar 🟤 | ½ cup | Light or dark, packed |
| Ground Cinnamon 🌿 | 1 ½ tsp | Freshly opened for potency |
| Ground Nutmeg 🌰 | ¼ tsp | Freshly grated preferred |
| All-Purpose Flour 🌾 | 2 tbsp | For thickening the filling |
| Lemon Juice 🍋 | 1 tbsp | Freshly squeezed for tang |
| Unsalted Butter 🧈 | 2 tbsp | Cubed for dotting filling |
| Vanilla Extract 🌿 | 1 tsp | Pure extract for best flavor |
| Salt 🧂 | ¼ tsp | Balances sweetness perfectly |
| Large Egg 🥚 | 1 whole | For egg wash on crust |
Apples make or break this. Granny Smith keeps its shape while Honeycrisp adds natural sweetness—use both for the best texture. I grab mine from Whole Foods when they’re in season, but any supermarket will do. The prepared crust? Look for Pillsbury in the refrigerated section (the one in the red box). No shame in the shortcut—it bakes up flaky every time.
No Honeycrisp? Jonagold or Braeburn work great. Swap brown sugar for white if that’s what you’ve got. The cinnamon is key—Penzeys if you want to splurge, but store-brand is fine. Need to thicken the filling more? Add an extra tablespoon of flour. Fresh nutmeg is worth it if you have whole nuts and a microplane (trust me on this one).
Assemble the pie right before baking—apples oxidize fast. Leftovers keep 3-4 days at room temp, but it’s best warm. Reheat slices in a 350°F oven for 10 minutes to crisp the crust. The filling actually tastes better the next day once the spices meld (if it lasts that long).
Why You’ll Love This Recipe
- No-Fuss Crust: I skip the rolling pin entirely—just unroll the prepared crust and press it in. Honestly, it saves me a mess and a headache.
- Sweet-Tart Magic: The mix of tart Granny Smith and crisp Honeycrisp apples with both sugars hits that perfect balance. The filling is never cloying, just right.
- Weeknight Hero: I’ve served this after a busy day and at Sunday dinner. Between us, no one complains when dessert is this reliable.
- Stays Fresh: Leftovers (if there are any) taste just as good the next day. I’ll be real: it’s even better slightly warm with a scoop of vanilla ice cream.
Step-by-Step Instructions for Apple Pie With Prepared Crust
This streamlined approach delivers a flaky, golden pie with minimal effort and maximum flavor.
Step 1: Prepare and Season the Apple Filling
In a large bowl, combine the 6 whole Granny Smith Apples and 2 whole Honeycrisp Apples with the 0.75 cup Granulated Sugar, 0.5 cup Brown Sugar, 1.5 tsp Ground Cinnamon, 0.25 tsp Ground Nutmeg, 2 tbsp All-Purpose Flour, 1 tbsp Lemon Juice, 1 tsp Vanilla Extract, and 0.25 tsp Salt.
Toss everything together gently but thoroughly so each slice gets evenly coated. I use my hands for this—it’s the best way to ensure every piece is covered. The apples will start releasing juice almost immediately, which is exactly what you want for a juicy, flavorful filling.
Step 2: Assemble the Pie and dot with Butter
Unroll 1 whole Prepared Pie Crust into a 9-inch pie dish and press it gently into the bottom and up the sides. Trim any excess dough hanging over the edge, leaving about a ½-inch overhang for crimping later.
Pour the apple filling into the crust, mounding it slightly in the center. Cut the 2 tbsp Unsalted Butter into small cubes and dot them evenly over the top of the apples. These little pockets of butter will melt into the filling, adding richness and helping to create a glossy, caramelized sauce as it bakes.
Step 3: Top with Second Crust and Seal
Unroll the second Prepared Pie Crust over the filling. Trim it to match the bottom crust’s overhang, then fold the edges of both crusts together and crimp with your fingers or a fork to seal. I like to use a classic fluted edge for a homemade look, but a simple fork press works just as well.
Cut 4-5 slits in the top crust to allow steam to escape—this prevents the pie from bursting open in the oven. For a golden finish, whisk the 1 whole Large Egg with a splash of water and brush it lightly over the entire top crust. This egg wash gives the pie that beautiful, professional bakery shine.
Step 4: Bake to Golden Perfection
Place the pie on a baking sheet (to catch any drips) and bake in a preheated 375°F oven for 45-50 minutes. You’ll know it’s done when the crust is deep golden brown and the filling is bubbling visibly through the vents.
If the edges begin to brown too quickly, cover them with a pie shield or strips of foil to prevent burning. Let the pie cool for at least 2 hours before slicing—this allows the filling to set properly so you get clean, beautiful slices instead of a runny mess.
Pro Tips For Making Apple Pie Recipe With Prepared Crust
- Par-Bake the Crust: Blind-bake the prepared crust for 8-10 minutes at 375°F before adding filling—I learned this the hard way after too many soggy bottoms ruined my pies.
- Slice Apples Thin: Cut your Granny Smith and Honeycrisp apples into ¼-inch slices so they soften evenly; thicker pieces stay crunchy and undercooked.
- Drain the Juices: After tossing the apples with sugar, let them sit for 15 minutes then drain off the excess liquid to prevent a watery pie.
- Vent the Top: Cut 4-5 small slits in the top crust—sounds simple, but it actually changes the outcome by letting steam escape without bursting the crust.
Dietary Considerations for This apple pie recipe with prepared crust
Gluten-Free Adaptation
For a gluten-free version, swap the prepared crust for Mi-Del gluten-free pie shells or King Arthur gluten-free puff pastry. Both bake up flaky and crisp. Just ensure your work surface and utensils are clean to avoid cross-contamination. 💡
Vegan Modifications
Use vegan pie crust (like Wholly Wholesome) and replace butter with 2 tbsp coconut oil. Swap the egg wash for plant-based milk brushed with a touch of maple syrup for color. The filling remains naturally vegan as-is.
Lower Sugar Option
Reduce the granulated sugar by half and replace brown sugar with ¼ cup coconut sugar. Add 1 tbsp cornstarch to help thicken the filling with less sweetness. The apples’ natural sugars will still shine through beautifully.
Nut-Free Version
This recipe is naturally nut-free, but always check your prepared crust labels. Some brands process their products in facilities with nuts. Pillsbury and Marie Callender’s both offer nut-free options that I trust for my nut-allergic friends.
For extra caution, make your own crust with sunflower oil instead of butter.
Dairy-Free Adjustments
Use a dairy-free prepared crust like Immaculate Baking Co. and replace butter with vegan butter (I like Miyoko’s). The egg wash can be replaced with almond milk for a golden finish. 🌱
Nutrition Facts
Frequently Asked Questions
Can I use a different apple variety?
Yes! Try Jonagold or Braeburn for a sweeter taste. Mixing tart and sweet apples balances the flavor perfectly.
How do I prevent a soggy bottom crust?
Sprinkle 1-2 tbsp flour or breadcrumbs in the crust before adding filling. Baking on the lower oven rack also helps crisp it up.
Can I make this ahead of time?
Bake the pie, let it cool completely, then store at room temperature for 2 days. Reheat at 350°F for 10 minutes before serving.
Why did my filling turn out runny?
This usually means the apples released too much juice. Use an extra 1 tbsp flour next time, and let the pie cool for the full 2 hours to set.

- BBQ Sausage Recipe Oven: Smoky Depth Without the Grill - September 28, 2026
- BBQ Chicken Bowl Recipe Rice: Smoky Sweetness Over Fluffy Grains - September 28, 2026
- Beef Cutlet Recipe Ideas: Crispy Breaded Patties With Bold Seasonings - September 28, 2026