
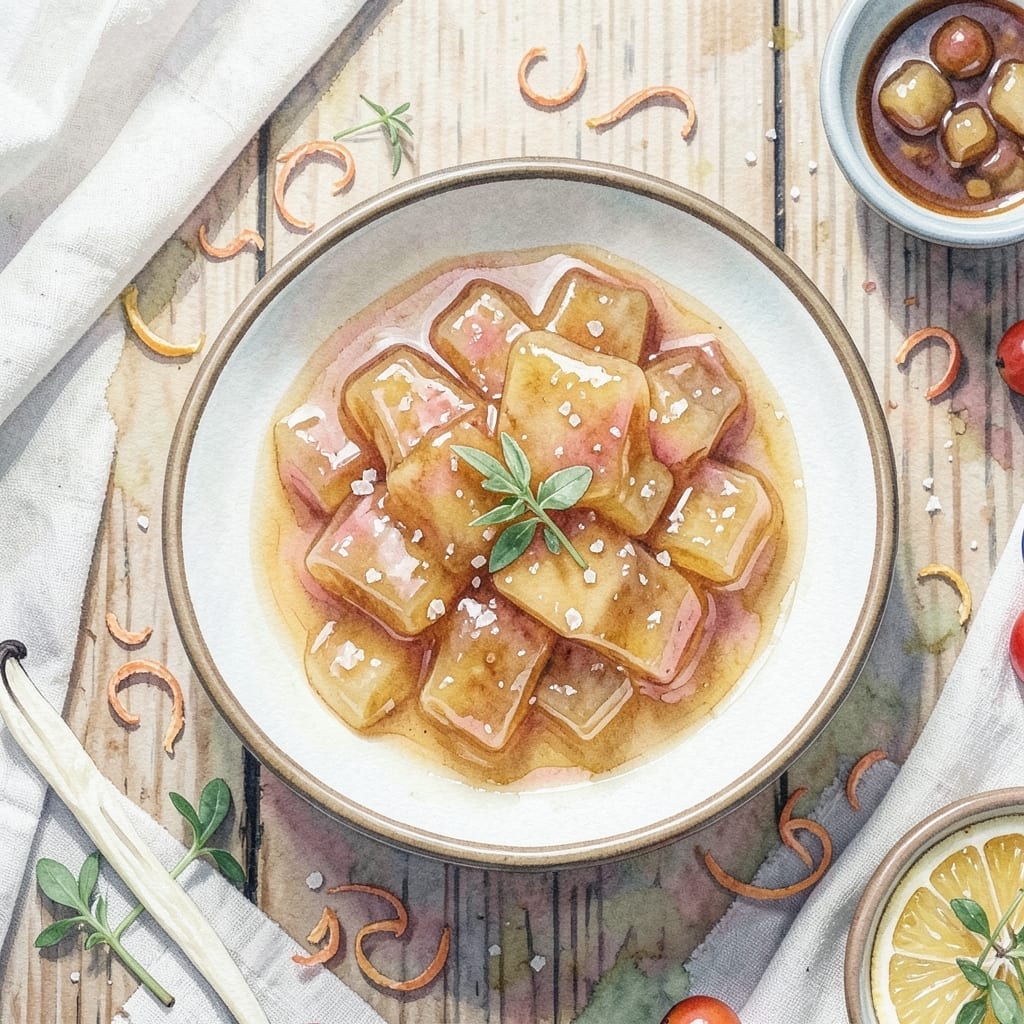
There’s something deeply satisfying about transforming apple peels and cores into golden, spreadable treasure. This method turns kitchen waste into a thick, glossy jelly that captures the essence of fresh orchard fruit without commercial pectin.
The secret lies in natural pectin found in apple skins and cores, combined with precise cooking and testing. By controlling the sugar ratio and boil time, you achieve the perfect set without artificial additives. The result is a clear, vibrant jelly with pure apple flavor.
This recipe yields about 4 half-pint jars of jelly that store beautifully in your pantry. The process requires minimal equipment and delivers professional-quality results every time. No special canning experience needed.
Use this versatile jelly on toast, with cheese boards, or as a glaze for meats. Here’s how to make orchard magic from scraps.
Ingredients for Apple Scrap Jelly Recipe Without Pectin
Transform kitchen scraps into vibrant, pectin-free jelly with these essential components.
| Ingredient | Amount | Notes |
|---|---|---|
| Apple Peels and Cores 🍏 | 4 cups | From about 6-8 medium apples, unwashed |
| Granulated Cane Sugar 🍚 | 3 cups | Organic preferred for clean flavor |
| Water 💧 | 2 cups | Filtered for best clarity |
| Lemon Juice 🍋 | ¼ cup | Freshly squeezed for acidity |
| Lemon Zest 🍋 | 1 tbsp | From 1-2 lemons, finely grated |
| Vanilla Bean 🌿 | 1 whole | Split and scraped, optional for depth |
| Cinnamon Stick 🌿 | 1 whole | Optional for warm spice notes |
| Star Anise Pods ⭐ | 2 pieces | Optional for complex aroma |
The apple scraps are non-negotiable here—organic apples ensure no wax or pesticide residue in your jelly. Collect peels and cores from sweet varieties like Fuji or Gala for the best flavor. The sugar should be fine granulated to dissolve completely during cooking. For the water, filtered avoids any off-flavors that tap water might introduce, especially important for a clear final product.
No lemon juice? White vinegar at half the amount can work in a pinch, though the flavor will be less bright. Skip the vanilla and spices if you prefer pure apple flavor—this is a minimalist jelly after all. The lemon zest is worth including though (it adds a subtle complexity). If your apples are particularly tart, you might reduce sugar by up to 1/4 cup, but don’t go lower or the jelly won’t set properly.
Finished jelly keeps at room temperature for 1 year unopened. Once opened, refrigerate and use within 3 months. The natural pectin means this might soften slightly over time—completely normal. Always sterilize jars properly before filling to prevent spoilage.
Why You’ll Love This Recipe
- No Waste Wonder: I use those apple peels and cores I’d normally toss, so nothing goes to waste.
- Bright and Zesty: The lemon juice and zest give it a tangy kick that balances the sweetness perfectly.
- Pantry Staple: I spread it on toast, swirl it into yogurt, or gift it in little jars—it’s always a hit.
- Budget Friendly: Honestly, it costs almost nothing since I’m using scraps I already have.
Step-by-Step Instructions for Apple Scrap Jelly Without Pectin
Transform apple scraps into a glossy, spreadable jelly using natural pectin from the fruit itself.
Step 1: Simmer Apple Peels and Cores with Aromatics
Combine the 4 cups Apple Peels and Cores with the 2 cups Water in a large pot. Add the 1 tbsp Lemon Zest, 1 whole Cinnamon Stick, and 2 pieces Star Anise Pods to the pot as well.
Bring the mixture to a boil over high heat, then reduce to a gentle simmer. Partially cover the pot and cook for 30-40 minutes, stirring occasionally, until the apple scraps soften completely and the liquid takes on a rich amber hue. The peels will break down significantly during this process, releasing their natural pectin.
Step 2: Strain and Measure the Liquid
Place a fine-mesh sieve over a large bowl and pour the simmered mixture through it. Press down on the solids with a wooden spoon to extract every last drop of liquid, but avoid forcing pulp through the sieve, as this can make the jelly cloudy.
Discard the solids and measure the strained liquid. You should have approximately 3 cups of infused liquid. If you have slightly less, add enough water to reach 3 cups. This precise measurement ensures the proper sugar-to-liquid ratio for successful gel formation.
Step 3: Incorporate Sugar and Acid
Return the 3 cups of strained liquid to the pot. Stir in the 3 cups Granulated Cane Sugar until completely dissolved. The mixture will look quite thin at this stage, but the sugar will help thicken it as it cooks.
Add the 0.25 cup Lemon Juice and stir to combine. The acidity from the lemon juice is crucial for both flavor and gel formation. If using the 1 whole Vanilla Bean, split it lengthwise, scrape out the seeds, and add both seeds and pod to the pot at this point.
Step 4: Cook to the Jelling Point
Bring the mixture to a rolling boil over high heat. Once boiling, reduce the heat to maintain a vigorous but controlled boil. Cook, stirring frequently, for 25-35 minutes until the mixture thickens significantly.
To test for doneness, place a small spoonful on a chilled plate and let it sit for 30 seconds. Push the edge with your finger—if it wrinkles and holds its shape, it’s ready. If it runs, continue cooking and test again in 5 minutes. The jelly should register 220°F on a candy thermometer when properly set.
Step 5: Jar and Cool Completely
Remove the pot from heat and skim off any foam that has formed on the surface using a metal spoon. Carefully pour the hot jelly into clean, sterilized jars, leaving ¼-inch headspace at the top.
Let the jars cool to room temperature without disturbing them. As they cool, the jelly will continue to set. Once completely cool, seal the jars with lids. The jelly will fully set after 4-6 hours at room temperature, developing its final glossy texture and perfect spreadability.
Pro Tips For Making Apple Scrap Jelly Recipe Without Pectin
- Simmer Low and Slow: Keep the heat at a gentle simmer—boiling too hard breaks down the pectin in the peels and cores, leaving you with runny jelly. I learned this the hard way after ending up with apple-flavored syrup.
- Use Organic Apples: Non-organic apple peels often carry wax or pesticides that can affect the jelly’s flavor and texture. After switching, my jelly tastes cleaner and sets better.
- Strain Overnight: Resist the urge to rush—let the strained liquid drip through a cheesecloth-lined colander for at least 8 hours. Skipping this leaves pulp in your jelly, and nobody wants that.
- Add Lemon Zest: Sounds weird, but it works: the zest adds natural pectin and brightens the flavor. My grandmother swore by this, and she was right.
Make-Ahead Tips for This Recipe
Prep Apple Scraps
Start collecting peels and cores in an airtight container in your freezer. I keep a dedicated gallon bag for this purpose. You’ll need 4 cups total, which comes from about 6-8 medium apples. Freezing doesn’t affect the natural pectin content, so you can accumulate scraps over weeks. 💡
Infuse Flavor Early
For maximum flavor, let your apple scraps soak in the 2 cups water with lemon zest and spices overnight in the fridge. This cold infusion extracts more aroma from the cinnamon stick and star anise before cooking begins. I notice a depth difference when I do this extra step.
Sterilize Jars Ahead
While your jelly cooks, sterilize jars by boiling them for 10 minutes in a water bath. I use a Ball canning rack to prevent clinking. Keep jars hot in the water until ready to fill. This prevents thermal shock when adding hot jelly. You can also run them through a dishwasher cycle on the hottest setting.
Test for Doneness
Have a chilled plate ready in the freezer before you start cooking. The plate test is more reliable than timing alone. I keep 2 plates chilled so I can test multiple times without waiting. Remember that the jelly will thicken more as it cools completely in the jars.
Label While Hot
As soon as you fill your jars, place the lids on and label them with the date. I use masking tape and permanent marker for this. The heat from the jelly helps create a strong seal. Don’t tighten the lids too much—finger-tight is perfect to allow air to escape during cooling.
Store Properly
Let jars cool undisturbed for 12-24 hours before moving them. Once fully cooled, check the seal by pressing the center of the lid—it shouldn’t pop. Store in a cool, dark place. The jelly will keep at room temperature for up to 1 year if properly sealed. 🍏
Nutrition Facts
Frequently Asked Questions
Why does this jelly set without added pectin?
Apple peels and cores contain high natural pectin levels. The long simmer extracts this, while sugar and acid create the perfect gel. No commercial pectin needed for a firm set.
Can I use different apple varieties?
Sweet varieties like Fuji or Gala work best for flavor. Tart apples may require extra sugar. Always use organic to avoid wax or pesticide residue in your jelly.
How do I fix jelly that didn’t set?
Reheat the jelly with 1-2 tbsp lemon juice and boil for 5-10 minutes more. Test again on a chilled plate. If still loose, add 1/4 cup sugar and cook until thick.
How long does this jelly last?
Properly canned jelly keeps at room temperature for 1 year. Once opened, refrigerate and use within 3 months. Natural pectin may soften slightly over time.

- BBQ Sausage Recipe Oven: Smoky Depth Without the Grill - September 28, 2026
- BBQ Chicken Bowl Recipe Rice: Smoky Sweetness Over Fluffy Grains - September 28, 2026
- Beef Cutlet Recipe Ideas: Crispy Breaded Patties With Bold Seasonings - September 28, 2026