
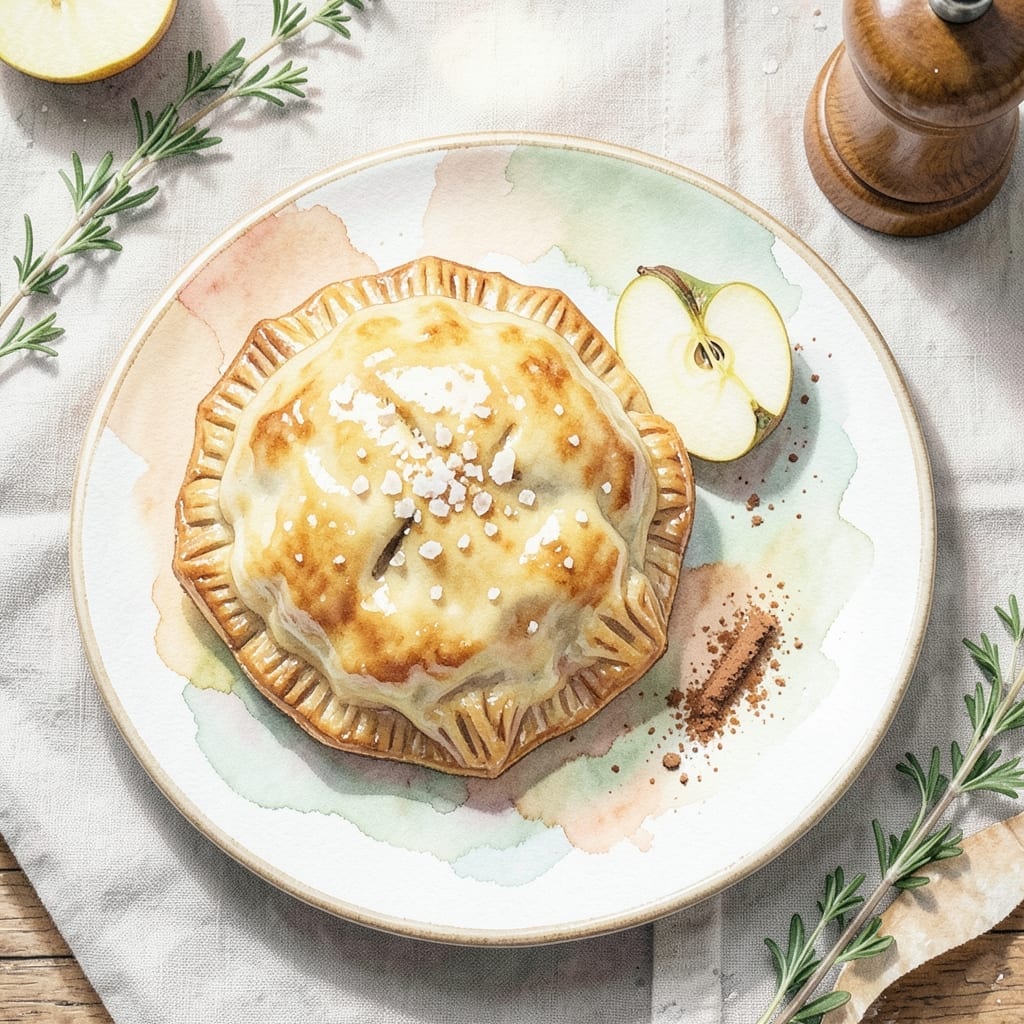
There’s nothing like the aroma of cinnamon-spiced apples baking inside golden, flaky pastry. This recipe transforms fresh apples into a handheld dessert that’s crisp on the outside and tender within.
I’ve refined the technique to ensure the pastry stays flaky while the filling remains juicy yet thick enough to avoid sogginess. The key is properly sealing the edges and using cold butter in the dough.
Each turnover delivers warm, spiced apple filling wrapped in layers of buttery pastry. The result is a dessert that looks and tastes like it came from a professional bakery.
Serve warm with a dusting of powdered sugar or a scoop of vanilla ice cream. Here’s how to make them perfectly every time.
Ingredients for Apple Turnover Recipe with Fresh Apples
Flaky pastry meets spiced apples in this bakery-worthy handheld dessert.
| Ingredient | Amount | Notes |
|---|---|---|
| Puff Pastry Sheets 🥮 | 1 package | Thawed but kept cold |
| Granny Smith Apples 🍏 | 4 whole | Peeled, cored, diced |
| Granulated Sugar 🍚 | ½ cup | Plus extra for sprinkling |
| Brown Sugar 🟤 | ¼ cup | Light or dark variety |
| Ground Cinnamon 🌿 | 1 ½ tsp | Fresh for best flavor |
| Unsalted Butter 🧈 | 2 tbsp | Cold, cubed for filling |
| Cornstarch 🌾 | 1 tbsp | For thickening filling |
| Lemon Juice 🍋 | 1 tbsp | Freshly squeezed preferred |
| Vanilla Extract 🌿 | 1 tsp | Pure extract recommended |
| Large Egg 🥚 | 1 whole | For egg wash |
| Powdered Sugar 🍚 | 2 tbsp | For dusting finished turnovers |
| Salt 🧂 | ¼ tsp | Balances sweetness |
The puff pastry is non-negotiable here. Pepperidge Farm is the gold standard—look for the all-butter version if you want maximum flakiness. Keep it cold until the last minute (that’s what creates those layers). Granny Smiths hold their shape best, but Honeycrisp or Braeburn work too if you prefer a sweeter filling. Whole Foods usually has good organic options with vibrant color.
No Granny Smiths? Firm pears can sub in a pinch with the same spices. Out of cornstarch? Instant tapioca at half the amount thickens just as well. Butter can be replaced with coconut oil if needed, but you’ll lose some of that rich flavor. The vanilla? Don’t skip it—it rounds out all those warm spices beautifully (and a splash of bourbon works too, if you’re feeling fancy).
Assemble just before baking—filled pastry gets soggy fast. Leftovers keep 2 days at room temperature in an airtight container, though they’re best eaten same-day. Reheat in a 350°F oven for 5-10 minutes to crisp the pastry.
Why You’ll Love This Recipe
- No-Fuss Assembly: I just layer puff pastry with thinly sliced Granny Smiths, sprinkle the cinnamon sugar mix, fold, and bake—no fancy techniques needed.
- Sweet-Tart Magic: That first bite of flaky pastry with warm, spiced apples and a caramelized brown sugar edge? Ridiculously good.
- Crowd-Pleasing Treat: I bring these to potlucks and they disappear before the main dish. Even my picky nephew asks for seconds.
- Budget-Friendly Batch: One box of puff pastry and a few apples makes a dozen turnovers. Honestly, it’s my go-to when I need to feed a group without breaking the bank.
Step-by-Step Instructions for Apple Turnovers With Fresh Apples
This method ensures flaky layers and perfectly spiced filling every time.
Step 1: Prepare the Cinnamon-Apple Filling
In a large bowl, toss the 4 whole Granny Smith Apples with 1 tablespoon Lemon Juice to prevent browning. This step preserves the vibrant color of your fruit while you work.
Add 0.5 cup Granulated Sugar, 0.25 cup Brown Sugar, 1.5 tsp Ground Cinnamon, 1 tbsp Cornstarch, and 0.25 tsp Salt. Stir until the apples are evenly coated. The cornstarch will thicken the natural juices into a luscious filling as it bakes. Fold in 2 tbsp Unsalted Butter and 1 tsp Vanilla Extract for richness.
Step 2: Roll and Cut the Puff Pastry
Unfold the 1 package Puff Pastry Sheets on a lightly floured surface while still cold. Use a rolling pin to gently smooth the seams, then cut each sheet into 4 equal squares. Keep the pastry chilled until ready to use—warm pastry loses its flakiness.
Place about ¼ cup of the apple filling in the center of each square, leaving a ½-inch border around the edges. Avoid overfilling, or the turnovers may burst during baking. The filling should mound slightly but not spill over when folded.
Step 3: Assemble and Seal the Turnovers
Lightly beat the 1 whole Large Egg with 1 tablespoon water to create an egg wash. Brush the edges of each pastry square with the mixture, then fold one corner over the filling to form a triangle. Press the edges firmly with a fork to seal, creating a decorative crimped pattern.
Transfer the assembled turnovers to a parchment-lined baking sheet. Brush the tops with the remaining egg wash and sprinkle with a pinch of Granulated Sugar for extra crunch. Chill for 15 minutes to relax the pastry and prevent shrinking.
Step 4: Bake to Golden Perfection
Preheat your oven to 400°F. Bake the turnovers for 20-25 minutes, rotating the pan halfway through, until the pastry is deep golden brown and puffed. The high heat ensures maximum flakiness while fully cooking the apples inside.
Look for a deep amber color on the bottoms as well—this guarantees a crisp base. If the tops brown too quickly, tent the pan with foil for the remaining time. The filling should be bubbling slightly at the seams when done.
Step 5: Cool and Finish
Transfer the turnovers to a wire rack and let them cool for 10 minutes. This allows the filling to set slightly so it doesn’t spill out when served. Dust with 2 tbsp Powdered Sugar while still warm for a professional finish.
Serve warm for the best texture contrast—the flaky pastry will shatter at the touch while the apples remain tender and fragrant. The cinnamon aroma should be noticeable with each bite, balanced by the buttery layers of pastry.
Pro Tips For Making Apple Turnover Recipe With Fresh Apples
- Chill the Pastry: Keep the puff pastry cold until ready to use—warm dough gets sticky and loses its flaky layers. I learned this the hard way after my first few turnovers turned into dense, chewy lumps.
- Precook the Apples: Sauté the diced Granny Smith apples with the sugars and cinnamon for 5-7 minutes to soften them. This prevents soggy pastry and guarantees the filling is tender, not crunchy, after baking.
- Seal the Edges: Press the pastry edges together firmly with a fork to lock in the filling. After burning three batches, I finally figured out that a loose seal means apple mixture leaking everywhere.
- Egg Wash Last: Brush the turnovers with egg wash just before baking, not earlier—it dries out and won’t give that golden, glossy finish. Sounds weird, but it works.
Serving Suggestions for This Dish
Warm Serving Ideas
I love serving these straight from the oven with a dusting of powdered sugar—it melts slightly into the layers. Pair with a scoop of vanilla bean ice cream for contrast between the warm pastry and cold cream. The ice cream softens beautifully against the hot filling. 💛
Beverage Pairings
Hot chai tea or spiced apple cider complements the cinnamon notes perfectly. For a dessert wine, try a glass of Moscato d’Asti—its light sweetness and effervescence cut through the buttery richness.
Breakfast Twist
These work wonderfully as a morning treat. Serve with Greek yogurt and a drizzle of honey for protein balance. The tartness of yogurt offsets the sweetness beautifully.
Plated Presentation
For company, arrange on a slate board with fresh mint leaves and a sprinkle of cinnamon sugar. The green pops against the golden pastry. Add a side of warm caramel sauce for dipping. ✨
Stack two turnovers slightly offset with a dusting of powdered sugar between layers for height. This creates a bakery-style display that always impresses guests.
Nutrition Facts
Frequently Asked Questions
Can I use a different type of apple?
Yes! While Granny Smiths hold their shape best, Honeycrisp or Braeburn work too. Just avoid overly soft varieties like Red Delicious—they can turn mushy during baking.
Why did my turnovers turn out soggy?
This usually happens from overfilling or not sealing the edges tightly. Use exactly ¼ cup filling per square and press edges firmly with a fork. Chilling before baking also helps prevent sogginess.
Can I make these ahead of time?
Assemble just before baking for best results. However, you can prep the filling 1 day ahead and store it in the fridge. Leftovers keep 2 days in an airtight container.

- BBQ Sausage Recipe Oven: Smoky Depth Without the Grill - September 28, 2026
- BBQ Chicken Bowl Recipe Rice: Smoky Sweetness Over Fluffy Grains - September 28, 2026
- Beef Cutlet Recipe Ideas: Crispy Breaded Patties With Bold Seasonings - September 28, 2026