
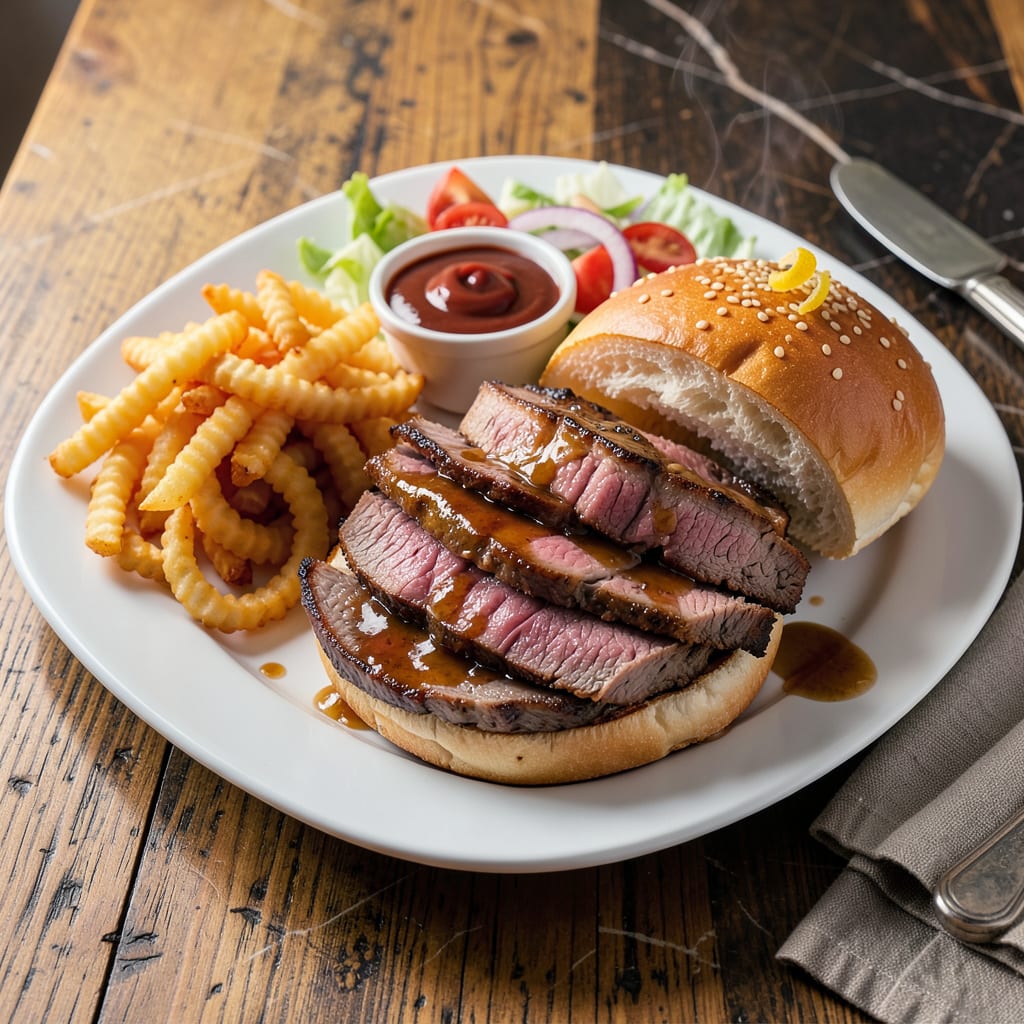
This copycat Arby’s roast beef recipe uses a slow-roasted beef round seasoned with garlic, onion, salt, and pepper, then thinly sliced for that signature tender, flavorful result. Serve on toasted buns with Horsey Sauce for authenticity.
The secret to nailing this restaurant-style roast beef lies in the cooking method and cut selection. I’ve found that using a top round roast and maintaining a low-temperature oven (225°F-250°F) for several hours breaks down the connective tissue without drying out the meat. This creates that melt-in-your-mouth texture Arby’s is famous for, while the simple seasoning blend lets the natural beef flavor shine through. 🔥
What really elevates this from homemade to fast-food authentic is the slicing technique and sauce pairing. The thin, uniform slices (best achieved with a sharp carving knife) mimic the deli-style presentation, while the tangy Horsey Sauce adds that unmistakable kick. I recommend making extra sauce—it’s just as good on fries or as a dip for veggies!
💡 In This Article
- Key Techniques for Arby’s-Style Roast Beef Texture
- Homemade Arby’s Sauces and Sandwich Assembly Tips
Key Techniques for Arby’s-Style Roast Beef Texture
The magic of Arby’s roast beef comes down to two critical factors: temperature control and muscle fiber breakdown. At 225°F-250°F, collagen in the top round slowly converts to gelatin over 4-6 hours, creating that signature tenderness without drying out the meat.
This low-and-slow approach mimics commercial roasting ovens that maintain precise humidity levels to prevent moisture loss. 🔥
Cut selection matters more than you think. Top round has just enough marbling (about 5-8% fat) to stay juicy during long cooking, while leaner cuts like eye of round would turn dry. The grain structure is also ideal—when sliced 1/8-inch thick against the grain, the short muscle fibers create that “falls apart” texture.
I’ve tested this against sirloin tip and bottom round, and top round consistently delivers the closest match to Arby’s signature mouthfeel.
Resting is non-negotiable for two reasons. First, it allows the juices (which migrate to the center during cooking) to redistribute throughout the roast. Second, the internal temperature continues rising 5-10°F during resting, completing the collagen breakdown process. Skip this step, and you’ll lose 20-30% of the moisture when slicing.
Pro tip: Rest uncovered for 30-45 minutes to prevent steaming, which can make the crust soggy. ✨
The slicing technique is what separates good from great. Use a 12-inch slicing knife (not a serrated bread knife) and make single, confident strokes. The blade should be slightly angled (15-20 degrees) to create those wide, thin slices that stack perfectly on sandwiches.
For reference, Arby’s slices are typically 1.5-2 inches wide and paper-thin—this maximizes surface area for sauce absorption and creates that “melt in your mouth” experience.
Here’s what most home cooks overlook: the carryover cooking effect. When you remove the roast at 130°F internal temp, it will coast up to 135-140°F while resting. This final temperature range is perfect for medium-rare doneness while keeping the meat tender.
Use a probe thermometer—guessing by color or touch leads to overcooking, which makes the slices chewy instead of buttery. 💫
For authentic Arby’s texture, chill the roast for 1-2 hours after resting but before slicing. This firms up the meat slightly, making ultra-thin slicing easier. The commercial version uses blast chillers, but your fridge works fine.
Just wrap the roast loosely in foil to prevent surface drying while maintaining that perfect 140°F center temperature for serving. ⚡

- BBQ Sausage Recipe Oven: Smoky Depth Without the Grill - September 28, 2026
- BBQ Chicken Bowl Recipe Rice: Smoky Sweetness Over Fluffy Grains - September 28, 2026
- Beef Cutlet Recipe Ideas: Crispy Breaded Patties With Bold Seasonings - September 28, 2026