
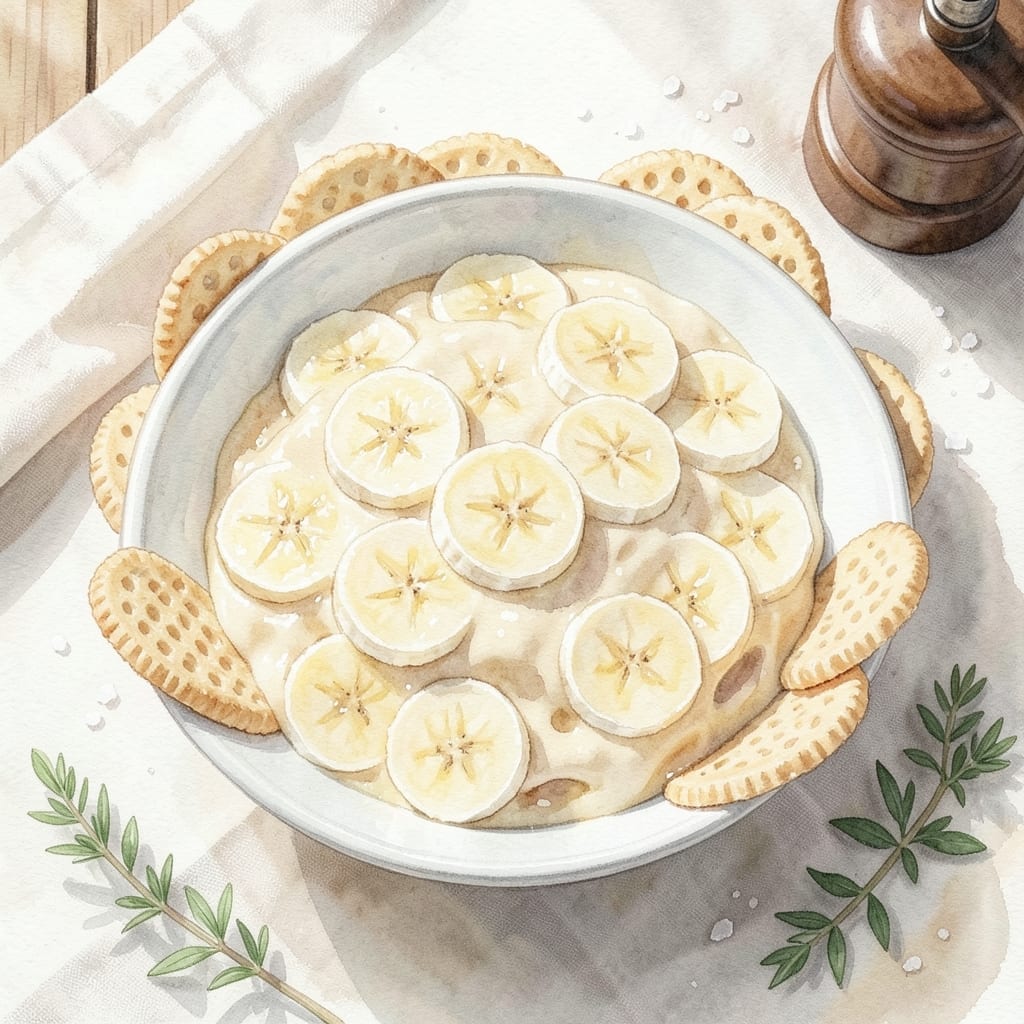
This banana pudding delivers the classic Southern dessert experience with perfect layers of vanilla wafers, fresh bananas, and creamy custard.
Pioneer Woman’s approach simplifies the process while maintaining that nostalgic homemade taste. The key is layering the ingredients while they’re still warm, allowing the wafers to soften just enough without losing their texture.
You’ll end up with a dessert that’s rich, comforting, and impossible to resist. The custard sets beautifully between the layers, creating that signature pudding consistency everyone loves.
Serve it chilled for the best results, with the flavors melding together overnight. This recipe stays true to tradition while being simple enough for any home cook.
Ingredients for Banana Pudding Recipe Pioneer Woman
Classic Southern layers come together with vanilla wafers, fresh bananas, and silky custard.
| Ingredient | Amount | Notes |
|---|---|---|
| Vanilla Wafers 🍪 | 11 oz | One standard box, about 45 wafers |
| Ripe Bananas 🍌 | 6 whole | Medium size, sliced into coins |
| Granulated Sugar 🍚 | 1 ½ cups | Divided for custard and meringue |
| All-Purpose Flour 🌾 | ¼ cup | For thickening custard |
| Salt 🧂 | ¼ tsp | Fine grain for even distribution |
| Large Eggs 🥚 | 4 whole | Separated, yolks for custard, whites for meringue |
| Whole Milk 🥛 | 2 cups | Full-fat for creamiest texture |
| Vanilla Extract 🌿 | 2 tsp | Pure extract for best flavor |
| Unsalted Butter 🧈 | 2 tbsp | For enriching custard |
| Heavy Cream 🥛 | ½ cup | Optional for extra richness |
The vanilla wafers are non-negotiable for authenticity. Nilla Wafers are the gold standard—most grocery stores carry them in the cookie aisle. For the bananas, slightly overripe (with brown speckles) give the best flavor and natural sweetness. The milk should be whole for that classic custard richness; organic or local dairy if you can swing it.
No Nilla Wafers? Lorna Doone shortbread cookies work in a pinch, though they’re sweeter. Out of whole milk? Half-and-half plus water at a 1:1 ratio gets you close. The eggs must be fresh—older whites won’t whip up properly for the meringue. For a shortcut, pre-sliced bananas from the produce section save a few minutes (just check for browning).
Assemble while the custard is still warm—this is key for that perfect softening of the wafers. Stores in the fridge for 3 days, though it’s best the first 24 hours. Cover tightly with plastic wrap pressed directly on the surface to prevent a skin from forming.
Why You’ll Love This Recipe
- No-Bake Magic: I just layer the vanilla wafers, bananas, and pudding—no oven, no stress.
- Nostalgic Comfort: That first bite of creamy pudding with soft vanilla wafers takes me straight back to childhood potlucks.
- Feeds a Crowd: I made this for a picnic and had zero leftovers—everyone went back for seconds.
Step-by-Step Instructions for Banana Pudding
Master this classic dessert with precise layering and custard technique for perfect results.
Step 1: Prepare the Custard Base
In a medium saucepan, whisk together 1.5 cups Granulated Sugar, 0.25 cup All-Purpose Flour, and 0.25 tsp Salt to eliminate any lumps. This dry blend ensures your custard thickens evenly without clumping.
Gradually whisk in 2 cups Whole Milk until smooth. Place the saucepan over medium heat and cook, stirring constantly with a wooden spoon, until the mixture begins to thicken—this should take about 5-7 minutes. Watch for the mixture to coat the back of the spoon.
Step 2: Temper and Cook the Egg Yolks
In a separate bowl, whisk the 4 whole Large Eggs yolks until pale and slightly thickened. Slowly pour about 1 cup of the hot milk mixture into the yolks while whisking continuously—this tempers the eggs and prevents curdling.
Return the tempered yolk mixture to the saucepan and cook over medium-low heat for another 3-4 minutes, stirring constantly. The custard should thicken to the consistency of pudding. Remove from heat and stir in 2 tbsp Unsalted Butter and 2 tsp Vanilla Extract until fully melted and smooth.
Step 3: Layer the Vanilla Wafers and Bananas
Begin assembling the pudding by placing a single layer of 11 oz Vanilla Wafers in the bottom of a 9×13-inch baking dish. Arrange 6 whole Ripe Bananas, sliced into coins, evenly over the wafers. The bananas should cover most of the surface, overlapping slightly if needed.
Pour half of the warm custard over the bananas, spreading it gently to cover them completely. Repeat with another layer of vanilla wafers, bananas, and the remaining custard. This layering ensures every bite is packed with flavor and texture.
Step 4: Top with Meringue and Bake
Beat the reserved 4 whole Large Eggs whites until soft peaks form. Gradually add the remaining Granulated Sugar (about ¼ cup) and continue beating until stiff, glossy peaks form. Spread the meringue evenly over the pudding, sealing it to the edges of the dish to prevent shrinking.
Bake at 350°F for 12-15 minutes until the meringue is golden brown. For extra richness, drizzle 0.5 cup Heavy Cream over the top before serving, if desired. Allow the pudding to cool slightly before serving—this lets the layers set properly.
Pro Tips For Making Banana Pudding Recipe Pioneer Woman
- Chill the Layers: After assembling each layer of wafers, bananas, and pudding, pop it in the fridge for 15 minutes—I learned this the hard way when my first few attempts turned into a soggy mess.
- Use Overripe Bananas: The spottier the bananas, the sweeter and creamier the pudding. I skip the firm ones now; they just don’t break down as nicely.
- Skip the Instant Pudding: Pioneer Woman’s recipe calls for cooked pudding, and it’s worth the extra 5 minutes. Store-bought instant just doesn’t have the same rich, custardy texture.
- Press Plastic Wrap: Cover the pudding with plastic wrap directly on the surface before chilling—sounds weird, but it works to prevent that skin from forming on top.
Health Benefits of This Recipe
Potassium Powerhouse
Bananas are famous for their potassium content, with each medium banana providing about 400mg. This mineral helps regulate blood pressure and supports heart health. The pudding’s layers mean you get this benefit in every bite. 💪
Energy Boost
The combination of natural sugars from bananas and carbs from vanilla wafers creates a quick energy source. I love this dessert as an afternoon pick-me-up when I need something sweet but also satisfying.
Calcium Source
Thanks to the whole milk and egg yolks in the custard, this dish provides a surprising amount of calcium. Each serving delivers about 20% of your daily needs, supporting strong bones and teeth.
Vitamin B6
Bananas are rich in vitamin B6, which plays a crucial role in brain development and function. One serving of this pudding gives you about 15% of your daily requirement, helping your body metabolize proteins and carbohydrates. 💡
Comfort Food Benefits
Beyond physical health, the nostalgic taste of banana pudding offers emotional comfort. Studies show that familiar foods can reduce stress and create feelings of well-being. This is one dessert that truly nourishes both body and soul.
Moderation Matters
While this treat has nutritional benefits, it’s still a dessert. The 1.5 cups sugar means it’s best enjoyed in moderation. I find that a small serving satisfies my sweet tooth while keeping the indulgence balanced.
Nutrition Facts
Frequently Asked Questions
Can I make this ahead of time?
Yes, this dessert actually improves after 24 hours in the fridge. The flavors meld together, and the wafers soften perfectly. Just cover tightly with plastic wrap pressed directly on the surface.
What if my custard doesn’t thicken?
If it’s still thin after 7 minutes, cook for 1-2 minutes more over medium-low heat. Ensure you’re stirring constantly. If it’s too thick, whisk in a splash of milk to loosen.
Can I use a different cookie?
Shortbread or graham crackers work, but they’ll change the texture. Nilla Wafers are ideal for that classic taste. For gluten-free, try gluten-free vanilla wafers.
How do I prevent a skin from forming?
Press plastic wrap directly onto the surface before chilling. Alternatively, spread the meringue immediately after assembling while the custard is still warm.

- BBQ Sausage Recipe Oven: Smoky Depth Without the Grill - September 28, 2026
- BBQ Chicken Bowl Recipe Rice: Smoky Sweetness Over Fluffy Grains - September 28, 2026
- Beef Cutlet Recipe Ideas: Crispy Breaded Patties With Bold Seasonings - September 28, 2026