
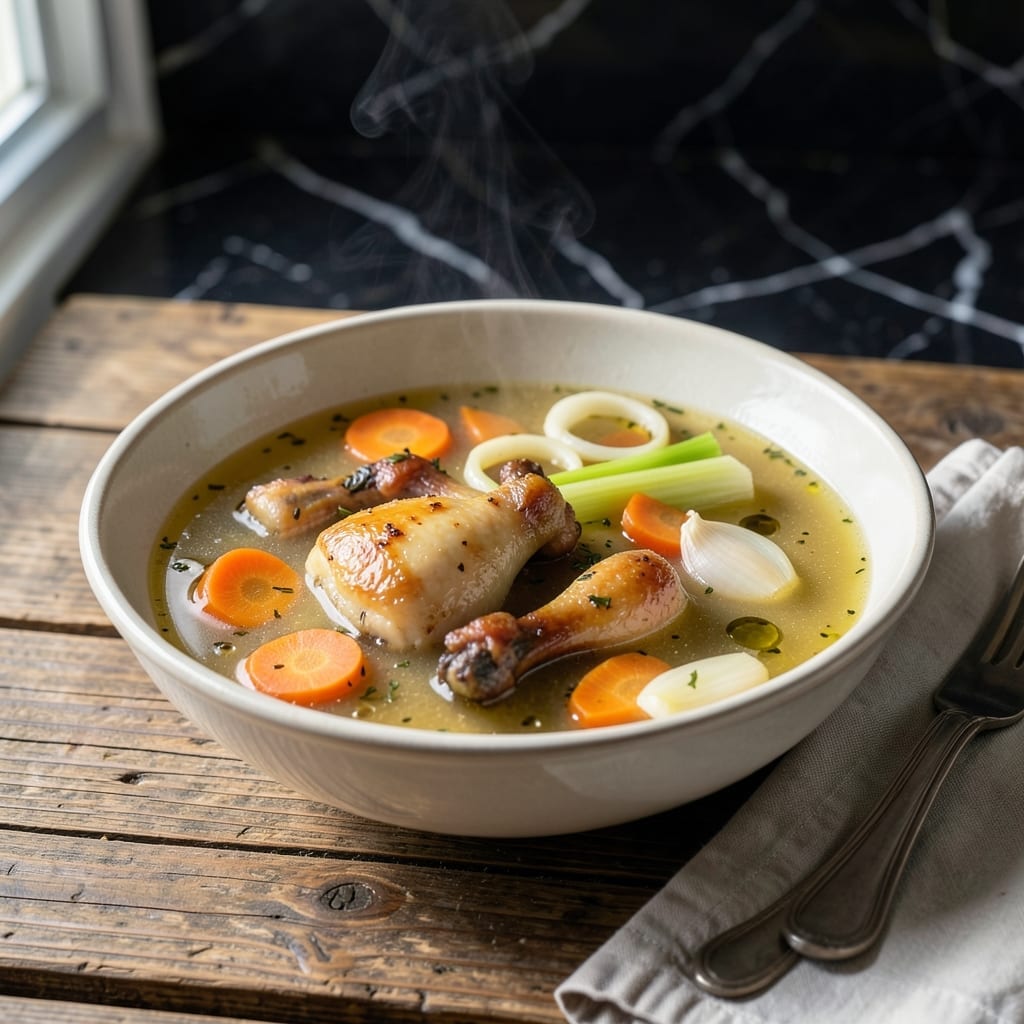
This recipe transforms humble bones into a golden elixir that’s become my go-to for gut health and kitchen magic.
Simmering for 12-24 hours extracts maximum gelatin and minerals, creating a rich, flavorful broth that’s far superior to store-bought versions. The key is using a mix of chicken bones with some meat still attached.
You’ll end up with a deeply nourishing liquid that’s perfect for soups, cooking grains, or sipping straight from the mug. The aroma alone signals you’ve created something special.
This method preserves tradition while ensuring every batch is consistently the best you’ve ever made.
Ingredients for Best Chicken Bone Broth
Transform humble bones into a golden elixir with these simple, nourishing ingredients.
| Ingredient | Amount | Notes |
|---|---|---|
| Chicken Bones 🍗 | 2 lb | Mixed with some meat attached |
| Chicken Feet 🐔 | ½ lb | Optional for extra gelatin |
| Yellow Onion 🧅 | 1 whole | Quartered, skin on |
| Carrots 🥕 | 2 whole | Chopped into large chunks |
| Celery Stalks 🌿 | 2 whole | Cut into large pieces |
| Garlic Cloves 🧄 | 4 cloves | Smashed, skin on |
| Apple Cider Vinegar 🍏 | 2 tbsp | Helps extract minerals from bones |
| Bay Leaves 🍃 | 2 whole | Dried, for aroma |
| Black Peppercorns 🌶️ | 1 tsp | Whole, not ground |
| Fresh Parsley 🌿 | 1 bunch | Stems included for flavor |
| Fresh Thyme 🌿 | 4 sprigs | Optional, for depth |
| Water 💧 | 4 cups | Or enough to cover bones |
The bones are everything here. Pasture-raised chicken bones from a trusted butcher or farmer’s market give the richest flavor and most gelatin—look for a mix of backs, necks, and wings with some meat still on them. Local farms or Whole Foods often have high-quality options. Chicken feet (yes, really) add a ton of gelatin, but skip if they creep you out (the broth will still be amazing).
No chicken feet? Add a pig’s foot or two if you’re feeling adventurous. Short on time? An Instant Pot on high pressure for 3-4 hours gets you close (but the stovetop simmer is still king). Apple cider vinegar is non-negotiable—it pulls minerals from the bones. If you’re out, lemon juice works in a pinch. Don’t stress over the veggies; this is a forgiving process.
Broth keeps in the fridge for 5 days or freezes beautifully for 6 months. I like to freeze in silicone muffin tins—pop out a puck whenever you need it. The fat will solidify on top; skim it off if you want, or leave it for extra flavor (and energy).
Why You’ll Love This Recipe
- Set and Forget: I toss everything in the pot and let the slow cooker do the work for hours—no babysitting required.
- Rich and Deep: The chicken feet add collagen that makes this broth so velvety, it’s like liquid gold in a bowl.
- Meal Prep Magic: I make a big batch on Sunday and use it all week for soups, grains, or just sipping straight up.
- Budget Stretcher: Honestly, it turns scraps and cheap cuts into something way more valuable than store-bought.
Step-by-Step Instructions for Chicken Bone Broth
This method extracts maximum flavor and gelatin for the richest, most nourishing broth you’ve ever made.
Step 1: Roast the Bones and Vegetables for Depth
Preheat your oven to 400°F. Spread the 2 lb Chicken Bones and 0.5 lb Chicken Feet on a baking sheet. Roast for 20-25 minutes until they turn deep golden brown—this develops the rich, caramelized base that defines exceptional broth.
Meanwhile, quarter the 1 whole Yellow Onion (skin on for color), chop the 2 whole Carrots and 2 whole Celery Stalks into large chunks, and smash the 4 cloves Garlic Cloves (skin on). Add these to the baking sheet with the bones for the last 10 minutes of roasting to intensify their sweetness.
Step 2: Deglaze and Extract Every Bit of Flavor
Transfer the roasted bones and vegetables to a large stockpot. Pour 4 cups Water into the baking sheet and scrape up all those browned bits—this is pure flavor. Pour this liquid into the stockpot along with the 2 tbsp Apple Cider Vinegar, which helps draw minerals from the bones.
Add the 2 whole Bay Leaves, 1 tsp Black Peppercorns, 1 bunch Fresh Parsley (stems and all), and 4 sprigs Fresh Thyme. This combination creates a complex aromatic foundation that simmers into every sip of your broth.
Step 3: Simmer Low and Slow for Maximum Gelatin
Bring the mixture to a boil, then immediately reduce the heat to low. You want a gentle simmer, not a rolling boil—agitation breaks up the bones and clouds your broth. Partially cover the pot and let it work its magic for 12-24 hours.
The chicken feet are your secret weapon here. As they simmer, they release abundant gelatin, transforming your broth into a golden, jelly-like elixir when cooled. Skim off any foam that rises to the surface during the first hour for a crystal-clear result.
Step 4: Strain and Store for Perfect Clarity
After simmering, carefully strain the broth through a fine-mesh sieve into a large bowl. Discard all solids—they’ve given their all. Let the broth cool slightly, then transfer to airtight containers. As it chills, you’ll see a layer of fat solidify on top—this is normal and can be skimmed off if desired.
Your broth will keep in the refrigerator for up to 5 days or in the freezer for 6 months. The true test of a perfect broth? It should gel when cold, a sign of all that beautiful, gut-healing collagen you’ve extracted. This is the gold standard for chicken bone broth.
Pro Tips For Making Best Chicken Bone Broth
- Roast the Bones: Toss the chicken bones and feet with a little oil and roast at 400°F for 20-30 minutes until golden—this step adds depth that simmering alone can’t.
- Add Vinegar: I learned this the hard way: splash 2 tablespoons of apple cider vinegar into the pot to help pull minerals from the bones.
- Skim the Foam: During the first hour, skim off the scum that rises to the top—it keeps the broth clear and clean-tasting.
- Go Long and Low: Simmer at least 12 hours on low heat, uncovered, for the richest gelatinous result—your stove can handle it overnight.
Common Mistakes When Making best chicken bone broth
Skipping the Roast
I know it’s tempting to skip roasting the bones to save time, but it’s a game-changer. Those 20-25 minutes at 400°F caramelize the natural sugars and proteins, creating deep, complex flavors that raw bones just can’t deliver. Trust me, the difference is night and day. 🔥
Boiling Instead of Simmering
A rolling boil breaks down the bones too aggressively, making your broth cloudy and muddy. Keep it at a gentle simmer—you’ll see small bubbles occasionally breaking the surface, not a vigorous boil. This preserves clarity and ensures a clean, rich final product.
Using Too Little Water
Your bones should be fully submerged by at least 1-2 inches of water. If they poke out, they won’t extract properly, and you risk scorching. I use 4 cups initially, then top up as needed during the 12-24 hour simmer.
Skipping the Vinegar
The 2 tbsp apple cider vinegar isn’t just for flavor—it’s critical for pulling minerals like calcium and magnesium from the bones. Without it, your broth won’t be as nutrient-dense. Lemon juice works in a pinch if you’re out.
Not Skimming the Foam
During the first hour, impurities rise to the top as foam. Skim this off with a fine-mesh strainer or spoon for a cleaner, more elegant broth. Ignoring it can lead to a bitter taste and murky appearance.
Rushing the Process
Patience pays off with bone broth. The 12-24 hour simmer is non-negotiable for extracting maximum gelatin and minerals. I’ve tried shorter times, and the results are always thinner and less flavorful. The gelatin test when cold is your reward for waiting. 💪
Nutrition Facts
Frequently Asked Questions
Why roast bones before simmering?
Roasting at 400°F for 20-25 minutes caramelizes natural sugars, creating deep, complex flavors raw bones can’t deliver. It’s the secret to rich, golden broth.
Can I use an Instant Pot?
Yes! Pressure cook on high for 3-4 hours for a quick version. While not identical to stovetop, it extracts good gelatin and flavor when short on time.
How do I know it’s done?
Check if it gels when chilled—this signals high collagen content. After 12-24 hours, strain and test. If it doesn’t gel, simmer longer next time.
Should I remove the fat?
It’s personal preference. The fat layer preserves flavor and can be skimmed off after chilling. For cooking, leave it; for sipping, remove it.

- BBQ Sausage Recipe Oven: Smoky Depth Without the Grill - September 28, 2026
- BBQ Chicken Bowl Recipe Rice: Smoky Sweetness Over Fluffy Grains - September 28, 2026
- Beef Cutlet Recipe Ideas: Crispy Breaded Patties With Bold Seasonings - September 28, 2026