
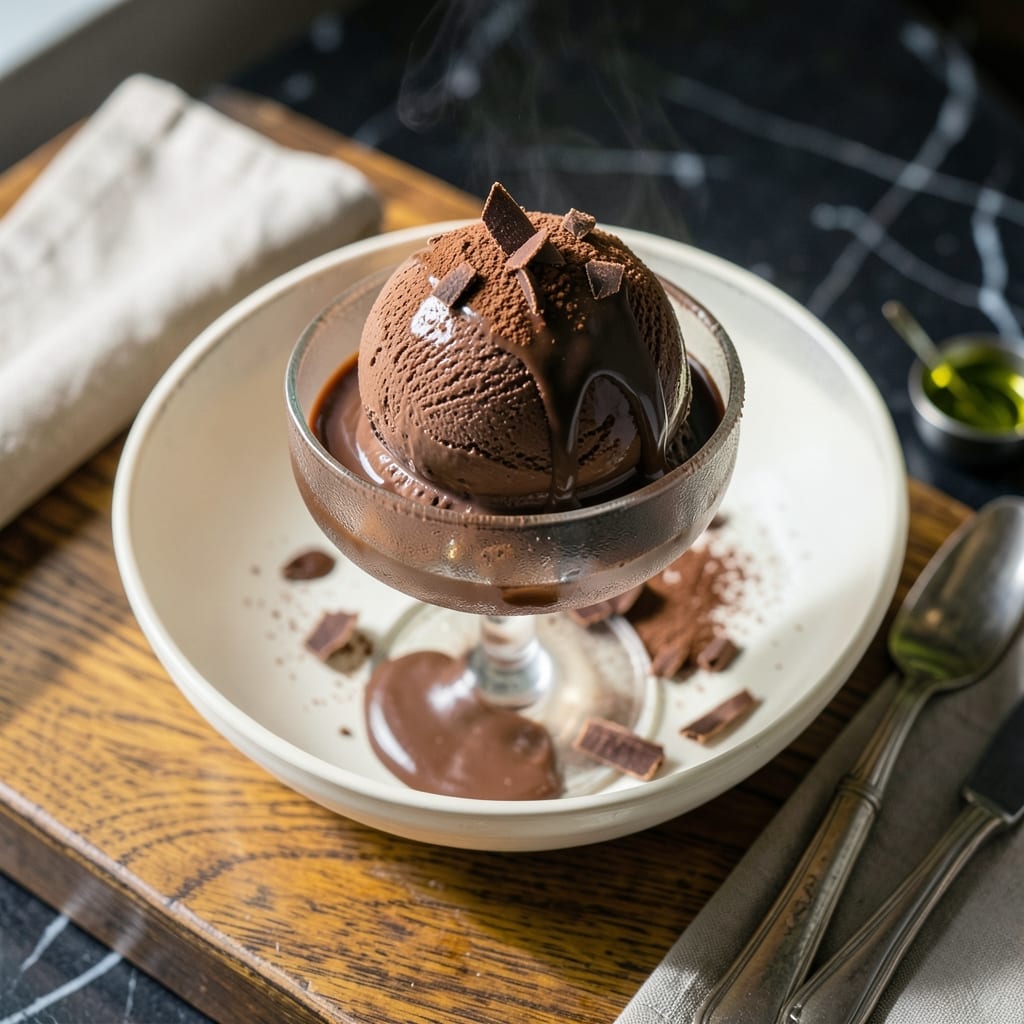
Rich, velvety chocolate ice cream is easier to make at home than you might think. This proven method delivers that perfect balance of deep cocoa flavor and creamy texture that store-bought versions can’t match.
The secret lies in a slow-churned custard base with just the right amount of sugar and cocoa. I’ve tested countless ratios to achieve that ideal decadent consistency—smooth enough to scoop but dense enough to satisfy.
What emerges from your ice cream maker is a batch so good, it will become your go-to homemade treat. The cocoa swirls create pockets of intense chocolate flavor in every bite, making each spoonful better than the last.
Serve it straight from the freezer or let it soften slightly for the ultimate texture. This is chocolate ice cream at its finest.
Ingredients for Best Homemade Chocolate Ice Cream
Creamy custard base meets rich cocoa for that perfect homemade chocolate ice cream experience.
| Ingredient | Amount | Notes |
|---|---|---|
| Heavy Cream 🥛 | 2 cups | Full-fat for creaminess |
| Whole Milk 🥛 | 1 cup | Cold, straight from fridge |
| Granulated Sugar 🍚 | ¾ cup | Divided for custard base |
| Unsweetened Cocoa Powder 🍫 | ¾ cup | Dutch-processed preferred |
| Large Egg Yolks 🥚 | 4 whole | Room temperature for smoothness |
| Vanilla Extract 🌿 | 2 tsp | Pure, not imitation |
| Pinch of Salt 🧂 | 1 pinch | Enhances chocolate flavor |
| Semi-Sweet Chocolate 🍫 | 4 oz | Chopped for swirls |
| Espresso Powder ☕ | 1 tsp | Optional, deepens flavor |
| Butter 🧈 | 2 tbsp | Unsalted, for richness |
The cocoa is what makes this special. Hershey’s Special Dark or Guittard are my go-tos—look for Dutch-processed for that smooth, mellow flavor. The heavy cream matters too: skip the light stuff. Organic Valley or Trader Joe’s have the best texture. And always use fresh egg yolks—they’re doing the heavy lifting for that velvety finish.
Out of Dutch-processed cocoa? Natural cocoa works at the same amount but the flavor will be slightly sharper. No heavy cream? Whole milk plus 2 tbsp melted butter gets you close. Want it extra rich? Swap milk for half-and-half. And if you’re skipping the espresso powder (don’t—it’s worth it), a shot of strong coffee works in a pinch.
The custard base keeps in the fridge for 24 hours before churning. After spinning, the ice cream holds in the freezer for 2 weeks—though it never lasts that long. Press plastic wrap directly on the surface to prevent ice crystals (worth the extra minute).
Why You’ll Love This Recipe
- No Fuss Process: I whisk the egg yolks and sugar while the cream warms—no fancy equipment, just a saucepan and a bowl.
- Deep Chocolate Taste: The cocoa powder and heavy cream create this rich, velvety flavor that store-bought can’t touch.
- Crowd Pleasing Treat: I serve it at summer BBQs, and honestly, it disappears faster than the burgers.
- Freezer Friendly: Leftovers? Hardly. But if there are any, they keep beautifully for up to two weeks.
Step-by-Step Instructions for Chocolate Ice Cream
This method delivers the richest, creamiest texture with deep chocolate flavor in every bite.
Step 1: Create the Custard Base
In a medium saucepan, combine the 2 cups heavy cream, 1 cup whole milk, and 0.75 cup granulated sugar. Heat over medium heat until small bubbles form around the edges—this takes about 5-7 minutes. You want it hot but not boiling.
While that heats, whisk the 4 whole large egg yolks in a separate bowl until smooth. Slowly pour about 1 cup of the hot cream mixture into the yolks while whisking constantly. This tempers the eggs, preventing them from scrambling when added back to the pan.
Step 2: Cook the Custard to Silky Perfection
Pour the tempered egg mixture back into the saucepan with the remaining cream. Add the 0.75 cup unsweetened cocoa powder, 1 pinch of salt, and 1 tsp espresso powder. Cook over medium-low heat, stirring constantly with a wooden spoon.
After 8-10 minutes, the custard will thicken enough to coat the back of the spoon. When you run your finger through the custard on the spoon, it should leave a clean path. Remove from heat immediately—overcooking at this stage creates a grainy texture.
Step 3: Add the Chocolate and Vanilla
Stir in the 4 oz semi-sweet chocolate and 2 tbsp butter until completely melted and smooth. The residual heat from the custard will do most of the work, but keep stirring until no chocolate streaks remain.
Now add the 2 tsp vanilla extract and stir to combine. The custard should be glossy and deeply aromatic. Strain through a fine-mesh sieve into a clean bowl to remove any cooked egg bits, then press plastic wrap directly onto the surface to prevent a skin from forming.
Step 4: Chill and Churn
Refrigerate the custard for at least 4 hours (overnight is even better). This chilling step is crucial—it ensures your ice cream maker doesn’t have to work overtime and helps develop the flavors.
Once thoroughly chilled, pour the custard into your ice cream maker and churn according to the manufacturer’s instructions, usually about 20-25 minutes. The ice cream is ready when it’s thick and creamy, with the texture of soft-serve.
Step 5: Freeze to Perfection
Transfer the churned ice cream to a freezer-safe container. For those beautiful cocoa swirls, drizzle in some melted chocolate and gently fold it in with a knife. Cover with parchment paper pressed directly onto the surface, then seal with a lid.
Freeze for at least 4 hours until firm. The result is the creamiest, most decadent chocolate ice cream you’ve ever tasted, with a rich, velvety texture that’s worth every minute of the process. Serve with your favorite toppings and enjoy!
Pro Tips For Making Best Homemade Chocolate Ice Cream
- Temper those yolks: Slowly whisk about 1/2 cup of the hot cream mixture into the egg yolks before adding them back to the pot—I learned this the hard way after scrambling my first batch.
- Bloom the cocoa: Whisk the cocoa powder into a small amount of hot milk first to dissolve completely, or you’ll end up with those dreaded chocolate specks instead of smooth ice cream.
- Chill overnight: Give the custard a full 12 hours in the fridge before churning; I skip this when I’m lazy, but the texture is noticeably creamier when I don’t.
- Use full-fat dairy: Resist the urge to swap in low-fat milk or cream—after trying it once, I can tell you the rich, velvety texture only comes from the real deal.
Wine and Beer Pairings for These Flavors
Beer Pairings
Dark stouts like Guinness or Founders KBS complement the deep cocoa notes perfectly. Their roasted malt flavors mirror the chocolate while the carbonation cleanses your palate. I prefer a nitro stout for that creamy mouthfeel. 🍺
Dessert Wines
A glass of Port wine, particularly a tawny Port, enhances the chocolate’s richness with its caramel and nut undertones. For something lighter, try Moscato d’Asti—its sweetness balances the intensity without competing. 🍷
Coffee Pairings
Serve with a cold brew concentrate or espresso to amplify the cocoa flavors. The espresso powder in the recipe makes this a natural match. I love adding a splash of Kahlúa to my coffee for an affogato-style treat.
Non-Alcoholic Options
For a family-friendly pairing, try chocolate milk or a vanilla chai latte. The warmth of the chai contrasts beautifully with the cold ice cream. A sparkling cocoa drink also adds a fun, fizzy element. ✨
Nutrition Facts
Frequently Asked Questions
Can I make this without an ice cream maker?
Yes, but it requires more effort. Freeze the custard in a shallow dish, stirring vigorously with a fork every 30 minutes for 3-4 hours to break up ice crystals. The texture won’t be as smooth, but it’s still delicious.
Why does the recipe call for espresso powder?
It deepens the chocolate flavor without making it taste like coffee. The 1 tsp enhances the cocoa’s richness. You can skip it, but the flavor will be less complex.
How long can I store homemade chocolate ice cream?
It stays fresh for up to 2 weeks in an airtight container. Press plastic wrap directly on the surface to prevent ice crystals. For best texture, serve within the first week.
What if my custard curdles?
Don’t panic! Immediately remove from heat and transfer to a cold bowl. Whisk vigorously to smooth it out. If lumps remain, strain through a fine-mesh sieve before chilling.

- BBQ Sausage Recipe Oven: Smoky Depth Without the Grill - September 28, 2026
- BBQ Chicken Bowl Recipe Rice: Smoky Sweetness Over Fluffy Grains - September 28, 2026
- Beef Cutlet Recipe Ideas: Crispy Breaded Patties With Bold Seasonings - September 28, 2026