
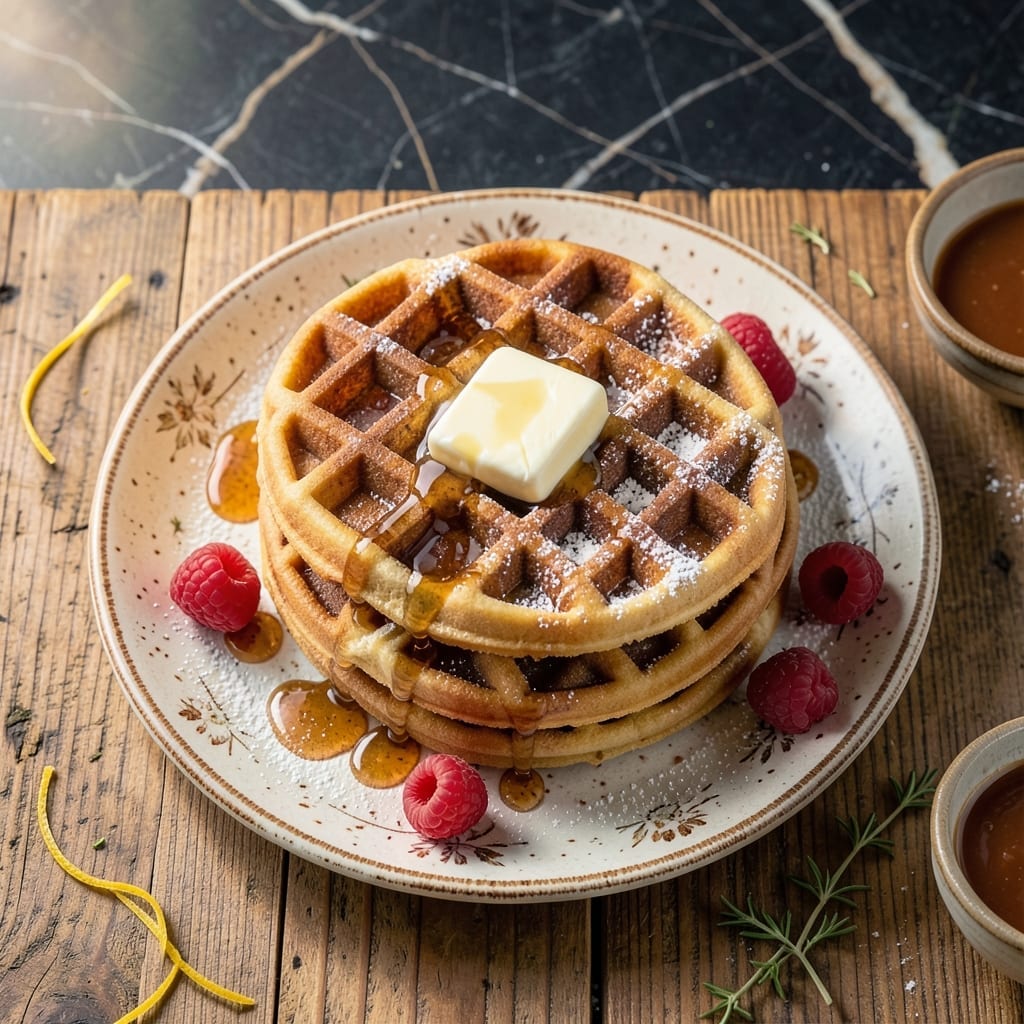
There’s a science to perfect waffles—crispy outside, light inside, with no soggy centers in sight. This recipe delivers the best results every time.
Simple ingredients, precise technique, and a hot waffle iron create golden grids with deep wells for syrup. No shortcuts, just foolproof breakfast excellence.
Ingredients for Best Waffle Recipe from Scratch
Simple pantry staples create those golden, crispy waffles you crave every morning.
| Ingredient | Amount | Notes |
|---|---|---|
| All-Purpose Flour 🌾 | 2 cups | Sifted for lighter texture |
| Granulated Sugar 🍚 | 2 tbsp | Fine white sugar preferred |
| Baking Powder 🧂 | 2 tsp | Fresh for maximum rise |
| Salt 🧂 | ½ tsp | Fine sea salt or table salt |
| Large Eggs 🥚 | 2 whole | Separated, room temperature |
| Unsalted Butter 🧈 | ½ cup | Melted and cooled slightly |
| Whole Milk 🥛 | 1 ¾ cups | Full-fat for richness |
| Vanilla Extract 💧 | 2 tsp | Pure extract for best flavor |
| Vegetable Oil 🫒 | 2 tbsp | Neutral flavor for frying |
| Cornstarch 🌽 | 2 tbsp | For extra crispiness |
The flour and cornstarch are doing the heavy lifting here. King Arthur Flour is my go-to for all-purpose—consistent results every time. Don’t skip the cornstarch; it’s the secret to that shatteringly crisp exterior that makes these stand out. Baking powder loses potency over time, so check the expiration date (or do the vinegar test if you’re unsure). Clabber Girl is reliable if you need a brand recommendation.
No whole milk? Buttermilk at the same amount adds a nice tang, or use half-and-half for extra richness. Swap the butter with coconut oil for a dairy-free version (melt and cool the same way). Short on sugar? A tablespoon of maple syrup works, though it’ll add a hint of color. The vanilla is optional but worth the extra minute—it rounds out the flavor beautifully.
Batter keeps in the fridge for 12 hours if you want to prep ahead. Leftovers? Freeze for up to 3 months and reheat in the toaster. The egg whites whip best at room temp, so set them out while you measure everything else (trust me on this one).
Why You’ll Love This Recipe
- One Bowl Wonder: I just dump everything in one bowl—flour, sugar, eggs, the works—and mix. No fuss, no extra dishes.
- Golden Crisp: The baking powder gives them that perfect crispy outside with a fluffy center every single time.
- Weekend MVP: Honestly, these are my go-to for lazy Sunday brunches or quick Tuesday breakfasts.
- Freezer Friendly: I always make a double batch and freeze the extras. Pop them in the toaster and they’re as good as fresh.
Step-by-Step Instructions for Waffles From Scratch
This method guarantees golden, crispy waffles with airy centers—exactly what you want in a from-scratch batch.
Step 1: Whisk Dry Ingredients for Maximum Rise
In a large bowl, whisk together the 2 cups All-Purpose Flour, 2 tbsp Granulated Sugar, 2 tsp Baking Powder, 0.5 tsp Salt, and 2 tbsp Cornstarch until no lumps remain. The cornstarch is the secret to that restaurant-quality crispness you’re after.
I always sift my flour first—it incorporates air and prevents dense waffles. Make sure your baking powder is fresh; old powder loses its leavening power, and that means flat, sad waffles instead of tall, crisp ones.
Step 2: Combine Wet Ingredients for Rich Flavor
In a separate bowl, whisk the 2 whole Large Eggs until the yolks and whites are fully combined and slightly frothy. Then add the 1.75 cups Whole Milk, 0.5 cup Unsalted Butter (melted and cooled to room temperature), 2 tsp Vanilla Extract, and 2 tbsp Vegetable Oil.
The oil might seem like an odd addition with butter already in the mix, but trust me—it adds extra crispness to the exterior. The melted butter gives richness, while the oil ensures that perfect crunch without making the batter greasy.
Step 3: Create the Batter with Gentle Folding
Pour the wet ingredients into the dry ingredients and gently fold them together with a spatula. Stop mixing as soon as the last streaks of flour disappear—overmixing develops gluten, which makes waffles tough instead of tender.
The batter should be slightly lumpy with a thick, pourable consistency. If it seems too thick, resist the urge to add more milk; the batter will thin slightly as it rests. Let it sit for 5 minutes while you preheat your waffle iron.
Step 4: Cook to Golden, Crispy Perfection
Preheat your waffle iron to medium-high heat. Lightly brush the grids with additional vegetable oil if your iron isn’t nonstick. Pour about ½ cup of batter onto the center of the iron, spreading it slightly toward the edges with a spatula.
Close the lid and cook for 4-5 minutes until the waffle is deep golden brown and releases easily from the iron. Don’t open the lid too early—that’s how you get waffles torn in half. The steam should stop escaping when it’s ready. Repeat with the remaining batter, keeping finished waffles warm in a 200°F oven if serving all at once.
Pro Tips For Making Best Waffle Recipe From Scratch
- Preheat the Iron: I learned this the hard way—always preheat your waffle iron for at least 5 minutes before adding batter. A hot iron guarantees that perfect crisp exterior without undercooked centers.
- Whip the Eggs: Separate the yolks and whites, then beat the whites to stiff peaks before folding them in. Sounds like extra work, but it makes the waffles light and airy every time.
- Skip Overmixing: Stir the batter just until the flour disappears—small lumps are fine. Overmixing develops gluten, and nobody wants tough, chewy waffles for breakfast.
- Use Room-Temp Eggs: After ruining a batch with cold eggs, I now pull them out 30 minutes before starting. They whip up better and blend more easily into the batter.
Common Mistakes When Making This Recipe
Overmixing the Batter
Stir just until the flour disappears—overworking develops gluten, which turns your waffles dense and chewy instead of light and crisp. A few lumps are perfectly fine. I use a spatula and stop as soon as the last dry streaks vanish.
Skipping the Rest
Let your batter rest for 5 minutes before cooking. This allows the baking powder to activate and the flour to hydrate fully, ensuring even texture. Skipping this step often results in flat, uneven waffles.
Cold Waffle Iron
Always preheat your iron for at least 5-10 minutes on medium-high. Pouring batter onto a cold surface creates soggy, pale waffles. I test mine by flicking a drop of water—it should sizzle and evaporate instantly. 🔥
Opening Too Soon
Resist peeking before 4 minutes. Opening the lid early releases steam and causes waffles to tear. Wait until the steam slows and the iron’s indicator light signals it’s ready. Patience pays off with clean, crisp grids.
Ignoring Iron Capacity
Overfilling leads to messy spills and undercooked centers. For standard irons, ½ cup of batter is ideal. Spread it slightly toward the edges but leave room for expansion. Each model varies, so check your manufacturer’s guidelines.
Forgetting Cornstarch
That 2 tbsp Cornstarch isn’t optional—it’s the key to shatteringly crisp edges. Without it, waffles turn out soft and bland. I’ve tested batches with and without, and the difference is undeniable.
Frequently Asked Questions
What makes waffles crispy instead of soft?
Cornstarch is the secret! The 2 tbsp in this recipe creates that shatteringly crisp texture. Also, ensure your waffle iron is fully preheated to medium-high heat before adding batter.
Can I use a different type of milk?
Yes! Substitute buttermilk for tang or half-and-half for richness. For dairy-free, use almond or oat milk, but add 1 tsp vinegar to mimic the acidity of buttermilk.
Why do my waffles stick to the iron?
Prevent sticking by brushing the grids with oil before each batch. Also, wait until waffles are fully cooked (4-5 minutes) before opening the lid.
How do I keep waffles warm while cooking?
Place finished waffles on a wire rack in a 200°F oven. This keeps them crispy while you finish the batch. Avoid stacking directly—they’ll steam and get soggy.
Nutrition Facts

- BBQ Sausage Recipe Oven: Smoky Depth Without the Grill - September 28, 2026
- BBQ Chicken Bowl Recipe Rice: Smoky Sweetness Over Fluffy Grains - September 28, 2026
- Beef Cutlet Recipe Ideas: Crispy Breaded Patties With Bold Seasonings - September 28, 2026