
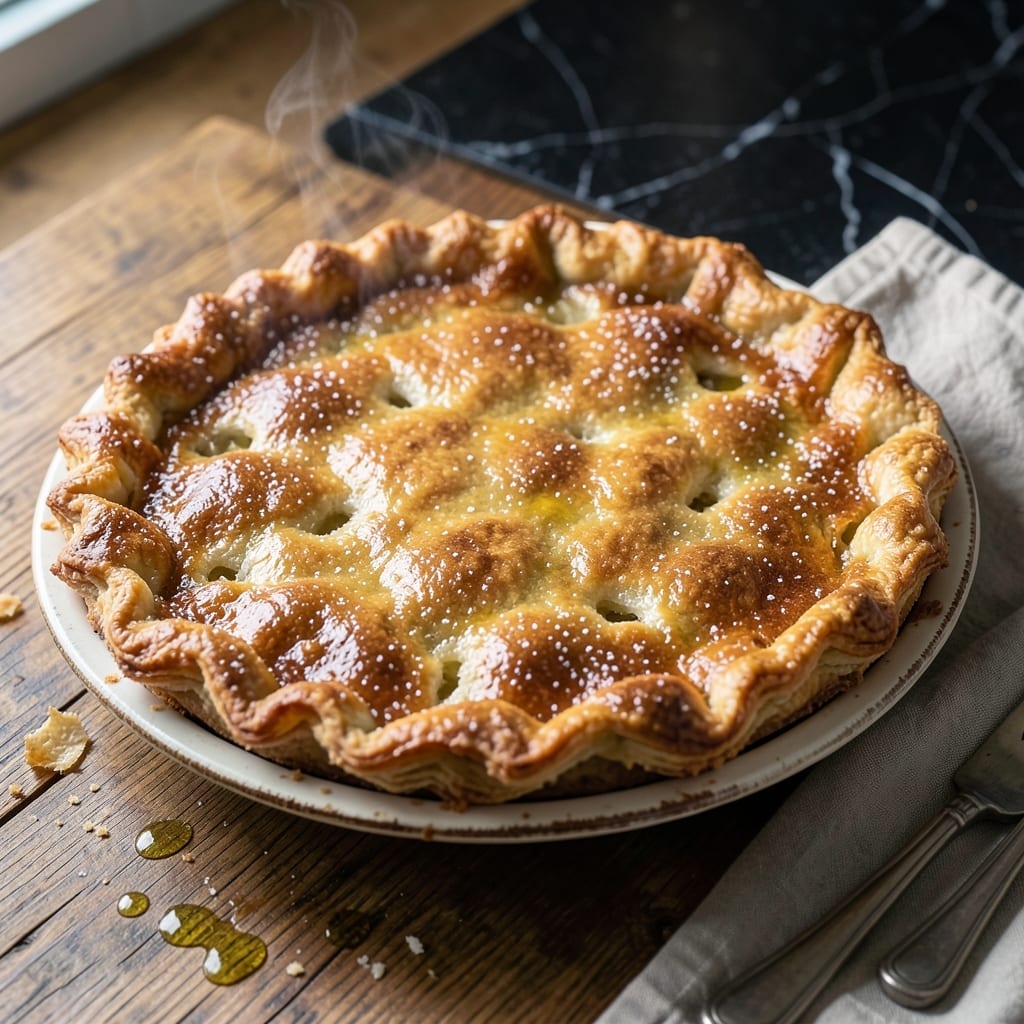
I’ve spent years perfecting this pie crust recipe to achieve the flaky layers that make all the difference. The secret lies in keeping ingredients ice-cold and handling the dough minimally to prevent tough results.
This method uses a simple combination of flour, butter, and water, but the technique is what sets it apart. Cutting the butter into the flour until pea-sized crumbs form creates pockets that expand during baking, resulting in those coveted flaky layers.
After resting the dough for 30 minutes, roll it out and fit it into your pie dish. The key is to avoid stretching the dough, which can cause shrinking during baking. Blind baking ensures a crisp bottom crust for custard pies.
This crust works for any pie, from fruit-filled to cream-based. The results are consistently perfect, with a tender, flaky texture that holds up to any filling.
Ingredients for Better Homes and Gardens Pie Crust
Five basic ingredients create that perfect flaky texture every baker dreams about. Nothing extra, nothing complicated.
| Ingredient | Amount | Notes |
|---|---|---|
| All-Purpose Flour 🌾 | 2 ½ cups | Spoon and level for accuracy |
| Unsalted Butter 🧈 | 1 cup | Ice-cold, cut into cubes |
| Ice Water 💧 | ¼ cup | Plus 1 tbsp as needed |
| Salt 🧂 | 1 tsp | Fine sea salt preferred |
| Granulated Sugar 🍚 | 1 tbsp | Optional, for sweet crusts |
The butter must be ice-cold—Land O’Lakes or Plugra are reliable brands. Cut it into small cubes and keep it chilled until ready to use. The flour should be all-purpose, not bread flour or cake flour. Weigh it if you have a scale (300g for 2.5 cups). King Arthur is my go-to for consistent results, but any national brand works fine.
No unsalted butter? Use salted but reduce the added salt by half. Out of all-purpose flour? Pastry flour works in a pinch but yields a slightly more tender crust. For a richer flavor, substitute 1 tbsp of the water with vodka—it evaporates faster, creating extra flakiness. The sugar is optional but recommended for fruit pies.
The dough can rest in the fridge for up to 2 days or freeze for 3 months. Wrap it tightly in plastic to prevent drying. Baked crusts keep at room temperature for 1 day or freeze for 1 month. Always bring cold dough to room temperature for 10-15 minutes before rolling.
Why You’ll Love This Recipe
- No-Fuss Mixing: I just dump flour, cold butter, salt, sugar, and ice water in a bowl—no fancy tools, no fuss.
- Buttery Perfection: The unsalted butter makes this crust flaky and rich, with just a hint of sweetness from the sugar.
- Endless Possibilities: I’ve used this for apple pie, quiche, even hand pies—it works for sweet or savory.
- Pantry Staples: All-purpose flour and basic ingredients mean I can make this anytime without a special grocery trip.
Step-by-Step Instructions for Better Homes and Gardens Pie Crust
Here’s the method that guarantees flaky, tender layers with every bake.
Step 1: Chill and Prepare the Ingredients
Begin by cutting the 1 cup Unsalted Butter into ½-inch cubes and return it to the refrigerator. Place the 0.25 cup Ice Water in a measuring cup with a few ice cubes to keep it cold. This temperature control is essential for creating those coveted flaky layers.
In a large bowl, whisk together the 2.5 cups All-Purpose Flour, 1 tsp Salt, and 1 tbsp Granulated Sugar (if using for a sweet crust). Make sure the flour is spooned and leveled for accuracy. The sugar adds a subtle sweetness that balances savory fillings beautifully.
Step 2: Cut in the Cold Butter
Add the chilled cubed butter to the flour mixture. Using a pastry cutter or your fingers, work the butter into the flour until the mixture resembles coarse crumbs with some pea-sized butter pieces remaining. I prefer using my fingers for this step—it gives me better control over the texture.
Don’t overwork the butter; you want visible pieces throughout the dough. These butter pieces will melt during baking, creating steam that separates the flour layers and results in that perfect flaky texture. The mixture should look shaggy and uneven at this stage.
Step 3: Add Ice Water Gradually
Sprinkle the ice water over the flour-butter mixture, 1 tablespoon at a time, gently tossing with a fork after each addition. You’ll need about ¼ cup, but start with less—you can always add more, but you can’t take it out.
The dough is ready when it just begins to come together and holds its shape when pressed. It should not be sticky or wet. If it’s too dry, add water 1 teaspoon at a time until it reaches the right consistency. The cold water helps keep the butter solid, which is crucial for flakiness.
Step 4: Form and Chill the Dough
Turn the dough out onto a lightly floured surface and gently press it into a cohesive ball. Divide it into two equal portions and shape each into a 1-inch-thick disk. Wrap each disk tightly in plastic wrap and refrigerate for at least 1 hour or up to 2 days.
This chilling step allows the flour to fully hydrate and the butter to re-solidify, making the dough easier to roll out. It also prevents the butter from melting prematurely when you begin rolling, which would ruin the flaky texture. The longer you chill, the easier the dough will be to work with.
Step 5: Roll and Fit the Crust
On a lightly floured surface, roll one disk of dough into a 12-inch circle, about ⅛-inch thick. To prevent sticking, lift and turn the dough occasionally as you roll. For a perfect fit, roll the dough about 2 inches larger than your pie plate.
Transfer the rolled dough to a 9-inch pie plate by gently folding it in half and then in quarters. Unfold it in the plate and press it lightly into the bottom and up the sides. Trim the edges, leaving a ½-inch overhang, then crimp or flute the edges as desired. Chill the fitted crust for 30 minutes before baking to maintain its shape.
Pro Tips For Making Better Homes And Gardens Pie Crust
- Chill the Butter: Cut the unsalted butter into small cubes and refrigerate for 30 minutes before mixing—cold butter is non-negotiable for flaky layers.
- Use Ice-Cold Water: Fill a glass with ice and water, then measure from that—warm water makes the crust tough, and I learned this the hard way.
- Don’t Overwork Dough: Mix just until the dough comes together; overworking it develops gluten, and your crust will turn out chewy instead of tender.
- Rest Before Rolling: Let the dough rest in the fridge for at least 1 hour—it relaxes the gluten and makes rolling out way easier, even if you’re impatient like me.
Make-Ahead Tips for This better homes and gardens pie crust
Prep Ahead Strategy
I always make my dough 1-2 days before baking. After shaping into disks, wrap them tightly in plastic wrap and refrigerate. The extended rest develops gluten gently, making rolling easier.
Freezing Unbaked Dough
For longer storage, freeze wrapped disks for up to 3 months. Thaw overnight in the fridge before using. I label mine with the date using freezer-safe tape to track freshness.
Pre-Baked Shells
Blind-bake crusts and store at room temperature for 1 day or freeze for 1 month. Re-crisp in a 375°F oven for 5-10 minutes before adding fillings. 💡
Rolling Shortcut
Roll dough between parchment sheets to prevent sticking. Stack rolled crusts with parchment between each, then refrigerate for up to 2 days. This saves time on busy baking days.
Emergency Fix
If dough cracks during rolling, press edges together gently and chill for 15 minutes. Never use water to patch—it makes the crust tough. Cold dough is more forgiving.
Filling Prep
Chop fruits or pre-cook custards while dough rests. Having everything ready means you can fill and bake immediately after rolling, preventing the crust from drying out. ✨
Nutrition Facts
Frequently Asked Questions
Why must the butter be ice-cold?
Cold butter creates steam when baking, which separates dough layers for flakiness. If it softens prematurely, the crust becomes dense instead of light and airy.
How do I prevent a soggy bottom crust?
Blind-bake the crust at 375°F with pie weights for 15 minutes. Also, brush the baked crust with a thin layer of egg white before adding wet fillings.
Can I use a food processor to cut in the butter?
Yes, pulse just until pea-sized crumbs form. Be careful not to over-process, or the butter will warm up and the dough will turn tough.
What if my dough cracks while rolling?
Press the edges together gently and chill for 15 minutes. Avoid using water to patch, as it can make the crust tough.

- BBQ Sausage Recipe Oven: Smoky Depth Without the Grill - September 28, 2026
- BBQ Chicken Bowl Recipe Rice: Smoky Sweetness Over Fluffy Grains - September 28, 2026
- Beef Cutlet Recipe Ideas: Crispy Breaded Patties With Bold Seasonings - September 28, 2026