
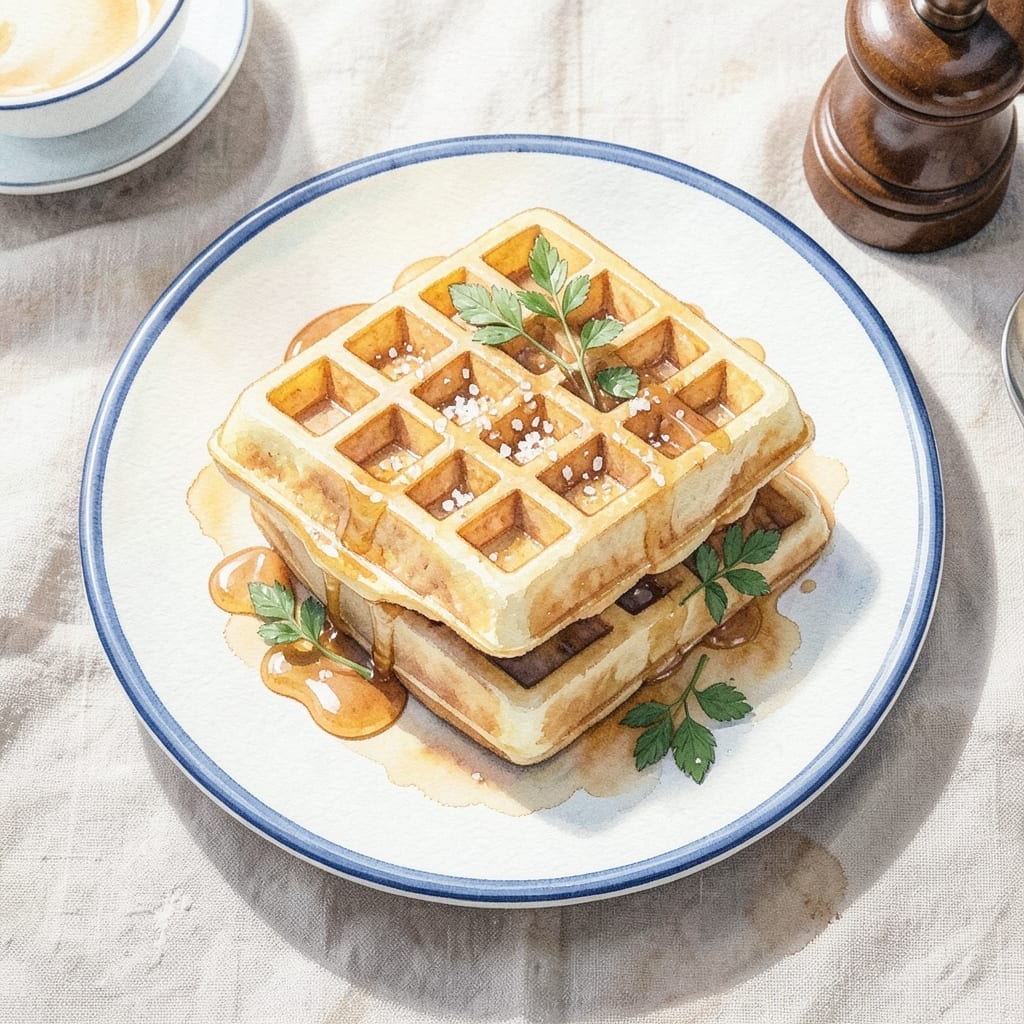
Creating perfect waffles without eggs is simpler than you think. This Bisquick-based recipe delivers fluffy interiors with crisp edges every time, proving you don’t need eggs for great texture.
The secret lies in the right liquid balance—using milk and oil to replace eggs while maintaining moisture. A touch of baking powder ensures proper rise, giving you that classic waffle structure without the fuss.
Your waffle iron will do most of the work, transforming the batter into golden, crisp creations in minutes. The result is a quick breakfast that’s both satisfying and effortless.
No special ingredients required—just Bisquick, a few pantry staples, and a hot iron. Serve with syrup or fresh fruit for a complete meal.
Ingredients for Bisquick Waffle Recipe No Egg
Pantry staples plus milk and oil transform into golden, crisp waffles.
| Ingredient | Amount | Notes |
|---|---|---|
| Bisquick Baking Mix 🥞 | 2 cups | Original or buttermilk variety |
| Whole Milk 🥛 | 1 ½ cups | Room temperature preferred |
| Vegetable Oil 🫒 | ¼ cup | Or melted coconut oil |
| Baking Powder 🧂 | 1 tbsp | Ensures proper rise |
| Granulated Sugar 🍚 | 1 tbsp | Optional for sweetness |
| Vanilla Extract 🌿 | 1 tsp | Pure extract preferred |
| Salt 🧂 | ¼ tsp | Fine grain for even distribution |
| Ground Cinnamon 🌿 | ½ tsp | Optional for warmth |
| Butter 🧈 | 2 tbsp | Melted for waffle iron |
The Bisquick is doing the heavy lifting here—original or buttermilk variety both work great. I grab mine at Target or Walmart since it’s a pantry staple anyway. The milk needs to be whole for richness (trust me on the full-fat version), but 2% works in a pinch. Room temperature is key so it doesn’t seize up the oil.
No milk? Oat milk or soy milk at a 1:1 ratio gets you close. Out of vegetable oil? Melted coconut oil adds a nice hint of flavor. Want it sweeter? Double the sugar or add a mashed banana. The baking powder is non-negotiable though—it’s what gives you that fluffy interior.
Batter keeps in the fridge for 24 hours if you prep ahead. Leftovers? Freeze for 1 month (toast to revive). Always wipe your waffle iron clean between batches—no one wants burnt bits in their next waffle.
Why You’ll Love This Recipe
- 5-Minute Mix: I dump the Bisquick, milk, and oil in one bowl—no separate egg step, no fuss.
- Crispy Sweet Bites: That sugar in the mix caramelizes just enough to give the edges a subtle crunch my kids fight over.
- Breakfast or Dinner: Honestly, these work for Sunday brunch or a rushed Tuesday dinner with a side of bacon.
- Pantry Staples Only: I always have Bisquick and milk on hand, so it’s my go-to when the fridge feels bare.
Step-by-Step Instructions for Bisquick Waffles No Egg
Here’s my tested method for achieving crisp edges and fluffy interiors without a single egg.
Step 1: Combine Dry Ingredients for Even Leavening
In a large mixing bowl, whisk together the 2 cups Bisquick Baking Mix, 1 tbsp Baking Powder, 1 tbsp Granulated Sugar, 0.25 tsp Salt, and 0.5 tsp Ground Cinnamon. I always sift the baking powder directly into the bowl to prevent clumping.
This step ensures your waffles rise properly and have consistent flavor in every bite. The cinnamon adds a subtle warmth that complements the vanilla beautifully. Make sure all the dry ingredients are fully incorporated before moving to the wet components.
Step 2: Create the Wet Mixture with Flavor Base
In a separate bowl, combine the 1.5 cups Whole Milk, 0.25 cup Vegetable Oil, and 1 tsp Vanilla Extract. Whisk vigorously for 20-30 seconds until the mixture is uniform and slightly frothy.
The oil creates moisture for tender waffles while the milk provides structure. Room temperature milk blends more smoothly into the batter. I’ve found that using a fork for whisking gives me better control over the texture than a spoon.
Step 3: Fold Ingredients Together Gently
Pour the wet mixture into the dry ingredients. Using a silicone spatula, fold everything together with a gentle J-shaped motion until just combined. You’ll see small lumps remaining—that’s perfect. Overmixing would develop gluten and make your waffles tough.
The batter should be thick but pourable, like heavy cream. If it appears too thick, resist the urge to add more milk. The 2 tbsp Butter you’ll use for the waffle iron will add additional moisture during cooking.
Step 4: Preheat and Cook to Golden Perfection
Preheat your waffle iron to medium-high heat. Brush the hot plates with some of the 2 tbsp Butter using a pastry brush. This creates that coveted crisp exterior and prevents sticking.
Pour ½ cup of batter onto each section of the waffle iron, spreading it slightly toward the edges. Close the lid and cook for 3-5 minutes until the waffles are golden brown and release easily from the iron. Don’t open the lid too soon—you’ll know they’re ready when steam stops escaping from the edges.
Step 5: Serve Immediately for Maximum Crispness
Transfer the cooked waffles to a wire rack set in a 200°F oven to keep warm while you finish the batch. Never stack them directly on a plate—the steam would make them soggy.
Serve immediately with your favorite toppings. The contrast between the crisp edges and fluffy interior is most pronounced right out of the iron. Each waffle should have a deep golden color and a slightly sweet aroma from the vanilla and cinnamon.
Pro Tips For Making Bisquick Waffle Recipe No Egg
- Preheat the Iron: I learned this the hard way—always preheat your waffle iron for at least 5 minutes before adding batter. Otherwise, you’ll get pale, gummy waffles instead of golden, crisp ones.
- Swap Milk for Buttermilk: Sounds weird, but it works: use buttermilk instead of whole milk for a tangy depth and extra tenderness in your egg-free waffles.
- Skip Overmixing: Resist the urge to stir the batter until completely smooth—lumps are fine. Overmixing develops gluten, which makes waffles tough instead of light.
- Add a Dash of Vinegar: My grandmother swore by this, and she was right: mix 1 tablespoon vinegar with the milk to mimic the acidity of buttermilk if you don’t have any on hand.
Perfect Pairings for These Flavors
Sweet Toppings
Classic maple syrup is my go-to, but I also love warm honey or agave nectar for a lighter touch. Fresh fruit like sliced strawberries or banana coins adds natural sweetness and color. 🍯
Savory Pairings
For a twist, try fried chicken tenders on top for a Southern-inspired dish. Crumbled bacon and a drizzle of warm cheese sauce transform this into a hearty meal. The saltiness balances the waffle’s subtle sweetness perfectly.
Beverage Matches
A cold glass of milk or orange juice complements the fluffy texture beautifully. For adults, a sparkling mimosa or iced coffee adds a celebratory touch to weekend brunches. I always keep my coffee black to avoid overwhelming the waffle’s vanilla notes.
Fruit Compotes
Simmer 1 cup mixed berries with 2 tbsp sugar and 1 tsp lemon juice for 10 minutes to create an easy compote. The warm fruit sauce soaks into the waffle’s nooks and crannies deliciously. 🍓
Whipped Cream
Top with homemade whipped cream flavored with a touch of vanilla extract or cinnamon. For extra indulgence, add a sprinkle of chopped nuts or chocolate chips before serving.
Nutrition Facts
Frequently Asked Questions
Can I use water instead of milk?
Yes, but milk adds richness. Water works in a pinch, though the waffles may be less tender. For best results, stick with whole milk or a dairy-free alternative like oat milk.
Why does my batter seem too thick?
This is normal! The batter should be thicker than pancake batter. Avoid adding extra liquid—it will thin out slightly as it rests and cooks in the waffle iron.
How do I keep waffles crispy?
Place cooked waffles on a wire rack in a 200°F oven. Never stack them directly—the trapped steam will make them soggy. Serve immediately for maximum crispness.
Can I make these ahead of time?
Freeze cooked waffles in a single layer, then store in an airtight container for up to 1 month. Reheat in a toaster for best texture.

- BBQ Sausage Recipe Oven: Smoky Depth Without the Grill - September 28, 2026
- BBQ Chicken Bowl Recipe Rice: Smoky Sweetness Over Fluffy Grains - September 28, 2026
- Beef Cutlet Recipe Ideas: Crispy Breaded Patties With Bold Seasonings - September 28, 2026