
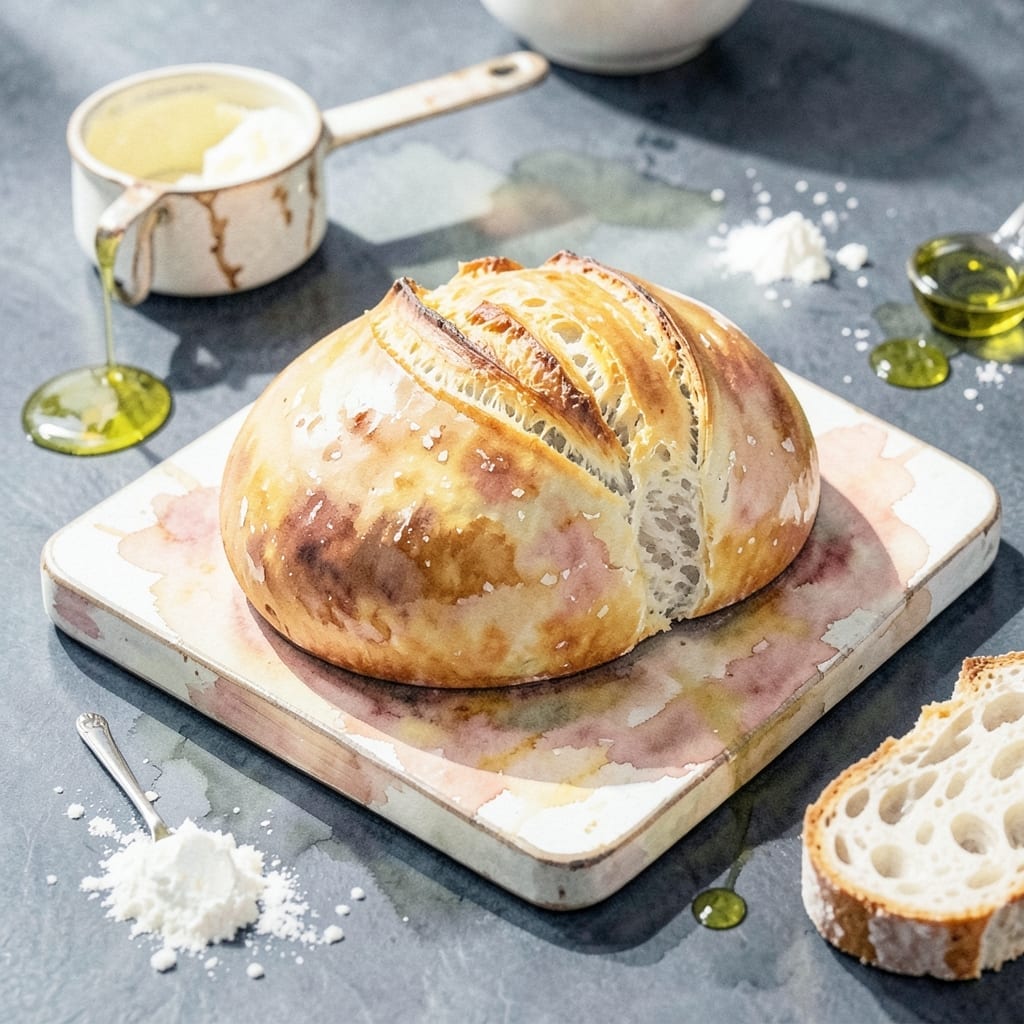
There’s nothing like the smell of fresh bread filling your kitchen, and this recipe makes it effortless. My Panasonic bread machine turns out a perfectly golden loaf with minimal effort from me.
Just add the ingredients, select the basic cycle, and let the machine do the work. The result is a soft, fluffy loaf with a tender crumb that’s ready to enjoy in just a few hours.
Ingredients for Bread Recipe for Panasonic Bread Machine
Simple ingredients for a golden, fluffy loaf in your bread machine.
| Ingredient | Amount | Notes |
|---|---|---|
| Bread Flour 🌾 | 3 ½ cups | All-purpose works but bread flour is better |
| Water 💧 | 1 ¼ cups | Warm, about 110°F |
| Granulated Sugar 🍚 | 2 tbsp | Feeds the yeast |
| Active Dry Yeast 🍞 | 2 ¼ tsp | One packet, check expiration date |
| Salt 🧂 | 1 ½ tsp | Kosher or sea salt |
| Unsalted Butter 🧈 | 2 tbsp | Softened, or use oil |
| Non-Fat Dry Milk 🥛 | ¼ cup | Enhances softness and browning |
| Large Egg 🥚 | 1 whole | Optional, for richer texture |
| Honey 🍯 | 1 tbsp | Adds subtle sweetness |
| Olive Oil 🫒 | 1 tbsp | For crumb and crust |
Bread flour is the secret here—King Arthur or Gold Medal are reliable brands. The yeast needs to be fresh (check the expiration date), and instant yeast works too if that’s what you’ve got. I grab my yeast from Whole Foods or the baking aisle at the supermarket. Warm water should feel like bathwater—too hot and you’ll kill the yeast, too cold and it won’t activate.
No bread flour? All-purpose flour plus 1 tbsp vital wheat gluten per cup gets you close. Out of dry milk? Replace with 3 tbsp warm milk (adjust water accordingly). Vegan? Swap the egg for 1 tbsp ground flaxseed plus 3 tbsp water, and use oil instead of butter. Honey can be maple syrup—same amount, no fuss.
Store flour in an airtight container for up to 6 months. Yeast keeps in the freezer for 1 year (just let it warm to room temp before using). The loaf stays fresh for 3-4 days in a bread box or wrapped in foil.
Why You’ll Love This Recipe
- Set It and Forget: I just dump the flour, water, sugar, yeast, and salt into the Panasonic, press start, and walk away—hands-off from start to finish.
- Warm, Sweet Aroma: The sugar caramelizes just enough to give the loaf a subtle sweetness that fills my kitchen with that fresh-baked smell.
- Sandwich Hero: This makes the most reliable sandwich bread—soft yet sturdy enough for thick slices of turkey or a hearty PB&J.
- Budget Stretch: A pound of bread flour costs pennies and yields a loaf that tastes far better than store-bought, saving me a trip and some cash.
Step-by-Step Instructions for Panasonic Bread Machine Bread
Here’s the method. Straightforward, tested, works every time.
Step 1: Prepare the Liquid Ingredients
Start by adding the 1.25 cups Water to your Panasonic bread machine pan. I always use warm water, about 110°F, to activate the yeast properly. Then add the 1 tbsp Honey and 1 tbsp Olive Oil. The honey adds subtle sweetness while the olive oil contributes to a tender crumb and golden crust.
Next, crack in the 1 whole Large Egg. I’ve found that adding the egg to the liquid ingredients first helps it incorporate evenly throughout the dough. This step ensures your bread has that rich texture we’re aiming for.
Step 2: Add the Dry Ingredients
Now, add the 3.5 cups Bread Flour to the pan. I prefer bread flour for its higher protein content, which gives the loaf better structure. Then measure in the 2 tbsp Granulated Sugar, 0.25 cup Non-Fat Dry Milk, and 1.5 tsp Salt. The dry milk enhances softness and browning, while the salt balances the sweetness.
Here’s the thing—make a small well in the center of the dry ingredients. This is where you’ll add the 2.25 tsp Active Dry Yeast. Keeping the yeast separate from the liquid until the machine starts ensures it activates at the right time for perfect rise.
Step 3: Add the Butter and Start the Machine
Cut the 2 tbsp Unsalted Butter into small pieces and place them in the corners of the pan. The butter should be softened but not melted. I’ve found that this placement helps it incorporate evenly as the machine kneads the dough.
Select the “Basic” or “White Bread” setting on your Panasonic bread machine. Choose your desired crust color—medium works well for this recipe. Press start and let the machine do its work. The first kneading cycle should begin within a few minutes.
Step 4: Monitor and Adjust as Needed
About 10 minutes into the kneading cycle, check the dough consistency. It should form a smooth ball that’s slightly tacky but not sticky. If it looks too dry, add 1 tablespoon of water. If it’s too wet, add 1 tablespoon of bread flour. Don’t be tempted to add more than this—small adjustments make a big difference.
Watch for the dough to pull away from the sides of the pan during kneading. This usually happens after the first 15-20 minutes. The machine will handle the rising and baking from here, but I like to check periodically to ensure everything looks on track.
Step 5: Remove and Cool the Bread
When the cycle completes, the machine will beep. Open the lid and carefully remove the pan using oven mitts—it will be hot. Let the bread cool in the pan for 5 minutes, then transfer it to a wire rack to cool completely.
Resist the temptation to slice into it right away. Letting the bread cool for at least 1 hour allows the structure to set and makes for cleaner slices. You’ll know it’s ready when the loaf feels firm to the touch and sounds hollow when tapped on the bottom. The result should be a beautiful, golden loaf with a soft, tender crumb.
Pro Tips For Making Bread Recipe For Panasonic Bread Machine
- Layer Ingredients Right: Put liquids first, then flour, then sugar and salt in corners, and yeast last—this keeps the yeast dry until the machine starts, so it doesn’t activate too early.
- Use Room-Temp Water: I learned this the hard way—cold water slows the rise, and hot water kills the yeast. Aim for about 80°F, or just warm to the touch.
- Skip Packed Flour: Scooping flour directly from the bag packs it down, and you’ll end up with a dense loaf. Spoon it into the cup and level it off instead.
- Add Vital Wheat Gluten: Sounds weird, but it works: adding 1 tablespoon of vital wheat gluten to your flour makes the bread lighter and taller, especially with bread machine cycles.
Best Sauces and Condiments for This Recipe
Classic Butter Spread
Nothing beats warm bread with salted butter melting into every bite. I use Land O’Lakes or Plugrá for that rich, creamy taste. For extra flair, whip your butter with a pinch of sea salt and fresh herbs like thyme. 💛
Honey Cinnamon Butter
Mix ½ cup softened butter with 2 tbsp honey and ½ tsp cinnamon for a sweet, fragrant spread. This pairs especially well with the subtle sweetness from the honey in your loaf. I love making this in small batches to keep it fresh.
Garlic Herb Oil
Combine ¼ cup olive oil with 3 minced garlic cloves and 1 tbsp fresh rosemary. Heat gently in a saucepan until fragrant, then brush on warm bread slices. The aroma will fill your kitchen all over again.
Jam and Preserves
Fruit spreads add a bright contrast to your bread’s richness. I recommend Smucker’s strawberry jam or Bonnie’s apricot preserves. Spread thinly to avoid overpowering the bread’s delicate flavor.
For a gourmet touch, try orange marmalade with its bittersweet citrus notes. 🍯
Cream Cheese Options
Philadelphia cream cheese spread on warm bread creates a luxurious texture. Mix in chopped chives or everything bagel seasoning for added depth. This works beautifully for breakfast or brunch.
Nutrition Facts
Frequently Asked Questions
What cycle should I use for white bread?
Use the Basic or White Bread setting. Set crust to medium for best results. The cycle typically runs for 3-4 hours including kneading, rising, and baking.
Can I use all-purpose flour instead?
Yes, but add 1 tbsp vital wheat gluten per cup to mimic bread flour’s protein content. Without it, your loaf may be slightly denser and less structured.
Why did my bread collapse in the middle?
This usually means the yeast was old or the dough was too wet. Always check yeast expiration and measure liquids precisely. Avoid opening the lid during rising.
How do I know when the dough needs adjustment?
Check after 10 minutes of kneading. The dough should form a smooth ball. If sticky, add 1 tbsp flour. If dry, add 1 tbsp water.

- BBQ Sausage Recipe Oven: Smoky Depth Without the Grill - September 28, 2026
- BBQ Chicken Bowl Recipe Rice: Smoky Sweetness Over Fluffy Grains - September 28, 2026
- Beef Cutlet Recipe Ideas: Crispy Breaded Patties With Bold Seasonings - September 28, 2026