
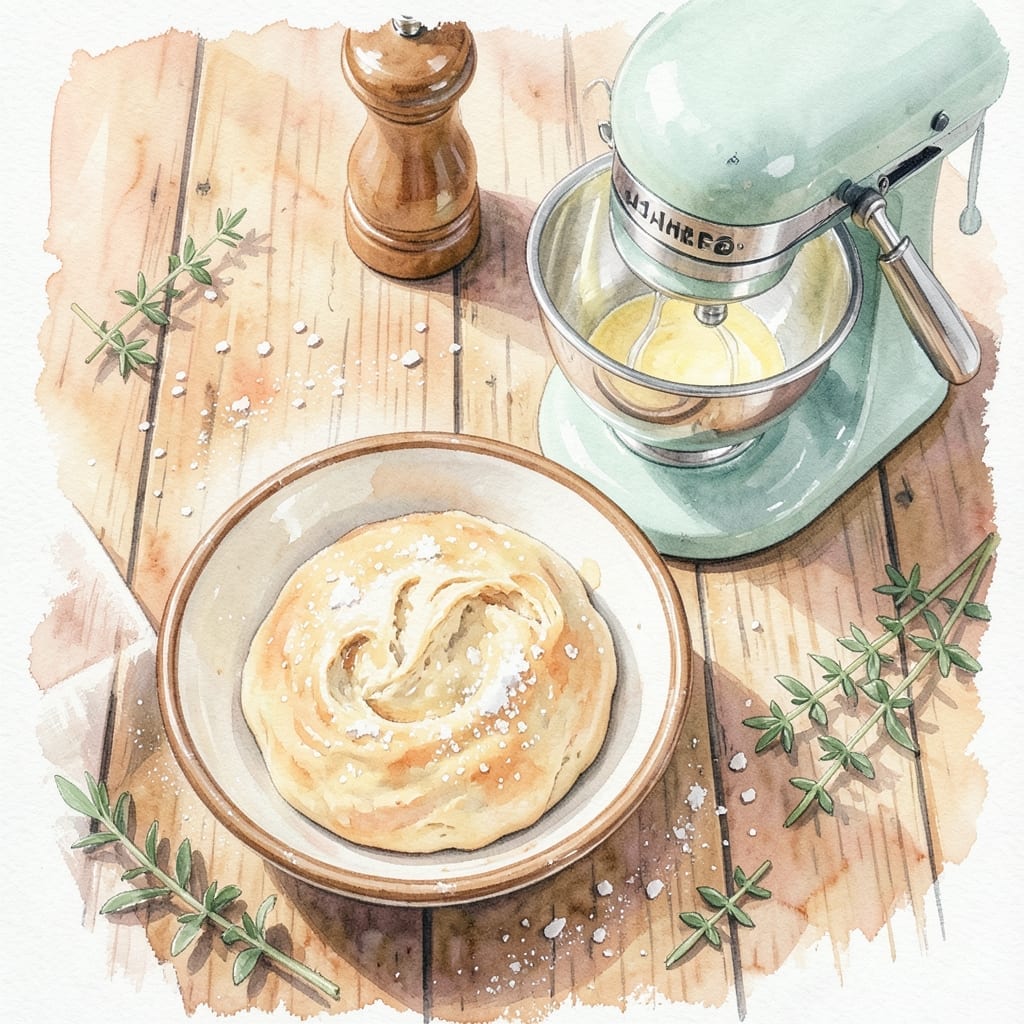
There’s nothing quite like the aroma of freshly baked bread filling your kitchen, and this recipe makes it effortless. Using a KitchenAid mixer takes all the hard work out of kneading, so you can enjoy perfect loaves with minimal effort.
The mixer’s dough hook does the heavy lifting, ensuring consistent results every time. You’ll love how the machine handles the sticky dough, leaving your hands clean and your countertops mess-free. The process is streamlined yet yields bread with ideal texture.
After a short rise, the dough bakes into a golden loaf with a crisp crust and soft interior. The method is reliable, producing professional-quality bread that tastes as good as it looks. No special skills or experience required.
This approach proves that homemade bread can be both simple and exceptional. The results speak for themselves.
Ingredients for Bread Recipe Using Kitchenaid Mixer
Simple pantry staples and a mixer create this golden, crisp-crusted loaf with ease.
| Ingredient | Amount | Notes |
|---|---|---|
| Bread Flour 🌾 | 4 ½ cups | Plus extra for dusting |
| Active Dry Yeast 🍞 | 2 ¼ tsp | One packet, proofed in warm water |
| Warm Water 💧 | 1 ¼ cups | 110-115°F for yeast activation |
| Granulated Sugar 🍚 | 1 tbsp | Feeds the yeast for rise |
| Salt 🧂 | 2 tsp | Kosher or fine sea salt |
| Unsalted Butter 🧈 | 2 tbsp | Softened to room temperature |
| Large Egg 🥚 | 1 whole | Optional, for enriched dough |
| Olive Oil 🫒 | 1 tbsp | For greasing bowl and loaf pan |
| Honey 🍯 | 2 tbsp | Optional, for slightly sweet bread |
| Cornmeal 🌽 | 2 tbsp | For dusting loaf pan |
Bread flour is key here—King Arthur is my go-to for consistent protein content (the higher protein helps with that perfect rise). Yeast matters too: Fleischmann’s or Red Star work reliably. Don’t skip proofing the yeast—bubbly foam in 5-10 minutes means it’s alive. The water temp is crucial: too hot kills yeast, too cold slows activation (a kitchen thermometer is worth it).
No bread flour? All-purpose plus vital wheat gluten (1 tbsp per cup of flour) gets you close. Out of honey? Swap in maple syrup or sugar. Want it dairy-free? Use olive oil instead of butter. The egg is optional—skip it for a lighter loaf, or add it for richness. If your kitchen is cold, place the dough in the oven with the light on for a warm rise.
Dough keeps in the fridge for 24 hours (slow rise = more flavor). Baked loaves stay fresh for 3 days wrapped in foil at room temp, or freeze slices for 3 months. Always let cold dough come to room temp before shaping—makes it easier to handle.
Why You’ll Love This Recipe
- Hands-Off Kneading: The mixer does all the work while I sip my coffee—no sore arms, just perfect dough.
- Warm, Yeasty Perfection: That first bite with its crisp crust and soft, buttery center? Honestly, it’s why I keep making it.
- Sandwich Savior: From school lunches to weekend brunch, this loaf disappears fast—my kids even skip the crust.
- Penny-Wise Loaf: Five basic ingredients and my stand mixer turn out bakery-style bread for a fraction of the cost.
Step-by-Step Instructions for Bread Using KitchenAid Mixer
This hands-off method delivers bakery-quality results with minimal effort on your part.
Step 1: Proof the Yeast and Activate the Magic
In the bowl of your KitchenAid mixer, combine the 1.25 cups Warm Water (it should feel like warm bath water, not hot), 1 tbsp Granulated Sugar, and 2.25 tsp Active Dry Yeast. Let it sit for 5-7 minutes until it becomes frothy and smells yeasty.
This step is crucial—if your yeast doesn’t bubble, it’s dead and your bread won’t rise. I always double-check my water temperature with a thermometer to ensure it’s between 110-115°F. The sugar gives the yeast a quick snack to get it going.
Step 2: Mix and Knead the Dough
Add 4.5 cups Bread Flour, 2 tsp Salt, 2 tbsp Unsalted Butter, 1 whole Large Egg, and 2 tbsp Honey to the yeast mixture. Using the dough hook attachment, mix on low speed for 2 minutes until the ingredients come together.
Increase the speed to medium and knead for 6-8 minutes until the dough is smooth, elastic, and pulls away from the sides of the bowl. If it feels too sticky, add 1 tbsp of bread flour at a time until it reaches the right consistency. The dough should feel slightly tacky but not stick to your fingers.
Step 3: Let the Dough Rise Until Doubled
Lightly grease a large bowl with 1 tbsp Olive Oil, then place the dough in the bowl, turning it once to coat all sides. Cover with a clean kitchen towel or plastic wrap and let it rise in a warm, draft-free spot for 1-1.5 hours or until doubled in size.
I like to turn my oven on to its lowest setting, let it warm up for a minute, then turn it off and place the bowl inside. The residual heat creates the perfect rising environment. The dough is ready when it’s puffy and an indent from your finger springs back slowly.
Step 4: Shape, Second Rise, and Bake
Punch down the risen dough to release the air, then turn it out onto a lightly floured surface. Shape it into a loaf and place it seam-side down in a loaf pan dusted with 2 tbsp Cornmeal. Cover and let it rise again for 30-45 minutes until it domes above the pan.
Preheat your oven to 375°F during the last 15 minutes of rising. Bake the loaf for 25-30 minutes until it’s golden brown and sounds hollow when tapped on the bottom. If the top browns too quickly, tent it with foil.
Step 5: Cool Before Slicing
Remove the bread from the pan immediately and transfer it to a wire rack. Let it cool for at least 20 minutes before slicing. I know it’s tempting to dig in right away, but cutting too soon can make the loaf gummy.
The bread is fully cooled when it feels room temperature to the touch. This resting time allows the crumb to set properly, giving you those perfect, even slices with a tender interior and crisp crust.
Pro Tips For Making Bread Recipe Using Kitchenaid Mixer
- Test the Yeast: I learned this the hard way—always dissolve the active dry yeast in warm water with a pinch of sugar first and wait 5 minutes for a foamy layer. If it doesn’t bubble, your bread won’t rise, no matter what the mixer does.
- Knead Just Enough: Let the KitchenAid do its thing, but stop the hook once the dough pulls cleanly from the bowl and feels smooth, about 6-8 minutes. Over-kneading makes dense, tough bread.
- Use Bread Flour: Skip the all-purpose—bread flour’s higher protein content (12-14%) gives your loaf the structure it needs to rise tall and hold its shape.
- Add Salt Last: Toss the salt in after the yeast has activated. Adding it too early can slow or kill the yeast, and you’ll end up with a flat, sad loaf.
Troubleshooting bread recipe using kitchenaid mixer
Dough Not Rising
If your dough isn’t puffing up, check your yeast first. It might be expired—always test it in warm water with sugar before adding flour. Also, ensure your kitchen isn’t too cold; dough needs warmth to rise properly. I keep mine near the oven with the light on. 🌡️
Dense or Heavy Loaf
This usually means under-kneading or using too much flour. Let your KitchenAid run for the full 6-8 minutes on medium speed. The dough should be slightly tacky but pull away from the bowl. Resist adding extra flour unless absolutely necessary.
Bread Collapses After Baking
This happens when the loaf isn’t fully baked inside. Use a thermometer to check for 190-200°F internal temperature. Also, avoid opening the oven door during the first 20 minutes of baking, as temperature fluctuations can cause collapse.
Crust Too Thick or Hard
Brush the top with melted butter or olive oil right after baking to soften it. Another trick: place a pan of water on the lower oven rack while baking to create steam. This keeps the crust tender while allowing the inside to cook thoroughly.
Uneven Baking
If one side of your loaf is browning faster, rotate the pan halfway through baking. Also, make sure your oven is properly calibrated—an oven thermometer can reveal hot spots. I check mine annually. 💡
Dough Sticks to Bowl
This is normal at first, but if it’s still sticking after 5 minutes of kneading, add 1 tbsp of flour at a time. Too much flour can make your bread dense, so add sparingly. The dough hook should eventually clean the bowl sides.
Nutrition Facts
Frequently Asked Questions
What attachment should I use for kneading?
Always use the dough hook attachment for bread. It’s designed to handle thick dough without straining your mixer. The flat beater won’t knead properly and may damage your machine.
Can I make this dough by hand?
Yes, but expect more effort. Knead by hand for 10-12 minutes until smooth. The stand mixer saves time and ensures even development of gluten.
Why is my dough too sticky?
This often happens in humid weather. Add 1 tbsp of bread flour at a time until it pulls away from the bowl. Don’t add too much or your loaf will be dense.
How do I know when the bread is done?
Use an instant-read thermometer to check for 190-200°F internally. Alternatively, tap the bottom—it should sound hollow. The crust will be golden brown.

- BBQ Sausage Recipe Oven: Smoky Depth Without the Grill - September 28, 2026
- BBQ Chicken Bowl Recipe Rice: Smoky Sweetness Over Fluffy Grains - September 28, 2026
- Beef Cutlet Recipe Ideas: Crispy Breaded Patties With Bold Seasonings - September 28, 2026