
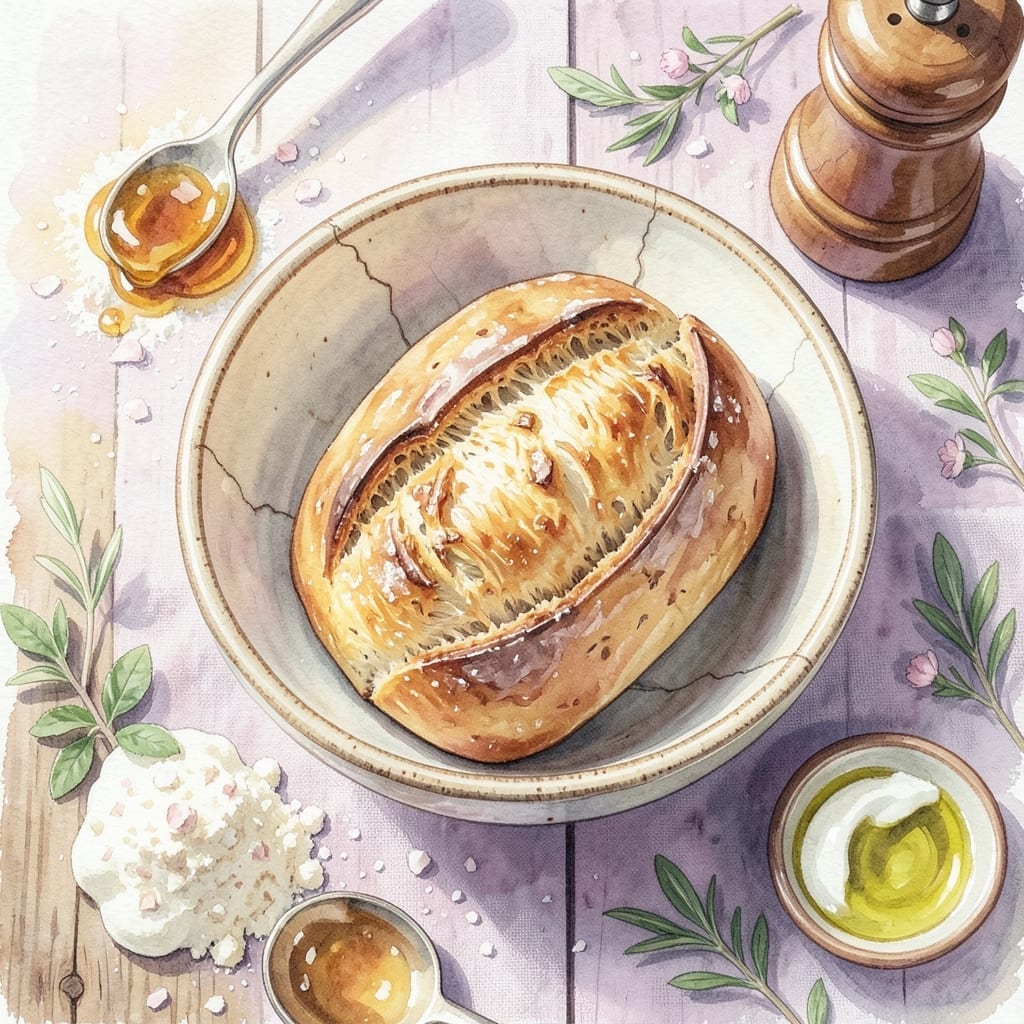
This no-yeast bread proves you don’t need specialty ingredients to achieve bakery-quality results. Self-rising flour does all the work, creating a light, airy loaf with minimal effort.
The beauty of this method lies in its simplicity. Just mix, shape, and bake—no waiting for dough to rise. The result is a golden crust with a soft, tender interior that’s perfect for sandwiches or toast.
Unlike traditional recipes, this version skips the yeast entirely, relying on the leavening power of self-rising flour. It’s a game-changer for busy cooks who want fresh bread in under an hour.
Serve warm with butter or use it as a base for your favorite toppings.
Ingredients for Bread Recipe with Self-rising Flour
Simple pantry staples for a no-yeast loaf. No waiting, no fuss.
| Ingredient | Amount | Notes |
|---|---|---|
| Self-Rising Flour 🌾 | 4 cups | All-purpose variety works too |
| Plain Greek Yogurt 🥛 | 1 ½ cups | Full-fat for best texture |
| Honey 🍯 | 2 tbsp | Or maple syrup for vegan |
| Baking Soda 🧂 | 1 tsp | Ensures proper rise |
| Salt 🧂 | 1 tsp | Kosher or sea salt |
| Olive Oil 🫒 | 2 tbsp | For greasing bowl |
| Unsalted Butter 🧈 | 2 tbsp | Melted, for topping |
| Garlic Powder 🧄 | 1 tsp | Optional for flavor boost |
| Dried Italian Seasoning 🌿 | 1 tsp | Optional herb blend |
| Large Egg 🥚 | 1 whole | For richer dough |
| Milk 🥛 | ¼ cup | Adjust dough consistency |
The flour is the hero here. Self-rising flour is a must—it’s what gives this bread its lift without yeast. Most grocery stores carry it (look near the baking aisle), but King Arthur is my go-to brand for consistent results. The yogurt adds moisture and tang—full-fat Greek works best, but any plain yogurt will do in a pinch.
No self-rising flour? Mix 4 cups all-purpose flour + 2 tbsp baking powder + 1 tsp salt as a substitute. Swap honey for maple syrup if you’re avoiding bee products. The egg is optional but gives a richer crumb. Skip it and add an extra tbsp of yogurt if you’re out.
Bread stays fresh wrapped in foil at room temp for 2-3 days. For longer storage, slice and freeze in a bag for up to 1 month. Warm slices in the toaster—tastes almost fresh-baked.
Why You’ll Love This Recipe
- Minimal Effort: I just stir the self-rising flour, yogurt, and honey—no yeast, no waiting, no fuss.
- Sweet & Tangy: The honey adds a whisper of sweetness that plays perfectly against the yogurt’s subtle tang.
- Breakfast to Dinner: I’ve served it warm with jam at dawn and used leftovers for evening sandwiches.
- Pantry Hero: Flour, yogurt, and a spoonful of honey—items I always have, so this bread happens whenever a craving hits.
Step-by-Step Instructions for No-Yeast Artisan Bread
This is the easiest way to make bread without yeast. Let’s get started.
Step 1: Mix the Dry Ingredients
In a large mixing bowl, whisk together the 4 cups Self-Rising Flour, 1 tsp Baking Soda, 1 tsp Salt, 1 tsp Garlic Powder, and 1 tsp Dried Italian Seasoning. This ensures all the leavening and seasoning is evenly distributed throughout the dough.
I like to sift the flour first if it looks lumpy, but it’s not strictly necessary. The key is making sure the baking soda and salt are fully incorporated—these are what give your bread its rise and flavor without yeast.
Step 2: Combine Wet Ingredients and Form Dough
In a separate bowl, whisk together the 1.5 cups Plain Greek Yogurt, 2 tbsp Honey, 1 whole Large Egg, and 0.25 cup Milk until smooth. The yogurt adds tang and helps create a tender crumb, while the honey adds a touch of sweetness.
Pour the wet mixture into the dry ingredients and stir with a wooden spoon until just combined. The dough will be sticky—that’s normal. Don’t overmix; you just want everything incorporated. If the dough seems too thick, add a splash more milk, but start with the full 0.25 cup.
Step 3: Knead and First Rise
Lightly oil your hands with some of the 2 tbsp Olive Oil and turn the dough out onto a clean surface. Knead gently for 2-3 minutes until the dough comes together into a smooth ball. It will still be slightly tacky, but shouldn’t stick to your hands.
Place the dough in a clean bowl lightly greased with the remaining olive oil. Cover with a damp towel and let it rise in a warm place for 1 hour. You’ll notice it roughly doubles in size during this time.
Step 4: Shape, Second Rise, and Bake
After the first rise, punch down the dough to release the air. Shape it into a round loaf and place it on a parchment-lined baking sheet. Use a sharp knife to score the top in a cross pattern—this helps the bread bake evenly and looks beautiful.
Let the shaped dough rise for another 30 minutes while you preheat your oven to 375°F. Bake for 25-30 minutes until the top is golden brown and the loaf sounds hollow when tapped on the bottom.
Step 5: Finish with Butter and Cool
As soon as you remove the bread from the oven, brush the top with the 2 tbsp Unsalted Butter melted. This adds richness and gives the crust a beautiful sheen. The butter will soak in slightly, making the crust tender rather than hard.
Let the bread cool on a wire rack for at least 20 minutes before slicing. I know it’s hard to wait when it smells this good, but cooling allows the crumb to set properly. Serve warm for the best texture.
Pro Tips For Making Bread Recipe With Self-Rising Flour
- Warm the Yogurt: Take your plain Greek yogurt out of the fridge 30 minutes before mixing—I learned this the hard way after my first few loaves came out dense.
- Skip Extra Leavening: Self-rising flour already has baking powder, so that extra pinch of baking soda isn’t helping. Resist the urge; it’ll taste metallic.
- Bake Until Golden: Pull it when the top is deep golden and sounds hollow when tapped, about 25-30 minutes at 375°F—any sooner and the center stays gummy.
- Swap Honey for Warmth: If your honey is thick, warm it for 10 seconds in the microwave so it blends smoothly into the dough without leaving sticky pockets.
Serving Suggestions for This bread recipe with self-rising flour
Warm Bread Basket
Serve this loaf warm, sliced thick with salted butter melting over the top. The crust stays tender while the interior remains soft and fluffy. I love watching the butter disappear into the warm bread. 💛
Soup and Stew Side
Pair with hearty tomato soup or beef stew for a comforting meal. The bread’s mild flavor lets the soup shine while soaking up every last drop. A 1-inch slice makes the perfect dipping size.
Bruschetta Base
Toast slices and rub with garlic clove, then top with diced tomatoes, fresh basil, and a drizzle of balsamic glaze. The bread’s sturdy texture holds up to juicy toppings without getting soggy.
Breakfast Toast
For morning meals, toast and spread with cream cheese and jam, or make avocado toast with a sprinkle of everything bagel seasoning. The slightly sweet flavor pairs perfectly with savory or sweet toppings.
French Toast Upgrade
Use day-old slices for the best French toast—dip in egg-milk mixture with a dash of cinnamon. The bread’s density absorbs the custard beautifully, creating a rich, golden breakfast.
Nutrition Facts
Frequently Asked Questions
Can I use all-purpose flour instead?
Yes! Mix 4 cups all-purpose flour + 2 tbsp baking powder + 1 tsp salt as a perfect substitute. The texture will be nearly identical to self-rising flour results.
Why does my bread taste dense?
Overmixing or expired leavening agents are common culprits. Stir wet and dry ingredients just until combined, and check your baking powder’s expiration date for best rise.
How do I get a crispier crust?
Bake on the lower oven rack and brush with melted butter immediately after removing from the oven. For extra crunch, spritz the oven with water just before baking.
Can I make this in a loaf pan?
Grease a 9×5-inch pan and bake at 375°F for 30-35 minutes. The shape will be more uniform, perfect for sandwiches.

- BBQ Sausage Recipe Oven: Smoky Depth Without the Grill - September 28, 2026
- BBQ Chicken Bowl Recipe Rice: Smoky Sweetness Over Fluffy Grains - September 28, 2026
- Beef Cutlet Recipe Ideas: Crispy Breaded Patties With Bold Seasonings - September 28, 2026