
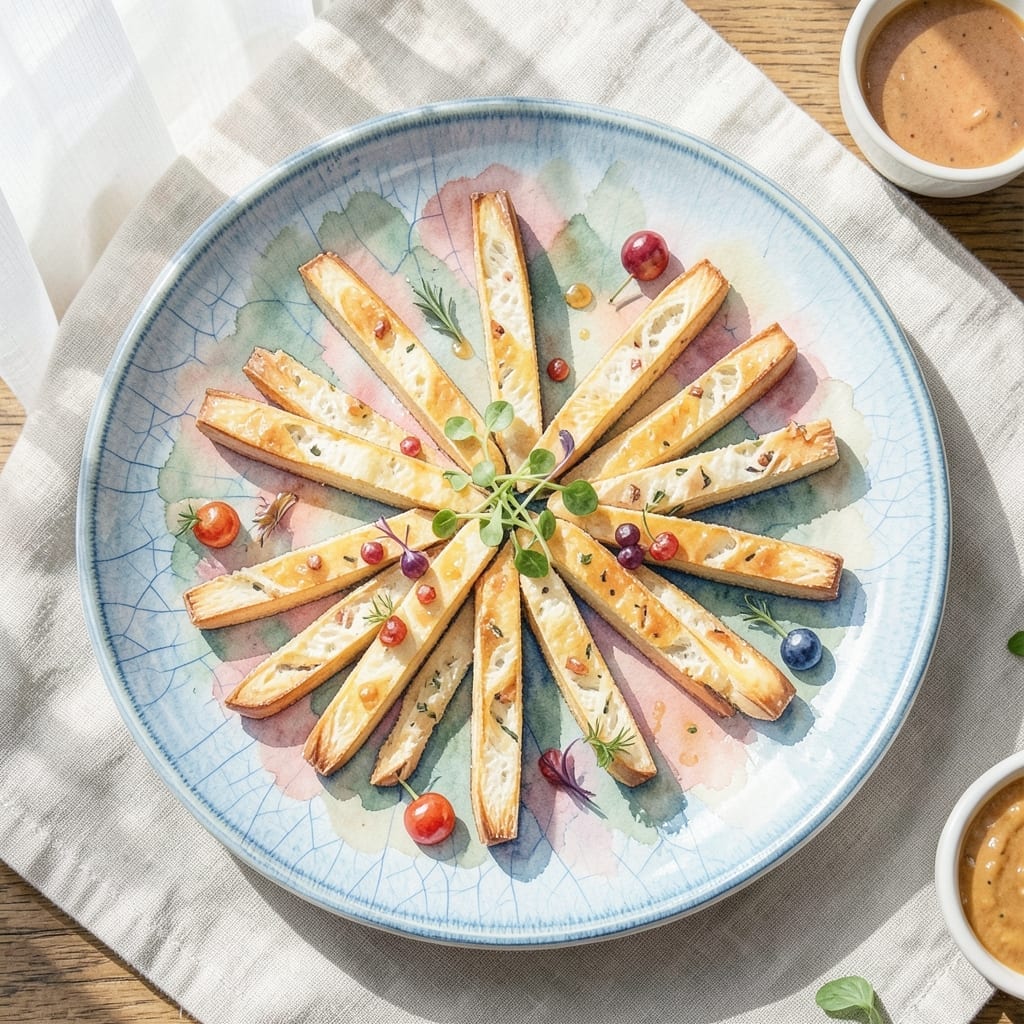
These no-yeast breadsticks deliver flaky layers and perfect texture without the waiting time of traditional recipes.
I developed this method using simple pantry staples and a clever technique that creates airy, crispy results. The dough comes together quickly with baking powder as the leavening agent, eliminating the need for rising.
What you get are golden breadsticks with a tender interior and satisfying crunch. They bake in just 15 minutes at high heat, making them ideal for last-minute appetizers or soup companions.
Serve warm with marinara or garlic butter for dipping. This recipe proves you don’t need yeast for bakery-quality results.
Ingredients for Breadsticks Recipe No Yeast
Simple pantry staples transform into golden, flaky breadsticks with minimal effort and maximum crunch.
| Ingredient | Amount | Notes |
|---|---|---|
| All-Purpose Flour 🌾 | 2 ½ cups | Plus extra for dusting |
| Baking Powder 🧂 | 2 tsp | Aluminum-free preferred |
| Kosher Salt 🧂 | 1 tsp | Fine grain for even distribution |
| Unsalted Butter 🧈 | ½ cup | Cold, cubed for layering |
| Plain Greek Yogurt 🥛 | ¾ cup | Full-fat for tenderness |
| Olive Oil 🫒 | 2 tbsp | For brushing and dipping |
| Garlic Powder 🧄 | 1 tsp | Enhances savory depth |
| Dried Oregano 🌿 | 1 tsp | Mediterranean flavor profile |
| Grated Parmesan Cheese 🧀 | ½ cup | Freshly grated preferred |
| Large Egg 🥚 | 1 whole | Room temperature for binding |
| Black Pepper 🌶️ | ½ tsp | Freshly ground for best flavor |
| Water 💧 | ¼ cup | Cold, as needed for dough |
The butter is critical here—use high-quality unsalted (I prefer Plugrá or Kerrygold) and keep it ice-cold for those flaky layers. The Greek yogurt adds tenderness without yeast; Fage or Chobani full-fat are ideal. For the flour, King Arthur or Gold Medal all-purpose give consistent results. Measure by spooning into cups, not scooping, to avoid compacted dough.
No Greek yogurt? Sour cream at the same amount works well (full-fat for best texture). Swap the Parmesan for Pecorino Romano if you want a sharper bite. Out of dried oregano? Fresh thyme at twice the quantity (finely chopped) adds a nice twist. The egg can be omitted—replace with 1 tbsp water + 1 tbsp oil, though the color won’t be as rich.
Dough can rest in the fridge for up to 24 hours (great for prepping ahead). Baked breadsticks keep in an airtight container for 3 days, though they’re best fresh. Reheat in a 350°F oven for 5 minutes to restore crispness. Freeze unbaked dough for up to 1 month.
Why You’ll Love This Recipe
- No Yeast Needed: Honestly, I love that I can skip the waiting around for dough to rise—just mix, shape, and bake.
- Buttery Layers: The combination of cold butter and Greek yogurt creates flaky, rich breadsticks that melt in your mouth.
- Ready in 20: From start to finish, these come together faster than ordering takeout. (Yes, even on a Tuesday night)
Step-by-Step Instructions for Breadsticks No Yeast
This method delivers impossibly flaky layers with minimal effort and no rising time required.
Step 1: Combine Dry Ingredients and Cold Butter
In a large bowl, whisk together the 2.5 cups all-purpose flour, 2 tsp baking powder, 1 tsp kosher salt, 1 tsp garlic powder, 1 tsp dried oregano, and 0.5 tsp black pepper. The fine grain salt ensures even distribution throughout the dough.
Cut in the 0.5 cup cold unsalted butter using a pastry cutter or your fingers until the mixture resembles coarse crumbs with pea-sized butter pieces visible. This cold butter is crucial—it creates steam during baking that separates the dough into those coveted flaky layers.
Step 2: Incorporate Wet Ingredients for Tender Dough
Add the 0.75 cup plain Greek yogurt and 1 whole large egg to the flour mixture. Stir with a wooden spoon until the dough just begins to come together. The full-fat yogurt provides both moisture and richness, resulting in a tender crumb.
If the dough seems too dry, add the 0.25 cup cold water 1 tablespoon at a time until it forms a shaggy mass. Be conservative—the dough should be slightly sticky but not wet. Overworking the dough at this stage develops gluten, which would make your breadsticks tough rather than flaky.
Step 3: Laminate and Fold for Maximum Flakiness
Turn the dough onto a lightly floured surface and knead gently just until smooth, about 30 seconds. Roll the dough into a 12×10-inch rectangle about ½-inch thick. Brush the surface with 1 tablespoon olive oil.
Fold the dough in thirds like a letter, then rotate 90 degrees and roll out again to the same dimensions. Repeat this fold and roll process two more times. This lamination technique creates multiple thin layers of butter between dough, which puff up dramatically during baking for that perfect flaky texture.
Step 4: Shape, Season, and Bake to Golden Perfection
Preheat your oven to 400°F. Roll the laminated dough into a 16×12-inch rectangle on a parchment-lined baking sheet. Using a sharp knife or pizza cutter, cut the dough lengthwise into 1-inch wide strips, then cut each strip crosswise to create individual breadsticks.
Brush the tops with the remaining 1 tablespoon olive oil and sprinkle evenly with the 0.5 cup grated Parmesan cheese. Bake for 15-18 minutes until the breadsticks are deep golden brown and the Parmesan has melted into a crisp, savory crust. Rotate the pan halfway through baking for even browning.
Pro Tips For Making Breadsticks Recipe No Yeast
- Chill the Dough: After mixing, let the dough rest in the fridge for 20-30 minutes—this makes it easier to roll and prevents the butter from melting too soon.
- Use Cold Butter: Cut the unsalted butter into small cubes and keep it cold until mixing; this creates flaky layers in your breadsticks.
- Don’t Overwork: Mix just until the dough comes together—overworking it makes the breadsticks tough instead of tender.
- Roll Evenly: Use a ruler to cut the dough into consistent strips (about ½ inch wide) so they bake evenly and look uniform.
Essential Equipment for Great breadsticks recipe no yeast
Mixing Tools
I always start with a large stainless steel mixing bowl—my Cuisinox one has lasted years. A whisk combines dry ingredients perfectly, while a wooden spoon gently folds in wet components without overmixing the dough. 💡
Dough Preparation
A pastry cutter is my secret weapon for cutting cold butter into flour quickly. If you don’t have one, use your fingers but work fast to keep the butter cold. I also keep a bench scraper nearby to help lift sticky dough off the counter.
Rolling Equipment
A French rolling pin gives me better control than a traditional roller. For precise measurements, I use a ruler to check my 14×10-inch rectangle. A silicone pastry mat with measurements helps maintain consistent thickness.
Cutting and Shaping
A sharp pizza cutter makes clean cuts through the dough for even strips. I prefer the OXO Good Grips model. For twisting, I work quickly to keep the dough cold, which helps maintain those flaky layers during baking.
Baking Essentials
Use a heavy-duty baking sheet—I swear by Nordic Ware—and always line it with parchment paper for easy cleanup. An oven thermometer ensures your 400°F temperature is accurate for consistent results. 🔥
Finishing Touches
A pastry brush helps evenly distribute the olive oil topping. I use a fine-mesh sieve to dust extra Parmesan and seasonings precisely. These small tools make a big difference in presentation.
Nutrition Facts
Frequently Asked Questions
Can I substitute baking powder with baking soda?
No, they’re not interchangeable here. Baking powder contains both acid and base, while baking soda needs an acidic ingredient to activate. Stick with 2 tsp baking powder for proper rise.
How do I store leftover breadsticks?
Keep them in an airtight container at room temperature for up to 3 days. Reheat in a 350°F oven for 5 minutes to restore crispness.
Why is my dough tough instead of flaky?
Overworking the dough develops gluten, making it dense. Handle it minimally and keep the butter cold for those perfect layers.

- BBQ Sausage Recipe Oven: Smoky Depth Without the Grill - September 28, 2026
- BBQ Chicken Bowl Recipe Rice: Smoky Sweetness Over Fluffy Grains - September 28, 2026
- Beef Cutlet Recipe Ideas: Crispy Breaded Patties With Bold Seasonings - September 28, 2026