
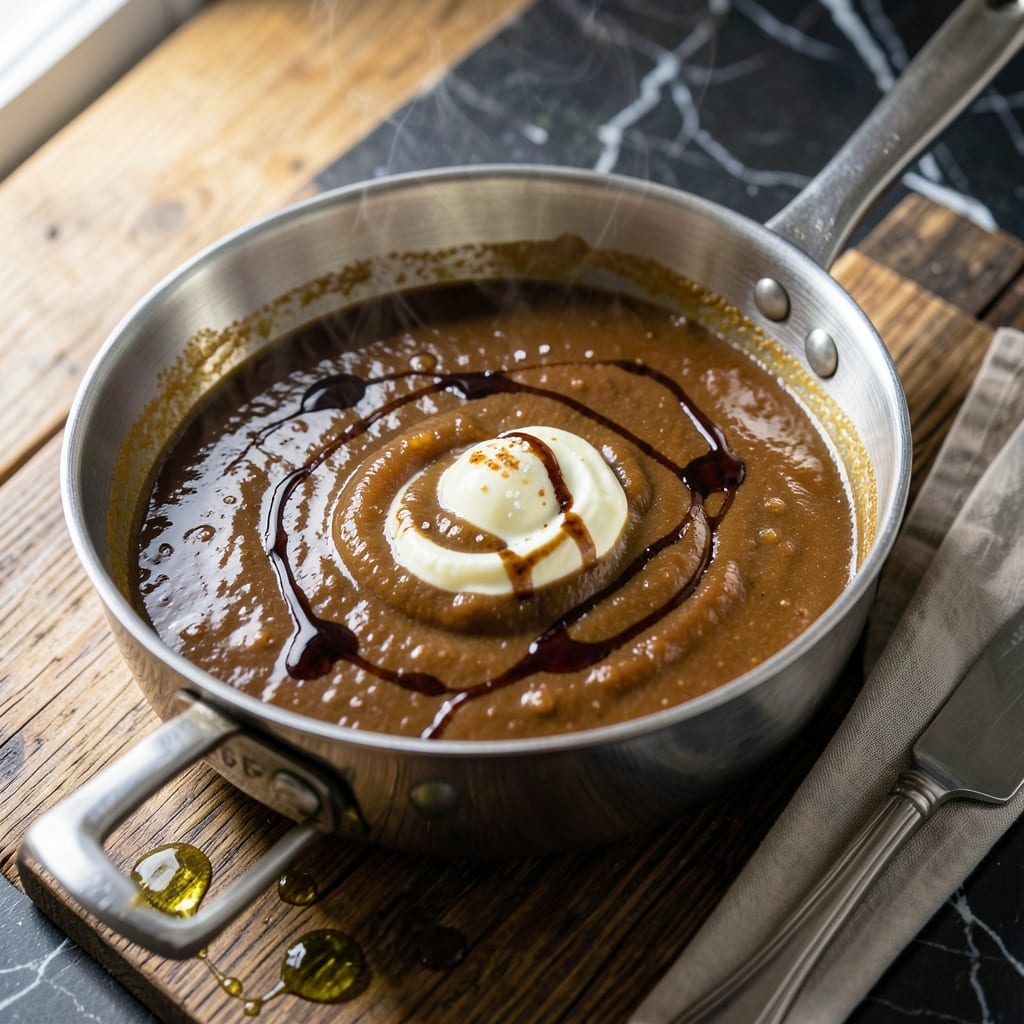
This brown gravy transforms pan drippings into a rich, savory sauce that elevates any meal. The process is simple yet precise, extracting maximum flavor from every drop of residue.
By skimming the fat and using the fond left behind, you create a base that’s deeply flavorful. A quick roux thickens it to the perfect consistency, while a splash of broth enhances the depth.
The result is a smooth, velvety gravy with a robust taste that complements roasts, mashed potatoes, or biscuits. It’s a foolproof way to turn leftover drippings into something extraordinary.
Store it in the fridge for up to four days or freeze for longer use. This is gravy worth making every time.
Ingredients for Brown Gravy Recipe Drippings
Turn pan drippings into rich, savory gravy with these simple additions.
| Ingredient | Amount | Notes |
|---|---|---|
| Pan Drippings 🍖 | 1 ½ cups | From roasted meat, fat skimmed |
| All-Purpose Flour 🌾 | ¼ cup | For roux thickening |
| Beef Broth 🥩 | 2 cups | Low-sodium preferred |
| Unsalted Butter 🧈 | 2 tbsp | For richness and flavor |
| Worcestershire Sauce 💧 | 1 tsp | Adds umami depth |
| Salt 🧂 | ½ tsp | Adjust to taste |
| Black Pepper 🌶️ | ½ tsp | Freshly ground preferred |
| Garlic Powder 🧄 | ¼ tsp | Optional for extra flavor |
The drippings are everything here. Grab them from any roasted meat—beef, turkey, or chicken all work. Skim off the fat first (a fat separator makes this easy). If you don’t have enough drippings, supplement with beef broth. I usually get the best results from a roast cooked in a cast-iron pan—it leaves behind the perfect fond for flavor.
No pan drippings? Beef broth plus a splash of soy sauce mimics the depth. Out of Worcestershire? Soy sauce or fish sauce at half the amount works. The flour is for thickening, but cornstarch slurry (1 tbsp mixed with 1 tbsp water) can sub in a pinch. Butter is key for richness—don’t skip it (or swap for olive oil if you must).
This keeps beautifully. Fridge for 4 days in an airtight container, or freeze for 3 months. Reheat gently on the stove with a splash of broth if it thickens too much. Always give it a good whisk before serving.
Why You’ll Love This Recipe
- One-Pan Magic: I just reuse the pan drippings from roasting, stir in flour, and let the broth do the rest—no extra pots to wash.
- Rich & Deep: The Worcestershire adds this savory depth that makes every bite taste like it simmered for hours.
- Holiday Hero: Between us, this gravy saves Thanksgiving. Works just as well with weeknight roast chicken.
- Budget Stretch: A few pantry staples and leftover drippings turn into a luxurious sauce that feels fancy. Honestly, it’s my secret to making cheap cuts taste expensive.
Step-by-Step Instructions for Brown Gravy
This method turns pan residue into rich, velvety gravy with minimal effort.
Step 1: Skim and Measure the Pan Drippings
After removing your roasted meat from the pan, pour all the pan drippings through a fine-mesh strainer into a measuring cup. I always let it sit for 2-3 minutes so the fat rises to the top, then skim off the excess with a spoon.
You need exactly 1.5 cups Pan Drippings for this recipe. If you’re short, supplement with a little beef broth to reach the full amount. The drippings should be dark brown with concentrated flavor from the roasting process.
Step 2: Create a Roux with Butter and Flour
In the same pan you used for roasting, melt 2 tbsp Unsalted Butter over medium heat. Once melted and bubbly, sprinkle in 0.25 cup All-Purpose Flour all at once. I use a whisk to immediately start stirring—this prevents lumps from forming.
Cook the roux for 1-2 minutes, stirring constantly, until it turns a light golden brown. You’ll notice it starts to smell nutty—that’s your signal it’s ready. Don’t let it get too dark or it will make your gravy bitter. The roux should look like wet sand at this stage.
Step 3: Gradually Incorporate the Liquids
Slowly pour in the 1.5 cups Pan Drippings while whisking vigorously. This gradual addition prevents lumps from forming. The mixture will thicken immediately as the liquid hits the hot roux. Keep whisking until smooth.
Next, add the 2 cups Beef Broth in the same gradual manner. I pour it in about ½ cup at a time, whisking constantly. The gravy will thin out initially but will thicken as it simmers. Bring the mixture to a gentle boil over medium heat.
Step 4: Season and Simmer to Perfection
Stir in 1 tsp Worcestershire Sauce, 0.5 tsp Salt, 0.5 tsp Black Pepper, and 0.25 tsp Garlic Powder. I always taste after adding these—if it needs more salt, add it now. The Worcestershire adds a depth of umami that balances the richness.
Reduce the heat to medium-low and let the gravy simmer for 5-7 minutes. You want it to thicken enough to coat the back of a spoon. Stir occasionally to prevent sticking. The gravy should be velvety smooth with a glossy finish when it’s ready.
Step 5: Adjust and Serve Warm
Give the gravy a final taste and adjust the seasoning if needed. If it’s too thick, whisk in a little more beef broth to reach your desired consistency. If it’s too thin, simmer for another 2-3 minutes to reduce further.
Strain the gravy through a fine-mesh sieve if you want it extra smooth, though I usually skip this step. Serve immediately while hot over mashed potatoes, roasted meats, or biscuits. The gravy will continue to thicken slightly as it cools, so work quickly for the best results.
Pro Tips For Making Brown Gravy Recipe Drippings
- Skim the Fat: Use a spoon or fat separator to remove excess grease from the drippings before making the roux—this prevents greasy gravy. I learned this the hard way after serving a few too-oily batches.
- Equal Parts Flour: Measure flour and butter by volume for the roux (2 tablespoons each is a solid starting point) to guarantee a smooth, lump-free base. Sounds simple, but I used to eyeball it and ended up with clumpy gravy.
- Deglaze First: Pour in a splash of beef broth to scrape up all those browned bits from the pan before adding the rest—this is where the deep flavor hides. My grandmother swore by this, and she was right.
- Simmer 5 Minutes: Let the gravy cook at a gentle simmer for at least 5 minutes after thickening to marry the flavors and mellow the raw flour taste. After burning three batches rushing this, I finally figured out patience pays off.
Make-Ahead Tips for This Recipe
Prep Drippings Early
After roasting your meat, pour the drippings into a fat separator right away. I let it sit for 10-15 minutes while I finish the meal, giving the fat time to rise to the top for easy skimming. This way, you’re ready to make gravy as soon as you’re done eating. 💡
Make the Roux Ahead
You can prepare the roux separately up to 2 days in advance. Melt the 2 tbsp Unsalted Butter, whisk in the 0.25 cup All-Purpose Flour, and cook until golden. Store it in the fridge in an airtight container, then reheat gently before adding liquids.
Partial Cooking Method
Cook the gravy completely but stop before seasoning. Store the base in the fridge for up to 3 days. When ready to serve, reheat and add the Worcestershire Sauce, salt, pepper, and garlic powder. This keeps the flavors fresh.
Freeze in Portions
Ladle cooled gravy into ice cube trays and freeze. Once solid, transfer the cubes to a freezer bag. This lets you thaw only what you need—typically 2-3 cubes per serving. They’ll keep for 3 months without losing quality.
Reheating Tips
Gently reheat on the stove over low heat, adding a splash of beef broth if it thickens too much. Avoid the microwave, as it can make the gravy separate. Whisk well before serving to restore that silky texture. ❄️
Double Batch Strategy
This recipe scales perfectly. Double the ingredients and you’ll have enough for a big family meal plus leftovers. I always make extra when roasting a large cut of meat—it’s just as easy and saves time later.
Nutrition Facts
Frequently Asked Questions
Can I use chicken drippings instead?
Chicken drippings work perfectly for a lighter but still flavorful gravy. Just follow the same method—you may want to adjust the seasoning slightly to match your taste.
Why is my gravy lumpy?
Lumps usually mean the roux wasn’t whisked enough before adding liquid. Fix it by straining through a fine-mesh sieve or blending briefly with an immersion blender for 30 seconds.
How do I thicken it if it’s too thin?
Mix 1 tbsp cornstarch with 1 tbsp cold water to make a slurry. Whisk it into simmering gravy and cook for 2 minutes until thickened.
Can I make this gluten-free?
Yes! Replace the flour with cornstarch or a gluten-free flour blend. Use the same amount and cook the roux for 1-2 minutes before adding liquids.

- Pav Bhaji Recipe Food Lab: Mumbai Street Food Magic at Home - October 6, 2026
- Peach Jelly Recipe Without Pectin: Naturally Set Sweet Spread - October 6, 2026
- Pasta Salad Recipe With Zesty Italian Dressing: Bright Herb-Kissed Medley for Picnics - October 6, 2026