
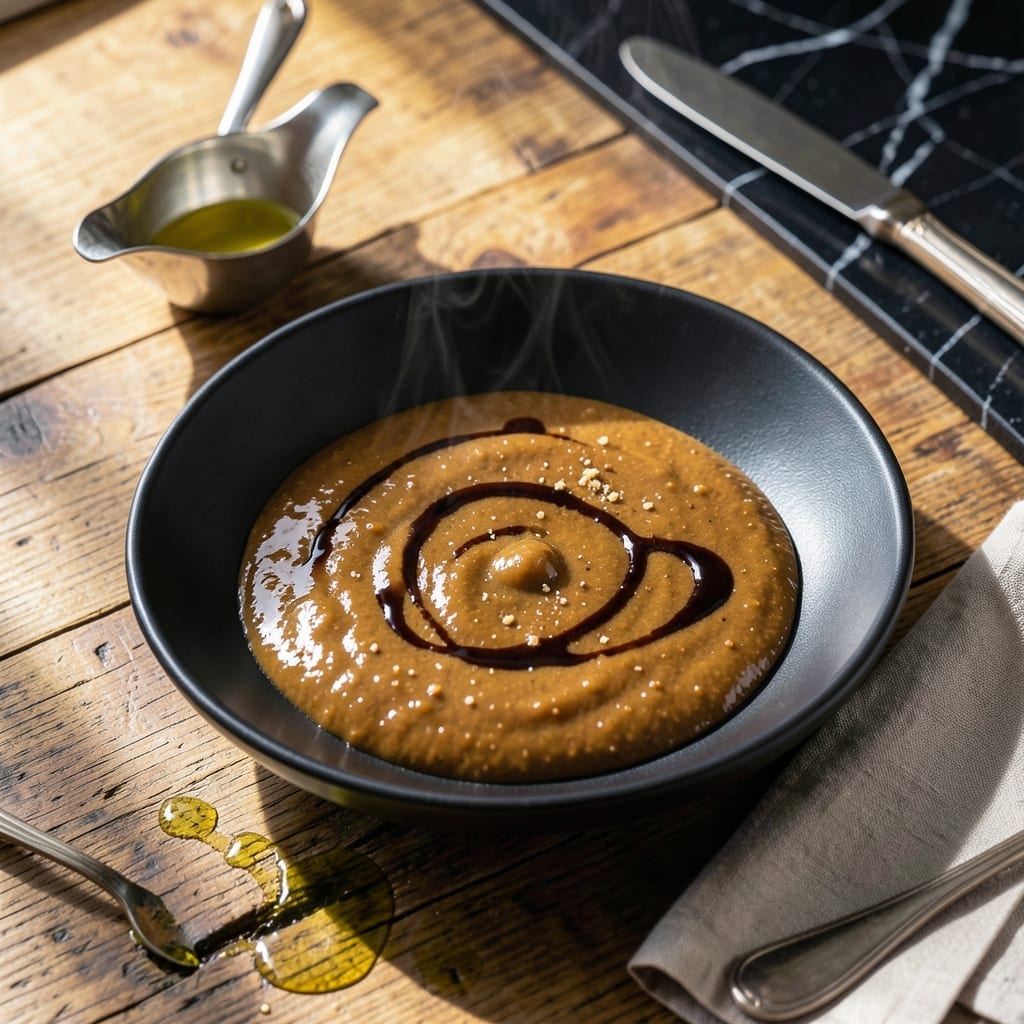
This brown gravy delivers rich depth without a single drop of store-bought broth, using only what you already have in your pantry. It’s the kind of sauce that transforms simple mashed potatoes or roast beef into a meal worth savoring.
The secret lies in building flavor from scratch with butter, flour, and a careful balance of seasonings. A splash of water and a touch of soy sauce create the base, while kitchen staples like garlic powder and onion powder add complexity.
What you get is a smooth, velvety gravy with a deep brown color and savory taste that rivals any traditional version. It thickens beautifully and clings to every bite, making it perfect for drizzling or dipping.
Ready in 10 minutes, this recipe proves you don’t need broth to achieve restaurant-quality results at home. Here’s how to make it.
Ingredients for Brown Gravy Recipe No Broth
Nine pantry staples create this velvety brown gravy with no broth required.
| Ingredient | Amount | Notes |
|---|---|---|
| Unsalted Butter 🧈 | ½ cup | For roux base |
| All-Purpose Flour 🌾 | ¼ cup | For thickening roux |
| Water 💧 | 2 cups | For liquid base |
| Soy Sauce 🫒 | 1 ½ tbsp | For umami depth |
| Garlic Powder 🧄 | 1 tsp | For savory flavor |
| Onion Powder 🧅 | 1 tsp | For aromatic base |
| Worcestershire Sauce 🫒 | 1 tsp | For complexity (check vegan if needed) |
| Black Pepper 🌶️ | ½ tsp | Freshly ground preferred |
| Salt 🧂 | ½ tsp | Adjust to taste |
| Beef Bouillon Powder 🥩 | 1 tsp | Optional for extra depth |
The butter and flour are your foundation—use unsalted butter so you control the salt level. I grab mine from Trader Joe’s or whatever’s on sale. Soy sauce adds that deep, savory base, but low-sodium works if you’re watching salt. The Worcestershire is optional but adds a nice complexity (just check the label if you need gluten-free).
No soy sauce? Coconut aminos work in a pinch. Swap the bouillon for mushroom powder if you want to keep it vegetarian. Fresh garlic and onion can replace the powders—use one minced clove and one small diced onion. The flour can be swapped for cornstarch (same amount), but it thickens differently so keep an eye on it.
This gravy keeps 4-5 days in the fridge in an airtight container. Reheat gently with a splash of water if it thickens too much. Freezes beautifully for up to 3 months (stir well after thawing).
Why You’ll Love This Recipe
- 5-Minute Gravy: I melt the butter, whisk in flour, and boom—rich gravy without hunting for broth.
- Umami Kick: Soy sauce and garlic powder give it that deep, savory taste I crave with mashed potatoes.
- Weeknight Hero: I drizzle this over meatloaf, biscuits, or even roasted veggies—no extra planning.
- Pantry Staples: Butter, flour, water, soy sauce, garlic powder—all things I already have on hand.
Step-by-Step Instructions for Brown Gravy
This pantry-staple method creates rich, savory gravy without a drop of broth.
Step 1: Make a Golden Roux Base
Melt the 0.5 cup unsalted butter in a medium saucepan over medium heat. I like to let it foam slightly but not brown—that’s your signal it’s ready for the next step.
Whisk in the 0.25 cup all-purpose flour all at once. Keep whisking constantly for 2-3 minutes until the mixture turns a light golden color and smells nutty. This cooking step removes the raw flour taste and builds the foundation for your gravy.
If it looks too thick, don’t worry—the liquid will loosen it up. Just keep the heat steady and don’t walk away; flour can burn quickly.
Step 2: Slowly Add Water to Prevent Lumps
Gradually pour in the 2 cups water, a little at a time, while whisking vigorously. I add about ¼ cup at first, then another ¼ cup once it’s smooth, repeating until all the water is incorporated.
This slow addition is key to avoiding lumps. The mixture will start thin but thicken as it heats. Keep whisking until it’s completely smooth and begins to simmer.
Step 3: Season and Simmer for Depth
Stir in the 1.5 tbsp soy sauce, 1 tsp garlic powder, 1 tsp onion powder, 1 tsp Worcestershire sauce, 0.5 tsp black pepper, 0.5 tsp salt, and 1 tsp beef bouillon powder.
Reduce the heat to low and let it simmer for 5-7 minutes, stirring occasionally. You’ll see it thicken to a velvety consistency that coats the back of a spoon. The longer it simmers, the richer the flavor becomes.
Taste and adjust seasoning if needed—I sometimes add a pinch more salt or pepper depending on my mood.
Step 4: Finish and Serve Warm
Once the gravy reaches your desired thickness, remove it from the heat. If it’s too thick, whisk in a splash of hot water to loosen it. If it’s too thin, let it simmer a minute or two longer.
Pour it into a gravy boat or serving dish immediately. The texture should be smooth and glossy, with a deep, savory aroma that makes you want to dig in right away. Serve it hot over mashed potatoes, roasted meats, or biscuits.
Pro Tips For Making Brown Gravy Recipe No Broth
- Brown the Butter: Cook the butter until it turns golden brown before adding flour—this adds depth to the gravy that plain butter just can’t. I learned this the hard way after making bland gravy for years.
- Whisk Constantly: Once you add water, whisk without stopping for the first 2-3 minutes to prevent lumps. After burning two batches, I finally figured out that the flour needs time to fully dissolve.
- Use Cold Water: Always add cold water to the roux, not warm or hot. Hot water can cause the flour to clump instantly, and you’ll spend more time fixing it than cooking.
- Boost with Extra Soy: If your gravy tastes flat, stir in an extra teaspoon of soy sauce at the end. Sounds weird, but it works—my grandmother swore by this, and she was right.
Pro Cooking Tips for This Recipe
Perfect Roux Consistency
Cook your roux until it reaches a light golden brown—about 2-3 minutes over medium heat. I find this is the sweet spot for maximum flavor without burning. The butter should foam but never turn dark brown, or your gravy will taste bitter. 🌡️
Lump-Free Liquid Addition
Whisk in your 2 cups water in ¼ cup increments, waiting until each addition is fully incorporated. This prevents clumps and ensures a silky texture. I use a balloon whisk for best results—it reaches into the pan’s corners.
Low and Slow Simmer
After adding all seasonings, reduce heat to low and simmer for 5-7 minutes. This gentle cooking allows the flour to fully hydrate and the flavors to meld. Stir occasionally to prevent sticking, especially at the edges.
Thickness Adjustment
If your gravy is too thick, whisk in hot water 1 tbsp at a time. Too thin? Let it simmer uncovered for an extra 2-3 minutes. The perfect consistency should coat the back of a spoon but still pour easily.
Seasoning Balance
Taste before final serving—the soy sauce and Worcestershire add saltiness, so you may need less added salt. I often add an extra pinch of black pepper right at the end for brightness.
Rest Before Serving
Let the gravy rest off heat for 2 minutes before serving. This allows it to reach its final thickness. Skim any butter that separates to the surface for the smoothest presentation. 💫
Nutrition Facts
Frequently Asked Questions
Can I use milk instead of water?
Yes, but use whole milk for best results. It adds richness but may create a lighter color. Reduce heat to low to prevent curdling.
Why does my gravy taste bland?
Likely needs more seasoning. Try adding 1/2 tsp salt or 1 tsp soy sauce gradually. Simmering longer also deepens flavor.
How do I fix lumps after cooking?
Whisk vigorously or use an immersion blender. For stubborn lumps, strain through a fine mesh sieve.
Can I make this gluten-free?
Swap all-purpose flour for cornstarch or gluten-free flour blend. Use tamari instead of soy sauce for safety.

- Pav Bhaji Recipe Food Lab: Mumbai Street Food Magic at Home - October 6, 2026
- Peach Jelly Recipe Without Pectin: Naturally Set Sweet Spread - October 6, 2026
- Pasta Salad Recipe With Zesty Italian Dressing: Bright Herb-Kissed Medley for Picnics - October 6, 2026