
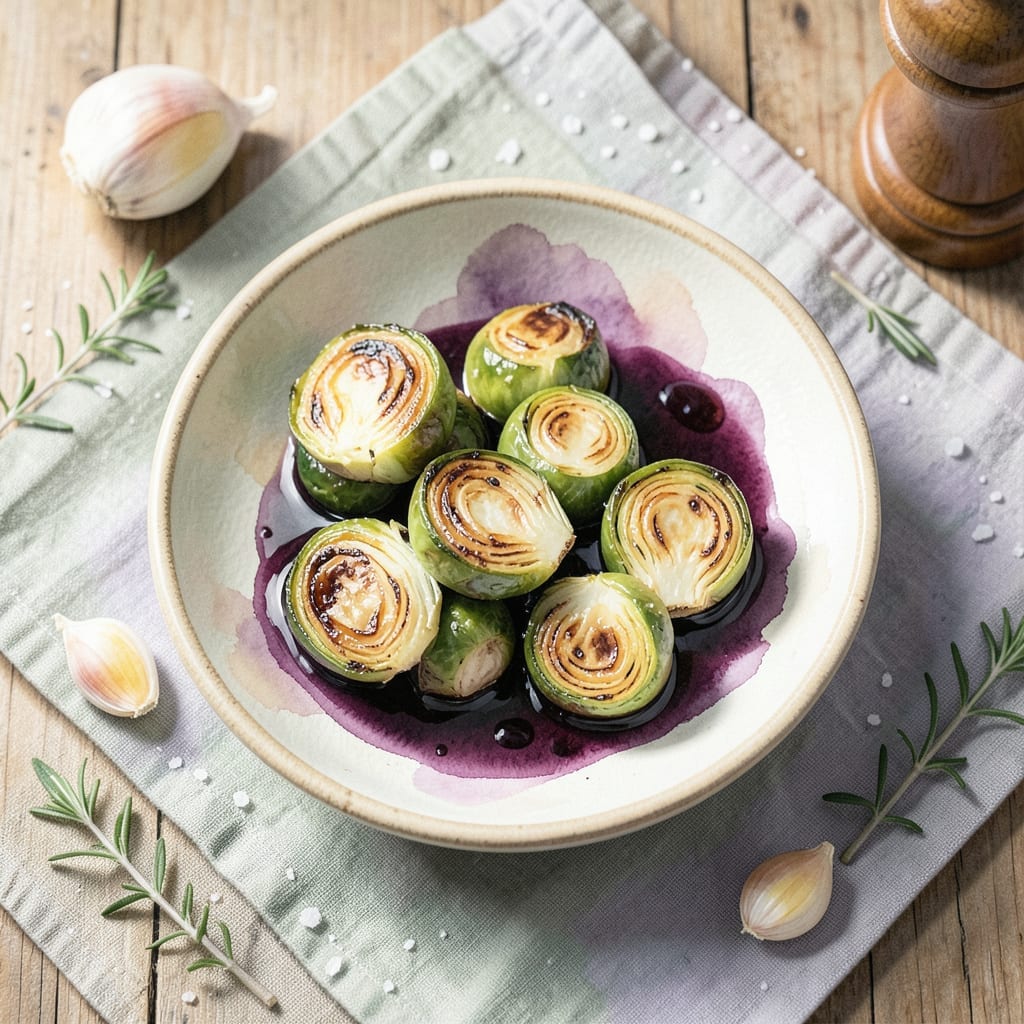
I developed this microwave method after years of overcomplicating brussels sprouts with fancy techniques. The key is proper trimming and even cutting for uniform cooking.
This approach delivers tender results with nutty depth in 10 minutes. No oven, no fuss—just simple preparation and strategic microwave timing.
You’ll achieve perfectly cooked sprouts with caramelized edges and a satisfying bite. The microwave locks in moisture while concentrating natural flavors.
Serve as a quick side or meal prep component. Here’s the streamlined process.
Ingredients for Brussel Sprouts Recipe Microwave
Simple ingredients transform into perfectly tender, caramelized brussels sprouts with minimal effort and maximum flavor.
| Ingredient | Amount | Notes |
|---|---|---|
| Brussels Sprouts 🥬 | 1 ½ lb | Trimmed and halved evenly |
| Extra-Virgin Olive Oil 🫒 | 2 tbsp | Divided for tossing and finishing |
| Kosher Salt 🧂 | ¾ tsp | Diamond Crystal preferred for texture |
| Freshly Ground Black Pepper 🌶️ | ½ tsp | Coarse grind for depth |
| Garlic Cloves 🧄 | 3 cloves | Minced finely for even distribution |
| Balsamic Vinegar 🍷 | 1 tbsp | Aged for caramelized sweetness |
| Pure Maple Syrup 🍁 | 1 tsp | Grade A amber for balance |
| Smoked Paprika 🌶️ | ½ tsp | For nutty depth enhancement |
| Lemon Zest 🍋 | 1 tsp | Freshly grated for brightness |
| Red Pepper Flakes 🌶️ | ¼ tsp | Optional for subtle heat |
The Brussels sprouts are the foundation here. Choose firm, bright-green heads with tight leaves—avoid any with yellowing or loose outer layers. Trader Joe’s or Whole Foods consistently stock high-quality sprouts. For even cooking, trim the woody ends precisely and halve them through the core. Larger sprouts may need quartering to match the size of smaller ones for uniform doneness.
No smoked paprika? Regular paprika with a pinch of cumin can mimic the depth (though the smokiness will be milder). Agave nectar at a 1:1 ratio replaces maple syrup if needed. If avoiding oil entirely, a light sprinkle of water before microwaving works, but the caramelization won’t be as pronounced. The balsamic vinegar is non-negotiable for that signature tang—look for aged varieties at specialty grocers.
Prep the sprouts up to 1 day ahead—store trimmed and halved in a sealed container with a damp paper towel to retain crispness. Cooked leftovers keep for 3-4 days refrigerated, though they’re best fresh. Reheat gently in the microwave with a splash of water to restore moisture. The maple-balsamic glaze thickens upon standing, so stir before serving.
Why You’ll Love This Recipe
- 5-Minute Ready: I toss them in the microwave with olive oil and garlic, and boom—done faster than the oven preheats.
- Garlicky Crisp Bites: The edges get caramelized while the centers stay tender, and that garlic? It’s infused in every bite.
- My Lunchbox Hero: I make a double batch on Sunday and they’re still delicious cold in salads by Wednesday.
- Pocket-Friendly Side: Brussels sprouts are cheap, and this method uses just a drizzle of oil and pantry staples.
Step-by-Step Instructions for Microwave Brussels Sprouts
This method delivers perfectly tender sprouts with caramelized edges in record time.
Step 1: Prep and Season the Brussels Sprouts
Place the 1.5 lb Brussels Sprouts in a large microwave-safe bowl. Drizzle with 1 tbsp Extra-Virgin Olive Oil and sprinkle evenly with 0.75 tsp Kosher Salt and 0.5 tsp Freshly Ground Black Pepper. The oil should lightly coat each piece without pooling at the bottom.
Toss thoroughly with your hands to ensure even distribution. I find that massaging the seasoning into the sprouts helps the flavors penetrate. The pieces should glisten but not appear soggy—excess oil would steam rather than roast in the microwave.
Step 2: Add Aromatics and Spices
Add the 3 cloves Garlic Cloves (minced), 0.5 tsp Smoked Paprika, 0.25 tsp Red Pepper Flakes, and 1 tsp Lemon Zest to the bowl. The smoked paprika adds a subtle nutty depth that mimics roasting, while the red pepper flakes provide just a hint of heat.
Toss again to combine all ingredients. The garlic should be evenly dispersed—clumping would lead to uneven flavor. At this stage, the mixture should smell aromatic with a balance of earthy, spicy, and citrus notes.
Step 3: Microwave in Stages for Even Cooking
Cover the bowl with a microwave-safe lid or damp paper towel. Microwave on high for 4 minutes. This initial blast starts the cooking process, softening the sprouts while allowing the spices to bloom.
Stir the sprouts, then microwave for another 3-4 minutes until the edges begin to brown and the stems are tender when pierced with a fork. The exact time may vary based on your microwave’s wattage, so start checking at the 3-minute mark.
Step 4: Finish with Sweet-Tangy Glaze
In a small bowl, whisk together the remaining 1 tbsp Extra-Virgin Olive Oil, 1 tbsp Balsamic Vinegar, and 1 tsp Pure Maple Syrup. The vinegar and syrup create a glossy glaze that balances the dish’s savory elements.
Pour the mixture over the cooked sprouts and toss until every piece is coated and glistening. The glaze should cling to the sprouts, creating a sticky, caramelized finish. Let them sit for 1-2 minutes to allow the flavors to meld before serving.
Pro Tips For Making Brussel Sprouts Recipe Microwave
- Trim the Stems: Cut off the dry ends and remove any loose outer leaves—this prevents bitter bites and ensures even cooking in the microwave.
- Pierce the Sprouts: I learned this the hard way: pricking each sprout with a fork or slicing in half lets steam escape, so they don’t turn mushy.
- Use a Large Bowl: Skip the small container—spreading them in a single layer in a big microwave-safe bowl keeps them from steaming into a sad, soggy pile.
- Add Garlic Later: Toss the minced garlic in after microwaving for the last 30 seconds, or it’ll burn and turn bitter—sounds weird, but it works.
Make-Ahead Tips for This brussel sprouts recipe microwave
Prep Ahead Strategy
Trim and halve your 1.5 lb Brussels Sprouts up to 1 day ahead. Store them in an airtight container with a damp paper towel to keep them crisp. This saves 10 minutes on cooking day. 💡
Seasoning Prep
Mix your 0.75 tsp Kosher Salt, 0.5 tsp Freshly Ground Black Pepper, and 0.5 tsp Smoked Paprika in a small bowl the night before. This ensures even distribution when you’re ready to cook.
Garlic and Aromatics
Mince your 3 cloves Garlic Cloves and grate the 1 tsp Lemon Zest together. Store in a small sealed container in the fridge. This keeps flavors fresh and ready to go.
Glaze Preparation
Whisk together the 1 tbsp Balsamic Vinegar and 1 tsp Pure Maple Syrup ahead of time. Store in a tiny jar—the flavors meld beautifully overnight. Just add the remaining 1 tbsp Extra-Virgin Olive Oil before using. ✨
Storage Tips
Cooked sprouts keep well in the fridge for 3-4 days in an airtight container. To reheat, sprinkle with 1 tsp water and microwave covered for 1-2 minutes.
Freezing Option
For longer storage, freeze cooked sprouts on a tray first, then transfer to a bag. They’ll keep for 2 months. Reheat from frozen with a splash of water for 3-4 minutes. 💪
Nutrition Facts
Frequently Asked Questions
Do I need to thaw frozen sprouts first?
No, you can cook them straight from frozen. Add 1-2 minutes extra cooking time and stir halfway.
Why cover the bowl during microwaving?
Covering traps steam for even cooking and prevents oil splatters. Use a vented lid or damp paper towel for best results.
Can I make this without oil?
Yes, but use 1-2 tbsp water instead. The texture will be softer and less caramelized.
How do I prevent soggy sprouts?
Pat them completely dry before cooking and don’t overcrowd the bowl. Spread in a single layer if possible.

- BBQ Sausage Recipe Oven: Smoky Depth Without the Grill - September 28, 2026
- BBQ Chicken Bowl Recipe Rice: Smoky Sweetness Over Fluffy Grains - September 28, 2026
- Beef Cutlet Recipe Ideas: Crispy Breaded Patties With Bold Seasonings - September 28, 2026