
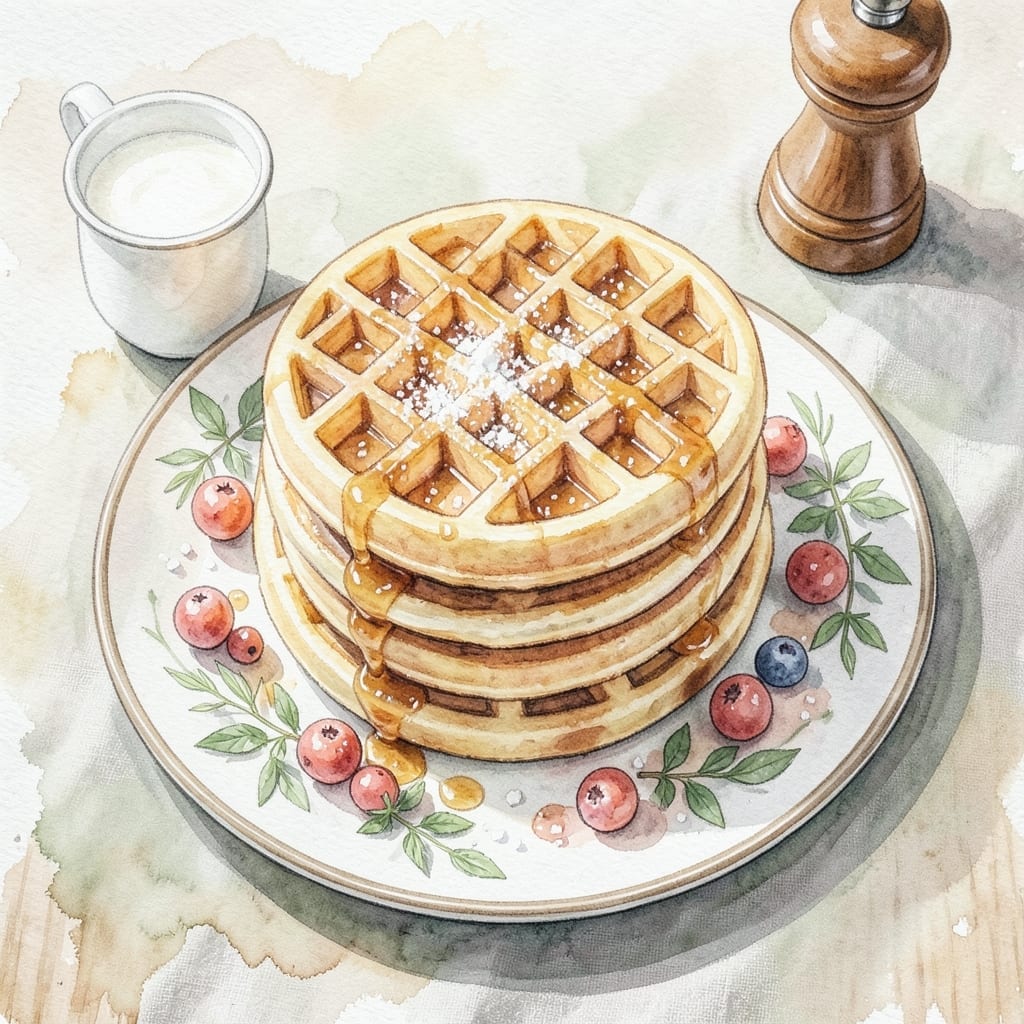
This buttermilk waffle recipe delivers the ideal balance of textures that define a perfect breakfast. The secret lies in the buttermilk’s acidity, which creates those crispy golden edges while keeping the centers light and airy.
I’ve tested numerous variations, and this method consistently produces waffles that are sturdy enough to hold syrup yet tender enough to melt in your mouth. The batter comes together quickly with simple pantry staples, requiring just minutes of prep before cooking.
What sets these apart is the contrast between the exterior’s satisfying crunch and the interior’s custard-like fluffiness. Each bite offers that perfect waffle experience we all crave on weekend mornings.
The recipe scales beautifully, making it ideal for both intimate breakfasts and feeding a crowd. The results speak for themselves every time.
Ingredients for Buttermilk Waffle Recipe Pioneer Woman
Simple pantry staples create these perfectly textured breakfast classics with minimal effort required.
| Ingredient | Amount | Notes |
|---|---|---|
| All-Purpose Flour 🌾 | 2 cups | Sifted for lighter texture |
| Granulated Sugar 🍚 | 2 tbsp | Fine white sugar preferred |
| Baking Powder 🧂 | 2 tsp | Aluminum-free for best rise |
| Baking Soda 🧂 | ½ tsp | Balances buttermilk acidity |
| Salt 🧂 | ½ tsp | Fine sea salt recommended |
| Large Eggs 🥚 | 2 whole | Room temperature for best incorporation |
| Buttermilk 🥛 | 1 ¾ cups | Full-fat for richest flavor |
| Unsalted Butter 🧈 | ½ cup | Melted and slightly cooled |
| Vanilla Extract 💧 | 1 tsp | Pure extract for best flavor |
| Vegetable Oil 🫒 | 2 tbsp | For greasing waffle iron |
The buttermilk is non-negotiable here—full-fat from a reputable dairy delivers that signature tang and tenderness. I source mine from local dairies when possible, but any grocery store brand works in a pinch. The flour should be fresh and unbleached; all-purpose is ideal, but bread flour can work if that’s what’s on hand (the texture will be slightly denser). For the baking powder, aluminum-free versions prevent that metallic aftertaste you sometimes get with standard brands.
No buttermilk? Whole milk plus 1 tbsp lemon juice or vinegar per cup works as a substitute—let it sit 5 minutes before using. Out of baking powder? Self-rising flour can replace both flour and leavening (omit salt and baking powder, use 2 cups self-rising). The vanilla extract can be swapped for vanilla bean paste for a more pronounced flavor. For a richer batter, Greek yogurt thinned with milk can replace up to half the buttermilk.
The batter keeps in the fridge for 24 hours—actually improves overnight as the flour hydrates. Cooked waffles freeze beautifully for up to 3 months in a single layer before bagging. Always preheat your waffle iron thoroughly (that’s the secret to crispy edges). Leftovers reheat perfectly in a toaster.
Why You’ll Love This Recipe
- I’ll be real: doubling the batch means I can freeze extras and toast them straight from the freezer for busy mornings.
- Mix & Rest: I can stir the batter in 5 minutes flat, then let it sit while the waffle iron heats—no fuss, no stress.
- Buttery Tang: That buttermilk gives these waffles a subtle zing that pairs perfectly with the sweetness from the sugar.
- Weekend or Wednesday: Honestly, I make these for lazy Sunday brunches and even quick weeknight dinners when we crave breakfast for supper.
Step-by-Step Instructions for Buttermilk Waffles
Master the technique for achieving crisp edges and airy interiors with this proven method.
Step 1: Combine Dry Ingredients
In a large mixing bowl, whisk together the 2 cups All-Purpose Flour, 2 tbsp Granulated Sugar, 2 tsp Baking Powder, 0.5 tsp Baking Soda, and 0.5 tsp Salt until evenly distributed. This ensures the leavening agents are properly incorporated for consistent rise.
I always sift the flour first to eliminate lumps and create a lighter texture. The combination of baking powder and baking soda reacts with the buttermilk to create that perfect lift while maintaining tender crumb.
Step 2: Whisk Wet Ingredients Separately
In a separate bowl, beat the 2 whole Large Eggs until slightly frothy. Add the 1.75 cups Buttermilk, 0.5 cup Unsalted Butter (melted and slightly cooled), and 1 tsp Vanilla Extract. Whisk until fully combined and smooth.
The buttermilk’s acidity is key here—it tenderizes the gluten while providing that signature tang. Make sure the melted butter isn’t hot to the touch, or it will cook the eggs prematurely.
Step 3: Create the Batter
Pour the wet ingredients into the dry ingredients and stir gently with a spatula until just combined. The batter should be slightly lumpy—that’s perfect. Overmixing develops gluten, which makes waffles tough rather than tender.
Let the batter rest for 5 minutes while you preheat the waffle iron. This brief pause allows the flour to hydrate and the leavening agents to begin working, resulting in a more consistent texture.
Step 4: Cook to Crispy Perfection
Preheat your waffle iron to medium-high heat and brush both grids with vegetable oil using a pastry brush. Pour about ½ cup of batter onto the center of the hot iron (adjust based on your iron’s size).
Close the lid and cook for 4-5 minutes until the waffle is deep golden brown and crisp. Resist the urge to open the iron early—the steam release is your indicator that the waffle is cooking properly. For extra crispness, place cooked waffles directly on the oven rack in a 200°F oven while you finish the batch.
Step 5: Serve Immediately
Transfer the waffles to a wire rack to maintain crispness—stacking them directly on a plate creates steam that makes them soggy. The exterior should be shatteringly crisp while the interior remains light and airy.
Serve immediately with your favorite toppings. The contrast between the crisp edges and fluffy centers is most pronounced when enjoyed fresh from the iron. This technique guarantees restaurant-quality results every time.
Pro Tips For Making Buttermilk Waffle Recipe Pioneer Woman
- Preheat the Iron: I learned this the hard way—always let your waffle iron fully heat for 5-7 minutes before adding batter. A properly hot iron guarantees that crispy exterior Pioneer Woman’s recipe is known for.
- Rest the Batter: After mixing, give the batter 5 minutes to sit while the iron heats. This lets the baking powder and soda activate fully, so your waffles rise higher and stay fluffier.
- Skip Cold Buttermilk: Sounds weird, but it works: take your buttermilk out of the fridge 10 minutes before mixing. Cold liquid can shock the dry ingredients and make your waffles dense instead of light.
- Measure Flour Right: Scoop your all-purpose flour with a spoon into the measuring cup, then level it off—don’t dip the cup directly into the bag. I was skeptical until I tried it, but it prevents packed flour and heavy waffles.
Essential Equipment for This Dish
Waffle Iron Options
The right waffle iron makes all the difference. I swear by my Cuisinart Round Classic—it heats evenly and has adjustable browning control. For Belgian-style waffles, the Breville Smart Waffle Pro is a splurge worth making. Budget pick: Black+Decker G48TD works great for under $30. 🔥
Mixing Bowls Matter
A large stainless steel mixing bowl (I use 1.5 quart) gives you room to whisk without spills. The OXO Good Grips set nests together for easy storage. Glass works too, but metal conducts heat better if your batter gets chilled.
Whisk Selection
Skip the fork—use a balloon whisk for smooth batter. My 10-inch Ateco whisk fits perfectly in my mixing bowl. A flat whisk works for the dry ingredients to break up any clumps in the 2 cups flour.
Measuring Tools
Accurate measurements are key for consistent results. I keep a dry measuring cup set and liquid measuring cup separate. For the 1.75 cups buttermilk, a glass measuring cup with a spout prevents spills. OXO makes my favorite set.
Pastry Brush
Use a silicone pastry brush to grease your iron with vegetable oil. The Cuisinox brush handles high heat without melting. Bristle brushes can leave strands behind, and paper towels don’t distribute oil as evenly.
Cooling Rack
Keep waffles crisp by placing them on a wire cooling rack after cooking. I use a stainless steel rack set over a baking sheet. This prevents steam buildup that would make your crispy edges soggy while you finish the batch. ✨
Nutrition Facts
Frequently Asked Questions
Can I make the batter the night before?
Yes! The batter keeps beautifully in the fridge for 24 hours. In fact, it improves as the flour hydrates overnight, leading to even better texture. Just give it a quick stir before using.
Why are my waffles not crispy?
This usually means the iron wasn’t hot enough or the waffles weren’t cooked long enough. Preheat thoroughly to medium-high heat and cook for 4-5 minutes until deep golden brown. A wire rack helps maintain crispness after cooking.
What can I substitute for buttermilk?
Whole milk plus 1 tbsp lemon juice or vinegar per cup works perfectly. Let it sit for 5 minutes before using. For extra richness, Greek yogurt thinned with milk can replace up to half the buttermilk.
Can I freeze leftover waffles?
Cool completely, then freeze in a single layer before bagging. They keep for up to 3 months and reheat beautifully in a toaster. This is great for busy mornings.

- BBQ Sausage Recipe Oven: Smoky Depth Without the Grill - September 28, 2026
- BBQ Chicken Bowl Recipe Rice: Smoky Sweetness Over Fluffy Grains - September 28, 2026
- Beef Cutlet Recipe Ideas: Crispy Breaded Patties With Bold Seasonings - September 28, 2026