
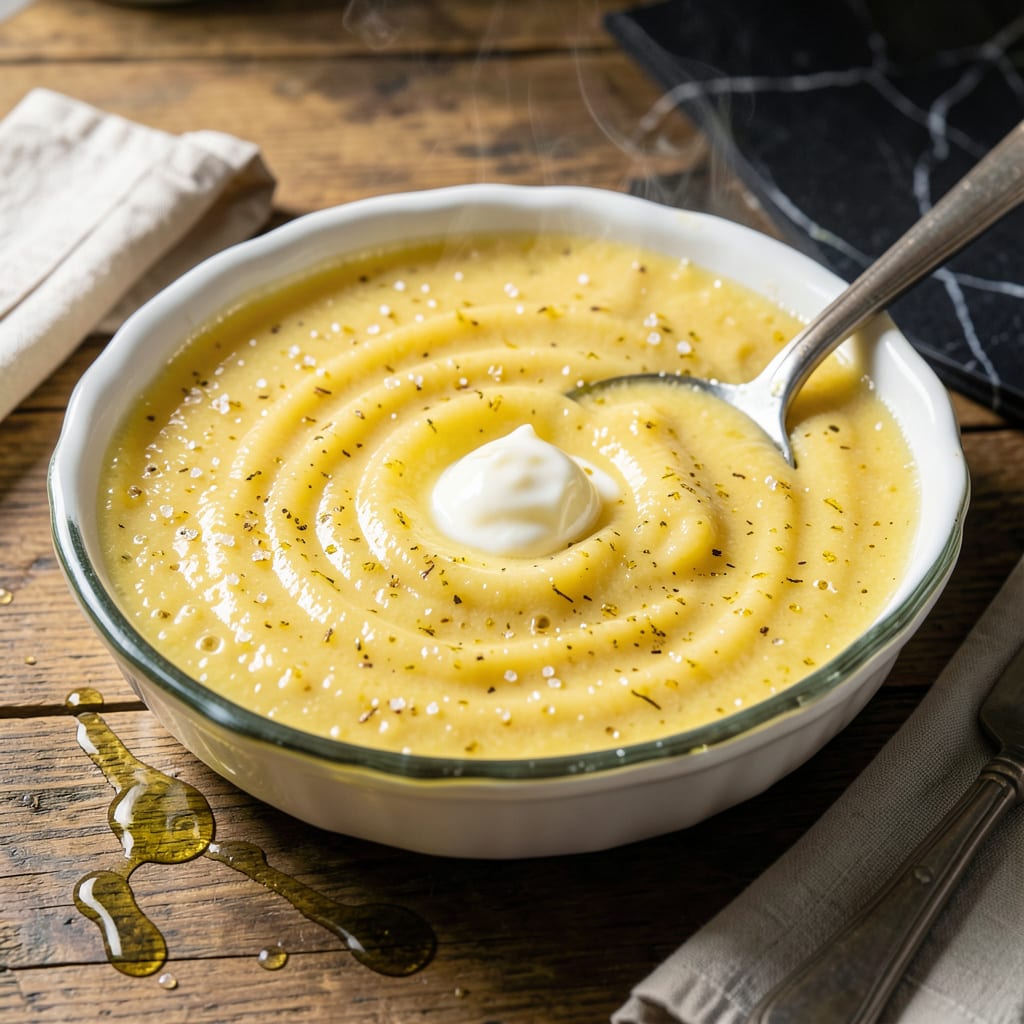
This smooth, tangy filling brings homemade quality to your pantry shelf with minimal effort. The secret is balancing sweetness with just the right amount of lemon zest for that bright, authentic flavor.
Prepare a big batch and store in jars for quick desserts anytime. It keeps beautifully and works perfectly for pies, tarts, or even as a cake filling.
Ingredients for Canned Lemon Pie Filling Recipe Easy
Eight simple ingredients create that bright, zesty lemon filling you’ll reach for again.
| Ingredient | Amount | Notes |
|---|---|---|
| Granulated Sugar 🍚 | 1 ½ cups | Fine grain for smooth texture |
| Cornstarch 🌾 | ½ cup | Thickening agent for filling |
| Lemon Zest 🍋 | 2 tbsp | Freshly grated for bright flavor |
| Lemon Juice 🍋 | 1 ½ cups | Freshly squeezed preferred |
| Water 💧 | 2 cups | For cooking mixture |
| Unsalted Butter 🧈 | 2 tbsp | For richness and gloss |
| Large Egg Yolks 🥚 | 4 whole | For custard thickening |
| Salt 🧂 | ¼ tsp | Balances sweetness |
The lemon zest is non-negotiable here—freshly grated from organic lemons gives you that vibrant color and punch. I grab mine from Whole Foods or the farmers market when they’re in season. Cornstarch is the thickener, but make sure it’s pure (no clumps). Clabber Girl is reliable if you’re buying in bulk. The butter? Any unsalted kind works, but I like Plugra for its higher fat content.
No fresh lemons? Bottled lemon juice at a 1:1 ratio works, but skip the zest—it’s not the same. Need to avoid eggs? Cornstarch slurry (extra 2 tbsp) replaces yolks, though the texture will be slightly different. Short on sugar? Honey or agave can sub in, but expect a lighter color and more liquid filling.
This keeps in the fridge for 5 days or can be canned for 6-12 months. Always use clean jars (sterilize if canning) and let it cool completely before sealing. The flavor actually improves after a day.
Why You’ll Love This Recipe
- Five-Minute Mix: I just dump sugar, cornstarch, lemon zest, juice, and water in a pot—no chopping, no fuss.
- Zing in Every Bite: That fresh lemon zest and juice give it a bright, tangy punch that’s way better than store-bought.
- Pantry to Pie: I use it for mini tarts, crepes, or just spooned over ice cream—so versatile.
Step-by-Step Instructions for Canned Lemon Pie Filling
Simple process, big flavor. This method delivers that bright, tangy filling without the fuss.
Step 1: Whisk Dry Ingredients for Smooth Foundation
In a medium saucepan, whisk together the 1.5 cups Granulated Sugar, 0.5 cup Cornstarch, and 0.25 tsp Salt until no lumps remain. This step prevents clumping when the wet ingredients join the party. I like to sift my cornstarch first if it’s been sitting a while—old cornstarch can develop stubborn little balls.
Add the 2 tbsp Lemon Zest and stir it in. The zest’s natural oils will infuse the sugar with lemony brightness before any cooking even happens. You should see tiny yellow flecks evenly distributed throughout the dry mixture.
Step 2: Create the Lemon Base and Temper the Eggs
In a separate bowl, combine the 2 cups Water and 1.5 cups Lemon Juice. Gradually whisk this liquid mixture into your dry ingredients until smooth. The mixture will be thin at first—that’s normal. Place the saucepan over medium heat and stir constantly.
While that heats, whisk the 4 whole Large Egg Yolks in a small bowl until pale and slightly thickened. Real talk: this is your insurance against curdling. When the lemon mixture in the pan starts to steam and thicken slightly (after about 3-4 minutes), you’ll temper those yolks by slowly drizzling in about ½ cup of the hot liquid while whisking vigorously.
Step 3: Cook to Perfect Thickness
Pour the tempered egg mixture back into the saucepan. Continue cooking over medium heat, stirring constantly with a wooden spoon or silicone spatula. You’ll notice the mixture start to thicken after 2-3 minutes—it should coat the back of your spoon but still be pourable.
Here’s the thing—this is where most people stop too soon. Keep cooking for another 1-2 minutes until it reaches the consistency of thick pudding. The filling should mound slightly when dropped from a spoon. If it’s too thin, it won’t hold its shape when canned or baked.
Step 4: Finish with Butter for Glossy Perfection
Remove the pan from heat and stir in the 2 tbsp Unsalted Butter until completely melted and incorporated. This final step adds a beautiful gloss to your filling and rounds out the sharp lemon flavor with a touch of richness. The filling should now look like liquid gold, with a smooth, velvety texture.
Let it cool for 5-10 minutes at room temperature, stirring occasionally to prevent a skin from forming on top. The filling will thicken slightly more as it cools. For canning, transfer to clean jars while still warm, following proper canning procedures to ensure safety.
Pro Tips For Making Canned Lemon Pie Filling Recipe Easy
- Whisk Cornstarch First: Mix the cornstarch with a little cold water before adding it to the pot—I learned this the hard way after ending up with lumpy filling that never smoothed out.
- Zest Before Juicing: Always zest the lemons before cutting them in half to juice, or you’ll be left with a slippery, hard-to-hold mess and wasted zest.
- Simmer, Don’t Boil: Keep the heat at a gentle simmer once it thickens; a rolling boil will break down the cornstarch and turn your filling thin and sad.
- Use Fresh Zest: Skip the dried lemon zest—it just doesn’t deliver the bright, punchy flavor that fresh zest brings to balance the sweetness.
Essential Equipment for This Dish
Heavy-Bottomed Saucepan
I always reach for my 3-quart Cuisinart MultiClad for this recipe. A heavy-bottomed pan prevents hot spots that can cause scorching. Thin pans often lead to burnt filling at the bottom. 🔥
Whisk and Spatula
A balloon whisk is essential for blending dry ingredients smoothly. I use a silicone spatula for stirring during cooking—it scrapes the pan edges perfectly. Wooden spoons work too but require more elbow grease.
Microplane for Zest
For the lemon zest, a Microplane grater extracts maximum oil and fine texture. It’s safer than a box grater and collects zest efficiently. I’ve had mine for 10 years with no issues.
Glass Measuring Cups
Use Pyrex glass measuring cups for liquids—they’re heatproof and won’t absorb odors. For dry ingredients, I prefer stainless steel measuring cups. They last forever and won’t bend out of shape.
Canning Jars
For storage, Ball Mason jars are my go-to. Use pint or half-pint sizes for easy portioning. Sterilize them first if canning for long-term storage. The filling looks beautiful in clear glass.
Fine Mesh Strainer
A fine mesh strainer ensures ultra-smooth filling. Press the mixture through to catch any cooked egg bits. This extra step makes a noticeable difference in texture. It’s worth the 2 minutes of effort.
Nutrition Facts
Frequently Asked Questions
Can I use bottled lemon juice instead of fresh?
Yes, use the same 1.5 cups measurement. Skip the zest substitution though—bottled lacks the oils that make fresh zest special.
How long does this filling last in the fridge?
Properly stored in an airtight container, it stays fresh for 5 days. For longer storage, canning extends shelf life to 6-12 months.
Can I make this without eggs?
Replace the 4 yolks with an extra 2 tbsp cornstarch mixed with 2 tbsp water. The texture will be slightly different but still delicious.

- BBQ Sausage Recipe Oven: Smoky Depth Without the Grill - September 28, 2026
- BBQ Chicken Bowl Recipe Rice: Smoky Sweetness Over Fluffy Grains - September 28, 2026
- Beef Cutlet Recipe Ideas: Crispy Breaded Patties With Bold Seasonings - September 28, 2026