
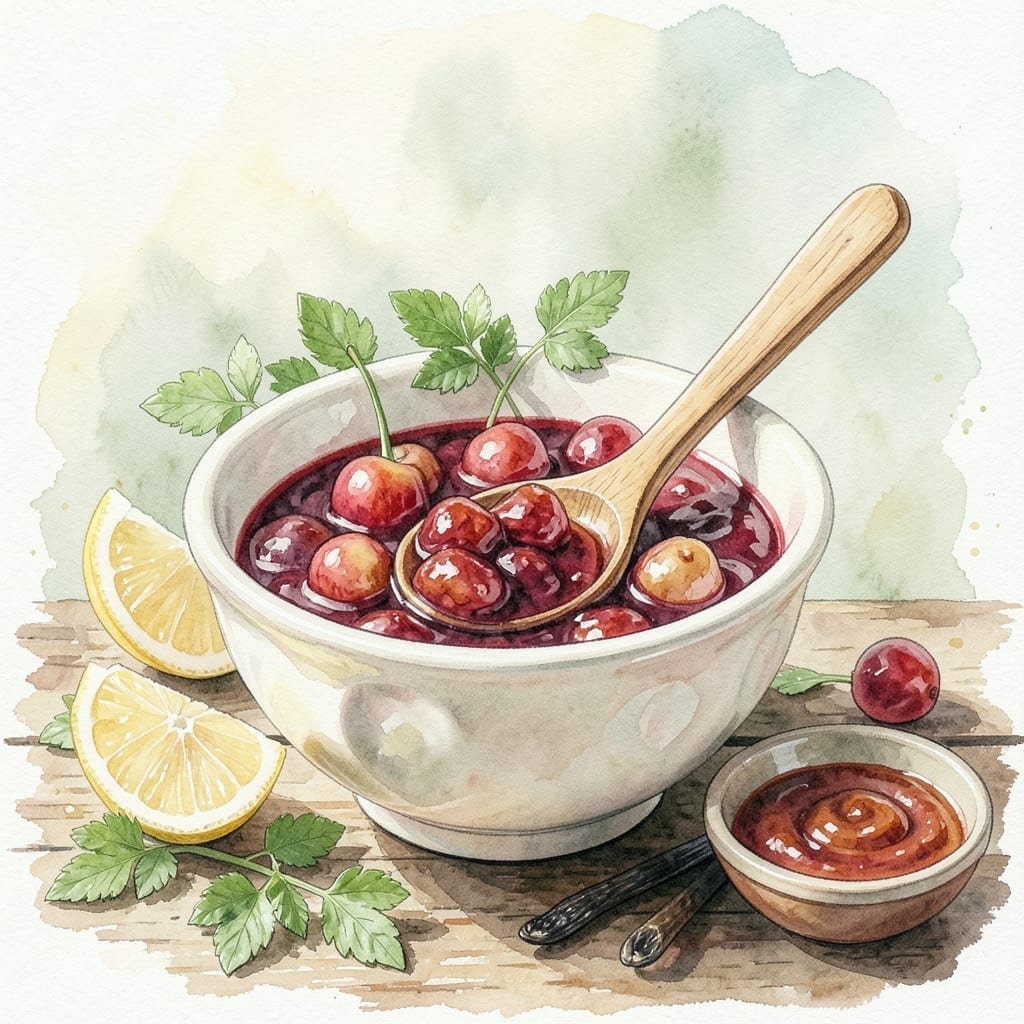
There’s no need to wait for cherry season to make vibrant, sweet-tart jam at home. This method transforms frozen cherries into a bright spread with the same fresh flavor, using a simple technique that preserves their natural color and taste.
The process starts with thawing the cherries just enough to release their juices, then cooking them with sugar and lemon juice until thick and glossy. No special equipment is required—just a pot, a spoon, and a little patience.
What you get is a versatile jam that’s perfect for toast, yogurt, or gift-giving. It keeps beautifully in the fridge for weeks, so you can enjoy that summery cherry flavor year-round.
Best of all, it uses every last cherry, with no waste. Here’s how to make it.
Ingredients for Cherry Jam Recipe Using Frozen Cherries
Seven simple ingredients turn frozen cherries into that bright, sweet-tart jam you love all year.
| Ingredient | Amount | Notes |
|---|---|---|
| Frozen Cherries 🍒 | 4 cups | Pitted, partially thawed |
| Granulated Sugar 🍚 | 3 cups | White or cane sugar works |
| Lemon Juice 🍋 | ¼ cup | Freshly squeezed preferred |
| Lemon Zest 🍋 | 1 tbsp | From 1-2 lemons |
| Water 💧 | ¼ cup | For initial cooking |
| Vanilla Extract 🌿 | 1 tsp | Pure for best flavor |
| Salt 🧂 | 0.125 tsp | Balances sweetness |
The cherries are the star here. Frozen pitted cherries from Trader Joe’s or Costco work great—just thaw them enough to release juices (about 30 minutes). Look for bags without added sugar or syrups. If you’re pitting fresh cherries to freeze yourself, sweet cherries like Bing work best. The sugar is non-negotiable for preservation, but you can reduce it slightly if you prefer a less sweet spread.
No lemon zest? Skip it—the juice is essential for pectin activation, but zest just adds brightness. Out of vanilla? A pinch of cinnamon or almond extract works as a swap. For a lower-sugar version, you can replace up to half the sugar with honey (but this won’t be vegan), or use a sugar alternative like Swerve (though texture may differ). The water helps prevent burning at the start.
This keeps for 3-4 weeks in the fridge in a sealed jar. For longer storage, process in a water bath for 10 minutes (pint jars) or freeze for up to 6 months. The flavor actually deepens after a day or two in the jar.
Why You’ll Love This Recipe
- No Thawing Needed: I just dump the frozen cherries straight into the pot—no waiting for them to soften first.
- Bright & Balanced: The lemon zest cuts through the sweetness, making every spoonful taste fresh and vibrant.
- Spreads Like Magic: Honestly, it’s just as good on toast as it is swirled into yogurt or glaze for roasted meats.
- Pantry Hero: One batch fills two jars, and it keeps for months—so I always have a homemade gift ready.
Step-by-Step Instructions for Cherry Jam Using Frozen Cherries
This method turns frozen fruit into a vibrant, spreadable jam with minimal effort.
Step 1: Prepare the Cherries and Initial Mixture
In a large pot, combine the 4 cups Frozen Cherries, 0.25 cup Water, 0.25 cup Lemon Juice, and 1 tbsp Lemon Zest. I like to use partially thawed cherries because they release their juices faster, but straight-from-the-freezer works too.
Cook over medium heat for 8-10 minutes, stirring frequently with a wooden spoon. You’ll notice the frozen cherries soften and break down as they heat. Mash them slightly with the back of your spoon to help release their natural pectin—this is what gives your jam that perfect set.
Step 2: Add Sugar and Seasonings
Stir in the 3 cups Granulated Sugar, 1 tsp Vanilla Extract, and 0.125 tsp Salt. The sugar might seem like a lot, but it’s essential for both sweetness and preservation. I always use a fine-mesh strainer to sprinkle the sugar evenly over the cherries to prevent clumping.
Bring the mixture to a full rolling boil over medium-high heat, stirring constantly. This step is crucial—you need that vigorous bubble to activate the pectin. Watch for the mixture to thicken slightly and become glossy, which usually takes about 5-7 minutes after it starts boiling.
Step 3: Test for Doneness
To check if your jam is ready, do the plate test: place a small spoonful on a chilled plate and return it to the freezer for 2 minutes. If the jam wrinkles when you push it with your finger and holds its shape, it’s done. If it’s still runny, cook for another 2-3 minutes and test again.
I also look for the jam to sheet off the back of my spoon in thick, slow drips. This visual cue tells me the pectin has done its job. The entire cooking process typically takes 20-25 minutes from start to finish.
Step 4: Jar and Cool Properly
Remove the pot from heat and let the jam sit for 5 minutes. This brief rest helps the fruit settle and prevents it from floating to the top of the jars. Skim off any foam that’s risen to the surface with a metal spoon—this keeps your jam looking clear and professional.
Ladle the hot jam into clean, sterilized jars, leaving ¼-inch headspace. Seal with lids and let cool completely at room temperature. As it cools, you’ll hear the satisfying “pop” of the lids sealing. The jam will thicken further as it cools, so resist the urge to stir it.
Once cooled, store in the refrigerator for up to 3 weeks, or process in a water bath for longer shelf life. The vanilla and citrus notes will deepen as it rests, making it taste even better the next day.
Pro Tips For Making Cherry Jam Recipe Using Frozen Cherries
- Thaw and Drain: Let the frozen cherries thaw in a colander for 30 minutes, then drain well—excess liquid will water down your jam and double the cooking time.
- Use a Wide Pot: A broad, heavy-bottomed pot lets the jam reduce faster and more evenly, so you’re not stirring for an hour while it slowly thickens.
- Skim the Foam: As the jam boils, a pink foam will rise to the top; skim it off with a spoon—leaving it in makes the jam look dull and can affect the texture.
- Test the Set: Drop a spoonful of jam on a chilled plate and let it sit for 30 seconds—if it wrinkles when you push it with your finger, it’s done and ready to jar.
Troubleshooting Great cherry jam recipe using frozen cherries
Too Runny Jam
If your jam hasn’t set after cooling, it likely needs more cooking time. Return it to the pot and boil vigorously for another 3-5 minutes, stirring constantly. The natural pectin in cherries needs sufficient boiling to activate. I always keep a chilled plate in the freezer for quick testing. 🔥
Crystallized Sugar
Prevent sugar crystals by ensuring all sugar dissolves completely before boiling. If you spot undissolved sugar on the pot sides, use a wet pastry brush to wash it down. This keeps your jam smooth. Stirring frequently during the initial 5 minutes of cooking helps avoid this issue.
Foam on Top
Foam is normal during cooking but can make your jam look dull. Skim it off with a metal spoon before jarring. A few drops of lemon juice or a pat of butter can help reduce foam, but I usually just skim it—no fuss, just clean jam.
Jam Too Thick
If your jam sets too firmly, don’t panic. Stir in 1-2 tbsp hot water while it’s still warm to loosen it. Avoid adding water after jarring, as it can introduce bacteria. The texture will soften slightly as it sits in the fridge for 24 hours.
Mold Growth
Mold appears if jars weren’t sterilized properly or if headspace exceeded ¼ inch. Always use clean, hot jars and lids. If you see mold, discard the jam—safety first. For longer storage, process jars in a water bath for 10 minutes. 💡
Dull Color
To keep that vibrant cherry hue, avoid overcooking. The longer it boils, the darker it gets. Adding 1 tsp lemon juice at the end can brighten the color. I also use a stainless steel pot—reactive metals like aluminum can discolor the jam.
Nutrition Facts
Frequently Asked Questions
Do I need to thaw the cherries first?
Partially thawing for 30 minutes helps release juices faster, but you can use them straight from the freezer. The cooking process will take slightly longer with fully frozen fruit.
Can I reduce the sugar amount?
You can cut up to 1/3 of the sugar, but texture and shelf life may be affected. Sugar is essential for preservation and pectin activation, so don’t reduce it by more than half.
How can I make it thicker without added pectin?
Cook it longer at a rolling boil and use the plate test. Natural pectin in cherries activates with prolonged boiling. Adding 1 tbsp lemon juice can also help with thickening.
How long does it last in the fridge?
Properly jarred and sealed, it keeps for 3-4 weeks in the refrigerator. For longer storage, process in a water bath for 10 minutes or freeze for up to 6 months.

- BBQ Sausage Recipe Oven: Smoky Depth Without the Grill - September 28, 2026
- BBQ Chicken Bowl Recipe Rice: Smoky Sweetness Over Fluffy Grains - September 28, 2026
- Beef Cutlet Recipe Ideas: Crispy Breaded Patties With Bold Seasonings - September 28, 2026