
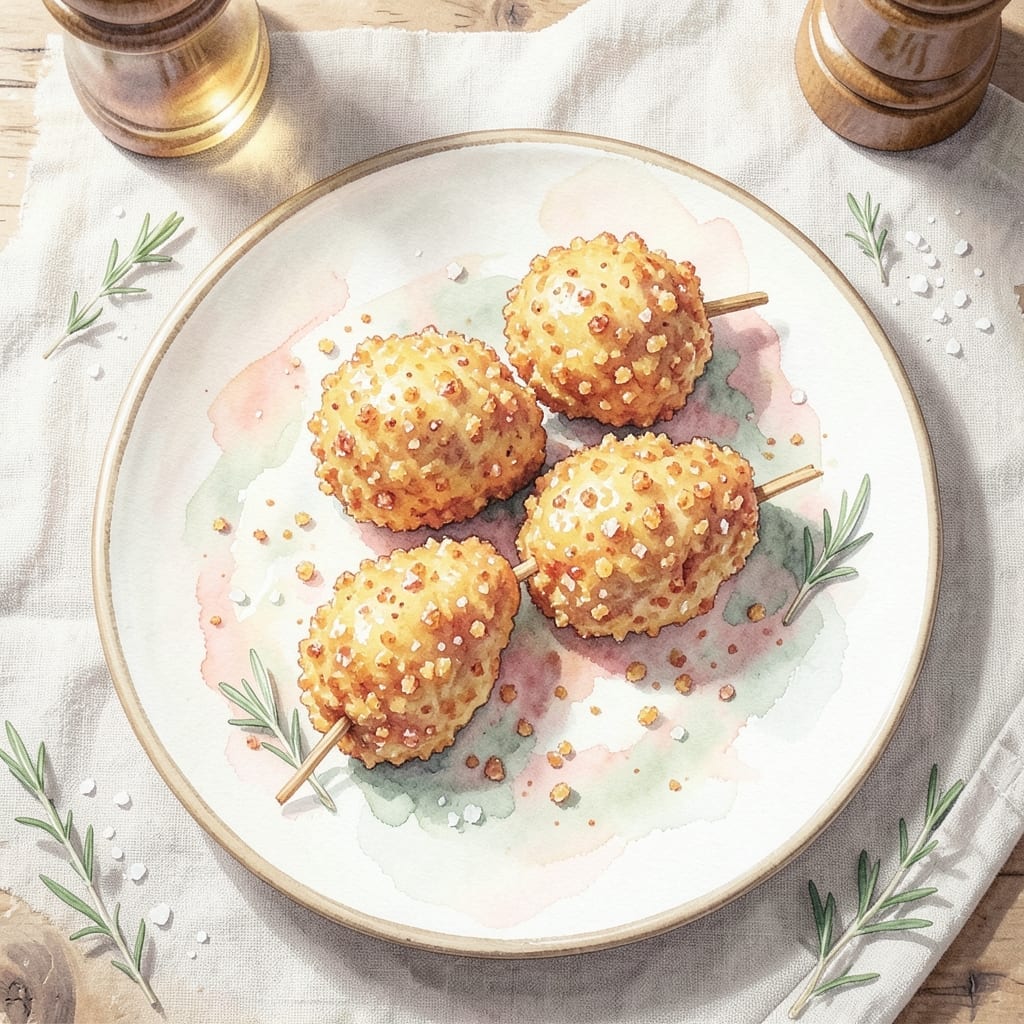
This oven-baked method delivers crispy chicken lollipops without the mess of deep frying. The secret lies in a two-step coating process that creates a golden, shatteringly crispy exterior while keeping the meat juicy inside.
I developed this technique after years of struggling with soggy coatings. The key is using cornstarch in the flour mixture and baking at a high temperature to achieve that perfect crunch without submerging the chicken in hot oil.
What you get is perfectly cooked chicken drumettes transformed into elegant handles—crispy on the outside, tender on the inside. The oven method ensures even cooking and consistent texture that rivals any restaurant version.
Serve these as an appetizer with your favorite dipping sauce or as a main course with sides. The results speak for themselves.
Ingredients for Chicken Lollipop Recipe Video
Pantry staples plus chicken drumettes make these irresistibly crispy bites happen.
| Ingredient | Amount | Notes |
|---|---|---|
| Chicken Drumettes 🍗 | 2 lb | Skin-on for extra crispiness |
| All-Purpose Flour 🌾 | 1 ½ cups | For initial dredging |
| Cornstarch 🌾 | ½ cup | Secret to extra crunch |
| Large Eggs 🥚 | 2 whole | For egg wash binding |
| Buttermilk 🥛 | ½ cup | For tenderizing meat |
| Panko Breadcrumbs 🍞 | 2 cups | For final crispy coating |
| Garlic Powder 🧄 | 1 tbsp | For savory depth |
| Onion Powder 🧅 | 1 tbsp | Complements the garlic |
| Paprika 🌶️ | 1 tbsp | Smoked or sweet variety |
| Salt 🧂 | 1 ½ tsp | Diamond Crystal preferred |
| Black Pepper 🌶️ | 1 tsp | Freshly ground best |
| Cayenne Pepper 🔥 | ¼ tsp | Optional for heat |
| Vegetable Oil 🫒 | 2 tbsp | For light oven crisping |
The chicken drumettes are key here—look for plump ones with skin on (that’s where the crisp comes from). Costco or Sam’s Club sell them in bulk, but any supermarket butcher can prep them for you. The cornstarch is non-negotiable for that shatteringly crisp texture, and King Arthur’s all-purpose flour is my go-to for the dredge. Buttermilk tenderizes like nothing else (don’t swap for regular milk).
No buttermilk? Milk plus a tablespoon of lemon juice or vinegar works in a pinch. Panko not happening? Crushed cornflakes at half the amount give great crunch too. For extra flavor, toss in grated Parmesan with the breadcrumbs. The spices can be adjusted—skip the cayenne if you’re serving kids. Fresh herbs in the coating? Overkill for this method.
Prep the chicken the night before—soak in buttermilk overnight for maximum tenderness. Bake immediately after coating for best results. Leftovers keep 3-4 days in the fridge but lose some crunch. Reheat in the oven at 375°F for 10 minutes to revive the crispiness.
Why You’ll Love This Recipe
- One Pan Magic: I just toss the drumettes in buttermilk, dredge in flour and cornstarch, and bake—no fancy equipment, no mess.
- Crispy Perfection: The cornstarch gives that irresistible crunch, while the buttermilk keeps the chicken tender inside. Honestly, it’s the texture that hooks everyone.
- Party Starter: These lollipops disappear at gatherings, and I love that I can prep them ahead and bake just before serving.
- Budget Friendly: Drumettes are cheap, and a little flour and cornstarch stretch a long way. I’ll be real: it’s my go-to for feeding a crowd without breaking the bank.
Step-by-Step Instructions for Chicken Lollipops
Here’s the method for achieving that perfect crunch without frying.
Step 1: Prep and Season the Chicken Drumettes
Pat the 2 lb Chicken Drumettes completely dry with paper towels—this is non-negotiable for maximum crispiness. I like to trim any excess skin or fat at the thick end to create a cleaner presentation.
In a large bowl, combine the 1.5 cups All-Purpose Flour, 0.5 cup Cornstarch, 1 tbsp Garlic Powder, 1 tbsp Onion Powder, 1 tbsp Paprika, 1.5 tsp Salt, 1 tsp Black Pepper, and 0.25 tsp Cayenne Pepper. Whisk until evenly distributed. The cornstarch is the secret to that extra crunch we’re after.
Step 2: Create the Wet and Dry Coating Stations
In a separate bowl, whisk together the 2 whole Large Eggs and 0.5 cup Buttermilk until smooth. This buttermilk wash tenderizes the meat while helping the coating adhere. Let it sit for 5 minutes to allow the flavors to meld slightly.
Place the 2 cups Panko Breadcrumbs in a third wide, shallow dish. Panko’s larger crumbs create those beautiful craggy surfaces that get super crispy in the oven. I always use fresh panko for the best texture.
Step 3: Bread the Chicken with Precision
Working with one piece at a time, dredge each drumette in the flour mixture, pressing gently to ensure full coverage. Shake off any excess—you want a thin, even layer. Then dip it into the buttermilk mixture, letting any excess drip off for 5 seconds.
Finally, roll the drumette in the panko, pressing firmly to create a thick, even coating. The key here is pressure—you want those crumbs to really stick. Place the breaded pieces on a wire rack set over a baking sheet. This allows air to circulate, preventing soggy bottoms.
Step 4: Bake to Golden Perfection
Preheat your oven to 400°F. Once hot, drizzle the 2 tbsp Vegetable Oil over the breaded drumettes. This small amount of oil helps the panko crisp up beautifully without deep frying. Bake on the middle rack for 20 minutes.
Flip each piece over and bake for another 15-20 minutes until the coating is deep golden brown and the internal temperature reaches 165°F. You’ll know they’re done when the coating is crispy to the touch and the chicken juices run clear when pierced.
Step 5: Rest and Serve Immediately
Transfer the chicken lollipops to a wire rack and let them rest for 5 minutes. This brief rest allows the coating to set completely while keeping the meat juicy. The coating should be so crispy you can hear the crunch when you bite into it.
Serve immediately while hot—they lose their crispiness as they cool. The exterior should have a beautiful golden-brown hue with visible panko texture, while the interior remains tender and juicy. These are best enjoyed fresh out of the oven for that perfect contrast of textures.
Pro Tips For Making Chicken Lollipop Recipe Video
- Double Dredge: Dip the drumettes in flour, then buttermilk, then flour again—I learned this the hard way after my first batch had a sad, thin crust.
- Heat the Oil: Get your oil to 350°F before frying, and keep it there. After burning three batches, I finally figured out that low heat makes greasy, soggy lollipops.
- Pat Them Dry: Use paper towels to dry the drumettes completely before dredging. My grandmother swore by this, and she was right: wet chicken makes the coating slide right off.
- Rest Before Frying: Let the dredged lollipops rest for 10 minutes on a rack. Sounds weird, but it works—the coating sticks better and fries up crispier.
Creative Variations of This chicken lollipop recipe video
Asian Fusion Twist
Swap the buttermilk for 0.5 cup coconut milk and add 1 tbsp fish sauce to the egg wash for a Thai-inspired version. Replace half the panko with crushed rice crackers and toss the finished lollipops with 1 tbsp lime zest and 2 tsp chili flakes for a sweet-spicy kick. 🌶️
Nashville Hot Style
Increase the cayenne to 1 tsp in your flour mix, then brush baked lollipops with ¼ cup hot sauce (I use Crystal) melted with 2 tbsp butter. Serve with pickles and white bread to balance the heat. The oil in the hot sauce helps the coating stay crispy.
Parmesan Herb Crust
Mix ½ cup grated Parmesan into your panko along with 1 tbsp dried Italian seasoning. The cheese creates an extra golden, savory crust. I like adding 1 tsp lemon zest to the flour mixture for brightness that cuts through the richness.
Buffalo Blue Cheese
After baking, toss the lollipops in ⅓ cup Buffalo sauce (Franks RedHot is my go-to) and crumbled ¼ cup blue cheese. For extra indulgence, drizzle with ranch or blue cheese dressing before serving. The tangy sauce pairs perfectly with the crispy coating.
Honey Sriracha Glaze
Whisk together 3 tbsp honey and 1 tbsp Sriracha, then brush over the lollipops during the last 5 minutes of baking. Garnish with sesame seeds and sliced green onions for a sweet-spicy finish with Asian flair. 💛
BBQ Dry Rub
Replace the garlic and onion powder with 2 tbsp BBQ rub (I love Killer Hogs brand). After baking, brush with ¼ cup BBQ sauce and return to oven for 2-3 minutes to set the glaze. This gives a smoky, finger-licking good alternative to traditional versions.
Nutrition Facts
Frequently Asked Questions
What’s the best way to prep the drumettes?
Pat them completely dry with paper towels first—this is crucial for crispiness. Trim excess fat at the thick end for a cleaner look.
Can I bake these at a lower temperature?
Not recommended. 400°F is ideal for achieving that shatteringly crisp coating. Lower temps may result in soggy breading.
How do I keep them crispy after baking?
Serve immediately on a wire rack to prevent steam buildup. If storing, reheat at 375°F for 10 minutes to revive crunch.
Can I use regular breadcrumbs instead of panko?
Yes, but panko creates better texture. If substituting, use crushed cornflakes for extra crunch.

- BBQ Sausage Recipe Oven: Smoky Depth Without the Grill - September 28, 2026
- BBQ Chicken Bowl Recipe Rice: Smoky Sweetness Over Fluffy Grains - September 28, 2026
- Beef Cutlet Recipe Ideas: Crispy Breaded Patties With Bold Seasonings - September 28, 2026