
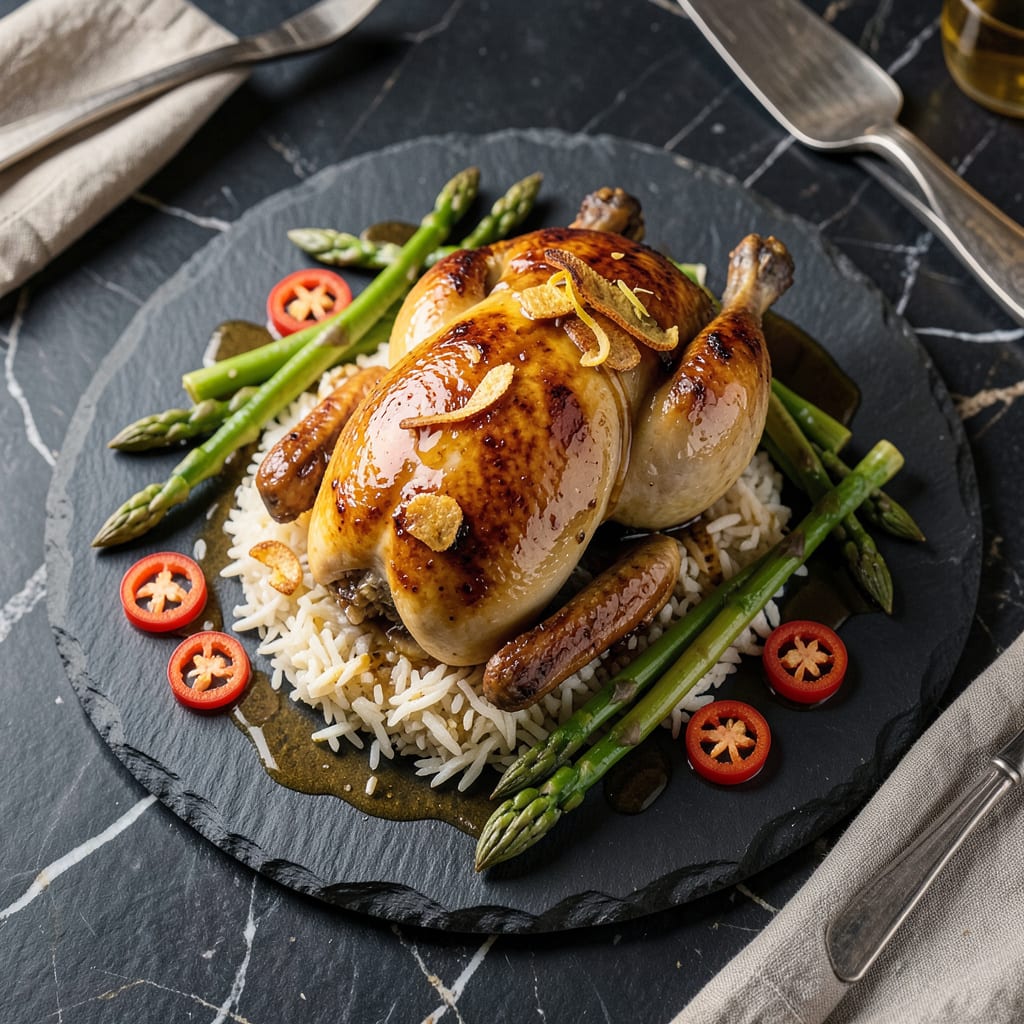
Chicken oil is made by slowly rendering chicken fat and skin until golden and crispy, then straining the liquid gold. Use it for frying, sautéing, or adding rich flavor to rice, noodles, and soups.
This culinary powerhouse transforms ordinary dishes with its deep umami richness. 🔥 The secret lies in the slow rendering process, which extracts maximum flavor while creating those coveted crispy bits called chicharrones. I’ve found this technique works best with a mix of fat-to-skin ratio around 2:1, allowing the collagen to break down properly while preventing burning. The result is a versatile cooking fat that outperforms neutral oils in both flavor and smoke point.
What sets homemade chicken oil apart is its ability to elevate simple ingredients. ✨ A drizzle over steamed vegetables or scrambled eggs adds restaurant-quality depth, while using it as a base for stir-fries creates an authentic wok hei effect. The oil’s natural gelatin content also gives fried foods an extra-crispy coating that commercial oils can’t match. Properly stored, it maintains quality for 3-4 months in the fridge, making it a pantry staple worth mastering.
💡 In This Article
- Step-by-Step Process for Perfect Chicken Oil
- Creative Ways to Use Homemade Chicken Oil in Cooking
Step-by-Step Process for Perfect Chicken Oil
The magic begins with selecting the right chicken parts. I recommend using a 2:1 ratio of fat to skin—about 2 cups of fat to 1 cup of skin—from thighs, wings, or necks. The fat provides the liquid base while the skin delivers crispy texture and deep flavor.
Chicken thighs work particularly well because their higher fat content (about 15-20%) ensures a better yield than leaner cuts like breasts.
Temperature control is everything during rendering. Maintain a steady 250-275°F range—this is where collagen in the skin slowly breaks down into gelatin while fat liquefies without burning. 🔥 Use a candy thermometer for precision, as visual cues can be misleading.
The process takes 45-90 minutes depending on quantity, with the oil gradually turning from cloudy to golden amber. You’ll know it’s ready when the cracklings float freely and turn deep brown.
Straining properly makes or breaks your final product. Line a fine-mesh sieve with cheesecloth and place over a heatproof container. Pour the hot oil through immediately to prevent the cracklings from absorbing liquid as it cools.
For ultra-clear oil, strain twice—first through a coarse sieve to catch large pieces, then through cheesecloth to remove fine particles. This double-straining method removes about 90% of impurities.
Safety with hot oil can’t be overstated. Always use a heavy pot with high sides to prevent splatter, and keep a lid nearby to smother potential flames. 💫 The oil will reach temperatures above 300°F during rendering, so wear oven mitts and avoid water contact (which causes violent splattering).
Let the oil cool completely before transferring to storage containers—this prevents condensation that could lead to spoilage.
For storage, glass jars work best as they’re non-reactive and allow you to monitor clarity. The oil will solidify slightly when refrigerated but reliquefies quickly at room temperature.
Unlike commercial oils, homemade chicken oil contains natural antioxidants from the rendering process, giving it a 3-4 month shelf life in the fridge—about twice as long as standard rendered fats.
The cracklings left behind are culinary gold too. Spread them on a baking sheet to crisp further in a 300°F oven for 10-15 minutes, then use as a garnish or snack. Their intense chicken flavor comes from the Maillard reaction during rendering, creating compounds like pyrazines that give them that irresistible savory aroma. ✨

- BBQ Sausage Recipe Oven: Smoky Depth Without the Grill - September 28, 2026
- BBQ Chicken Bowl Recipe Rice: Smoky Sweetness Over Fluffy Grains - September 28, 2026
- Beef Cutlet Recipe Ideas: Crispy Breaded Patties With Bold Seasonings - September 28, 2026