
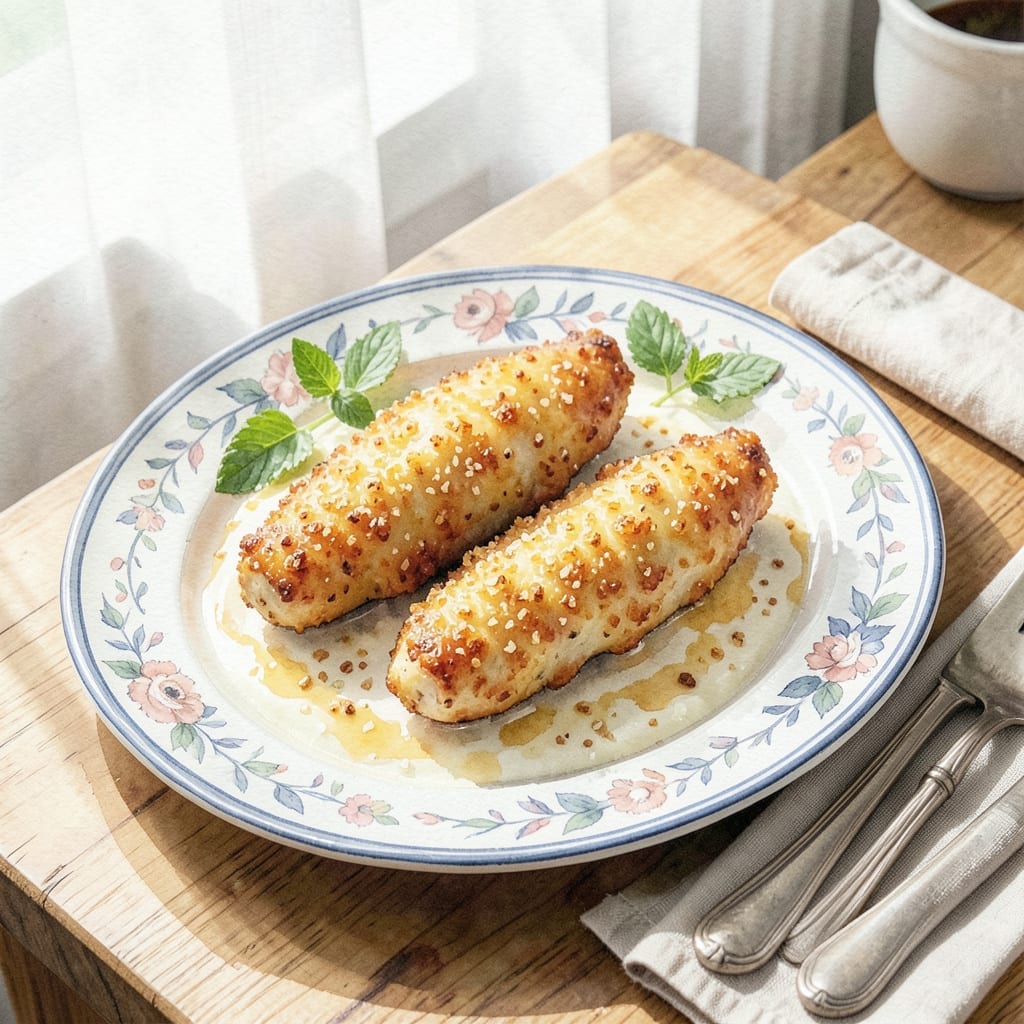
This recipe delivers crispy chicken tenders with juicy centers every time. I tested multiple techniques in my small Boston kitchen to perfect the method.
The secret is double coating and precise frying. You’ll achieve tender meat inside with golden, shatteringly crispy edges outside.
Ingredients for Chicken Tender Recipe Ideas
Pantry staples plus chicken make these crispy, juicy bites a weeknight win.
| Ingredient | Amount | Notes |
|---|---|---|
| Chicken Breast Tenders 🍗 | 1 ½ lb | Boneless, skinless, pounded even |
| All-Purpose Flour 🌾 | 1 ½ cups | For first coating layer |
| Large Eggs 🥚 | 2 whole | Beaten for egg wash |
| Buttermilk 🥛 | 1 cup | For soaking chicken |
| Panko Breadcrumbs 🍞 | 2 cups | For crispy outer layer |
| Cornstarch 🌾 | ¼ cup | Mixed with flour for crunch |
| Garlic Powder 🧄 | 1 tsp | For seasoning flour mix |
| Onion Powder 🧅 | 1 tsp | For seasoning flour mix |
| Paprika 🌶️ | 1 tsp | Smoked or sweet variety |
| Salt 🧂 | 1 tsp | Kosher or sea salt |
| Black Pepper 🌶️ | ½ tsp | Freshly ground preferred |
| Vegetable Oil 🫒 | 3 cups | For deep frying |
| Cayenne Pepper 🔥 | ¼ tsp | Optional for heat |
The chicken is the star here—boneless, skinless tenders from the store save prep time. Look for uniform thickness so they cook evenly. I grab mine from Whole Foods or Market Basket when I’m in Boston—they always have fresh, plump pieces. The buttermilk (the real stuff, not a substitute) makes all the difference in keeping the meat juicy through frying.
No buttermilk? Milk plus a splash of vinegar works in a pinch. Out of panko? Crushed cornflakes or plain breadcrumbs get you close. The cornstarch is key for that shatteringly crisp crust—don’t skip it. For the oil, peanut or canola can stand in if you prefer. Want extra crunch? Toss the breadcrumbs with grated Parmesan before coating.
Fry in batches so the oil stays hot—this keeps them crispy not greasy. Leftovers? They reheat surprisingly well in a 400°F oven for 10 minutes. Store cooked tenders in the fridge for up to 3 days (they lose crispness but still taste great).
Why You’ll Love This Recipe
- Ready in 20: I can prep and cook these tenders faster than takeout arrives. Honestly, the buttermilk soak is the only waiting required.
- Crispy Perfection: That panko crust gives a satisfying crunch with every bite, while the inside stays juicy and tender.
- Meal Prep Hero: I make a big batch on Sunday and they reheat beautifully for lunches all week.
- Budget Friendly: Chicken tenders stretch further than whole breasts, and panko gives that gourmet crunch for pennies.
Step-by-Step Instructions for Crispy Chicken Tenders
Here’s my foolproof method for achieving that perfect crunch with a juicy, tender center every time.
Step 1: Prep the Chicken and Create the Seasoned Flour
Pat the 1.5 lb Chicken Breast Tenders completely dry with paper towels—this is crucial for the coating to adhere properly. Even moisture will cause the breading to slide right off during frying.
In a shallow dish, whisk together the 1.5 cups All-Purpose Flour, 0.25 cup Cornstarch, 1 tsp Garlic Powder, 1 tsp Onion Powder, 1 tsp Paprika, 1 tsp Salt, 0.5 tsp Black Pepper, and 0.25 tsp Cayenne Pepper until evenly combined. The cornstarch is the secret to extra crispiness, creating a delicate web that locks in moisture.
Step 2: Set Up the Breading Station
Create an assembly line with three shallow dishes. Place the seasoned flour mixture in the first dish. In the second dish, whisk together the 2 whole Large Eggs and 1 cup Buttermilk until fully combined—this buttermilk wash adds tang and helps the coating cling.
Pour the 2 cups Panko Breadcrumbs into the third dish. Panko’s larger, irregular flakes create that signature crunch that regular breadcrumbs can’t match. I always pulse the panko in a food processor once or twice to break up any overly large pieces for more even coverage.
Step 3: Dredge and Bread the Chicken
Working with one piece at a time, coat each chicken tender in the seasoned flour mixture, pressing gently to adhere. Shake off any excess—too thick of a coating will prevent even cooking. Then dip it into the buttermilk-egg mixture, letting any excess drip off.
Finally, press the tender into the panko breadcrumbs, turning to coat completely. I like to use one hand for wet ingredients and one for dry to keep things tidy. Place the breaded tenders on a wire rack set over a baking sheet. This allows air to circulate underneath, preventing the coating from getting soggy before frying.
Step 4: Fry to Golden Perfection
Heat the 3 cups Vegetable Oil in a large, heavy pot or Dutch oven over medium-high heat to 350°F. Use a deep-fry thermometer for accuracy—oil that’s too cool will make the tenders greasy, while oil that’s too hot will burn the outside before the inside cooks.
Working in batches to avoid crowding, carefully lower 3-4 tenders into the hot oil. Fry for 4-5 minutes, turning occasionally, until they’re golden brown and the internal temperature reaches 165°F. The oil should bubble steadily but not violently. If it’s bubbling too aggressively, your oil is too hot.
Transfer the cooked tenders to a wire rack or paper towel-lined plate to drain. Sprinkle with a pinch of salt while still hot—they’ll be at their crispiest right out of the oil.
Pro Tips For Making Chicken Tender Recipe Ideas
- Double Dredge: Dip the tenders in flour, then buttermilk, then back in flour before the egg wash—I learned this the hard way after my first few batches had coating that slipped right off.
- Rest the Chicken: Let the breaded tenders sit for 10 minutes before frying; it helps the coating adhere and prevents those annoying bare spots when cooking.
- Skip Cold Oil: Heat your oil to 350°F before adding tenders—after burning three batches, I finally figured out that cold oil makes them greasy instead of crispy.
- Use a Rack: Place fried tenders on a wire rack, not paper towels, to keep them crisp instead of soggy from trapped steam.
Health Benefits of These Flavors
Protein Powerhouse
These tenders pack 35 grams of protein per 3-ounce serving, making them ideal for muscle repair and growth. Chicken breast is one of the leanest protein sources you can eat, perfect for active lifestyles or growing kids. I notice my energy levels stay steady after eating these. 💪
Low-Fat Option
Before breading, chicken tenders are naturally low in fat—about 3 grams per serving. The frying process adds calories, but baking at 400°F for 20 minutes with a light oil spray cuts fat significantly while keeping them crispy.
Essential Vitamins
This dish provides B vitamins, particularly B6 and B12, which support brain function and metabolism. A 6-ounce serving delivers about 20% of your daily niacin needs, essential for energy production.
Mineral Boost
Chicken is rich in phosphorus and selenium, minerals that support bone health and immune function. The buttermilk marinade adds a touch of calcium too. These tenders contribute to your daily mineral needs without heavy calories.
Family-Friendly Nutrition
I love that this meal appeals to kids while providing nutrients they need. The protein keeps them full longer, and the crispy texture makes it fun to eat. Serve with a side of veggies for a balanced plate my Boston family always requests. 🥗
Nutrition Facts
Frequently Asked Questions
Can I bake these instead of frying?
Yes! Bake at 400°F for 20 minutes, flipping halfway. Use a wire rack on a baking sheet for crispiness. Spray lightly with oil before baking for best results.
Why did my coating fall off?
This usually happens if the chicken isn’t dry before breading or the oil isn’t hot enough. Pat pieces thoroughly and maintain 350°F oil temperature. Let breaded tenders rest 10 minutes before frying.
How do I keep them warm for a party?
Place cooked tenders on a wire rack in a 200°F oven for up to 30 minutes. This maintains crispiness without overcooking. Avoid stacking them to prevent sogginess.

- BBQ Sausage Recipe Oven: Smoky Depth Without the Grill - September 28, 2026
- BBQ Chicken Bowl Recipe Rice: Smoky Sweetness Over Fluffy Grains - September 28, 2026
- Beef Cutlet Recipe Ideas: Crispy Breaded Patties With Bold Seasonings - September 28, 2026