
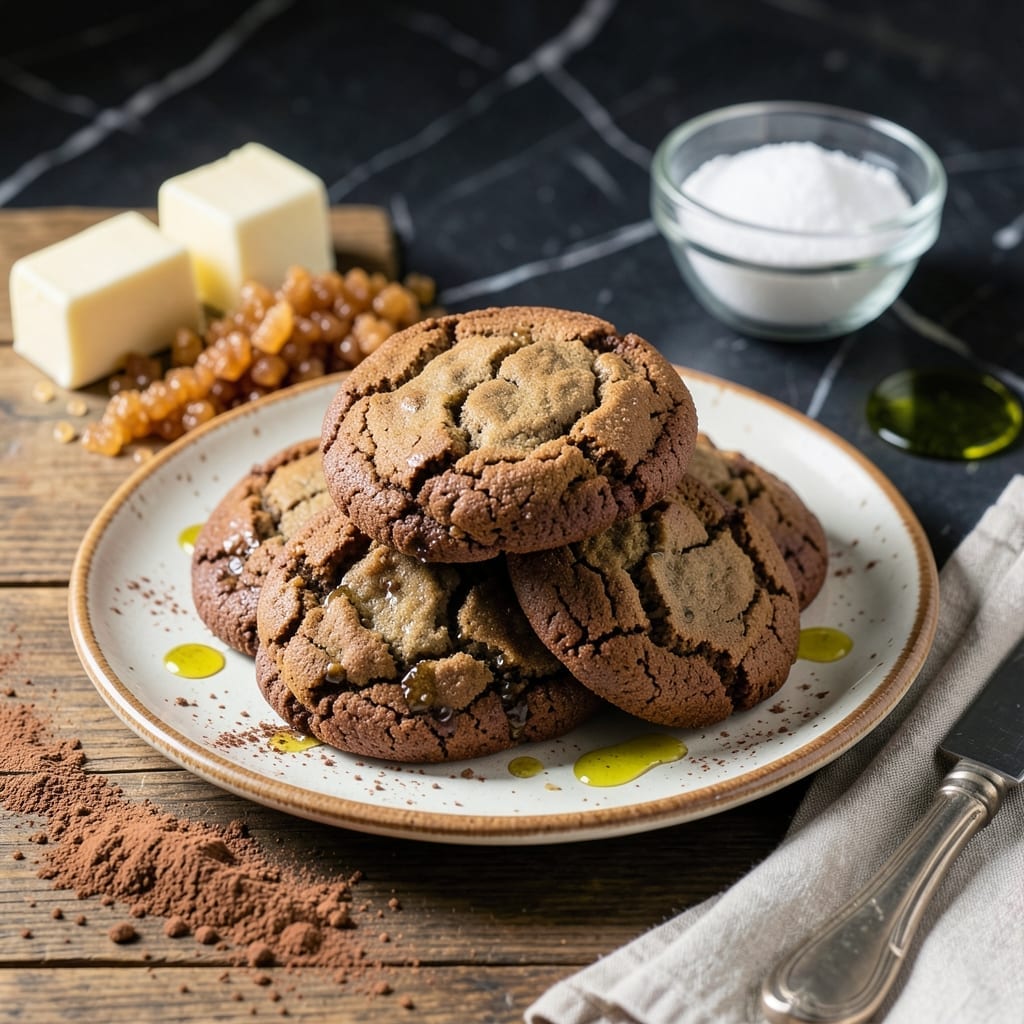
This recipe brings classic chocolate cookies to life with a homemade touch that Betty Crocker would approve of. Simple ingredients and proven techniques ensure perfect results every time.
You’ll achieve that nostalgic classic flavor with rich cocoa and just the right texture—soft centers with slightly crisp edges. Ready to bake memories?
Ingredients for Chocolate Cookie Recipe Betty Crocker
Classic chocolate cookies start with these pantry staples and a few special additions.
| Ingredient | Amount | Notes |
|---|---|---|
| All-Purpose Flour 🌾 | 2 ¼ cups | Spoon and level for accuracy |
| Unsweetened Cocoa Powder 🍫 | ¾ cup | Dutch-process preferred for depth |
| Baking Soda 🧂 | 1 tsp | Ensures proper rise and texture |
| Salt 🧂 | ½ tsp | Enhances chocolate flavor |
| Unsalted Butter 🧈 | 1 cup | Softened to room temperature |
| Granulated Sugar 🍚 | 1 ¼ cups | Fine white sugar preferred |
| Brown Sugar 🟤 | 1 cup | Packed light or dark |
| Large Eggs 🥚 | 2 whole | Room temperature for even mixing |
| Vanilla Extract 💧 | 2 tsp | Pure extract for best flavor |
| Semi-Sweet Chocolate Chips 🍫 | 2 cups | High-quality for melty pockets |
| Chopped Walnuts 🌰 | 1 cup | Optional, toasted for crunch |
The cocoa powder is non-negotiable for that deep, rich chocolate flavor. Hershey’s Special Dark or Ghirardelli are excellent choices—look for Dutch-process if you want a smoother taste. Butter quality matters here; Land O’Lakes or Plugrá give you that perfect creamy texture. The chocolate chips should be semi-sweet for balance, and Guittard or Enjoy Life brands deliver consistent results.
No Dutch-process cocoa? Natural cocoa works but may yield a slightly different texture. Brown sugar substitutes like coconut sugar can be used at a 1:1 ratio, though the flavor will shift. Out of semi-sweet chips? Chop a chocolate bar—aim for 60-70% cacao. For nut-free versions, omit the walnuts or swap in toasted oats for a similar crunch.
Store softened butter in the fridge if not using immediately—it keeps for 1 week. The dough can be refrigerated for up to 3 days or frozen for 3 months. Baked cookies stay fresh in an airtight container for 5 days (though they’ll likely disappear sooner).
Why You’ll Love This Recipe
- One Bowl Wonder: I dump everything in—flour, cocoa, butter—and mix. No fancy gadgets, just a spoon and 10 minutes of effort.
- Rich Cocoa Punch: That unsweetened cocoa powder gives them a deep, fudgy taste that store-bought just can’t match.
- Feeds a Crowd: Between us, I double the batch for bake sales and still run out. Everyone always asks for the recipe.
- Budget Friendly: Honestly, these cost pennies compared to bakery cookies, and the ingredients last for multiple batches.
Step-by-Step Instructions for Chocolate Cookies
Master this classic technique for rich, fudgy cookies with professional results every time.
Step 1: Cream Butter and Sugars to Aerate
In a stand mixer with the paddle attachment, beat the 1 cup unsalted butter with the 1.25 cups granulated sugar and 1 cup brown sugar on medium speed for 3-4 minutes. The mixture should become pale and noticeably increase in volume.
This creaming process incorporates air, which creates the characteristic crackly tops and ensures proper spread. The butter must be properly softened to room temperature—about 65°F—or it won’t cream correctly. Stop to scrape the bowl with a silicone spatula halfway through.
Step 2: Incorporate Eggs and Vanilla
Add the 2 whole large eggs one at a time, mixing on low speed for 30 seconds after each addition until fully emulsified. Then add the 2 tsp vanilla extract and mix for an additional 10 seconds.
The mixture may appear slightly curdled after adding the eggs, but this will resolve once the dry ingredients are incorporated. Using room temperature eggs ensures even distribution throughout the batter. The vanilla extract should be pure, not imitation, for optimal flavor depth.
Step 3: Combine Dry Ingredients and Chocolate
In a separate bowl, whisk together the 2.25 cups all-purpose flour, 0.75 cup unsweetened cocoa powder, 1 tsp baking soda, and 0.5 tsp salt. Add this to the wet ingredients and mix on low speed for 30-45 seconds until just combined—overmixing develops gluten and makes cookies tough.
Remove the bowl from the mixer and fold in the 2 cups semi-sweet chocolate chips and 1 cup chopped walnuts by hand using a silicone spatula. Ensure even distribution throughout the dough. The dough will be thick and slightly sticky at this stage.
Step 4: Chill Dough for Optimal Texture
Cover the bowl with plastic wrap and refrigerate for at least 1 hour (preferably 2 hours). Chilling solidifies the butter, which prevents excessive spreading during baking and allows the flour to fully hydrate.
This step is critical for achieving the perfect texture. The dough can be refrigerated for up to 24 hours if needed. For best results, portion the dough into balls before chilling—this makes it easier to bake directly from the refrigerator.
Step 5: Bake to Fudgy Perfection
Preheat the oven to 350°F and line two baking sheets with parchment paper. Scoop the chilled dough into 2-tablespoon portions and place them 3 inches apart on the prepared sheets. The dough will be firm and may need to be pressed together slightly.
Bake for 11-13 minutes until the edges are set but the centers still look slightly underdone. They’ll continue cooking on the hot pan after removal. Let them cool on the baking sheet for 5 minutes before transferring to a wire rack. The cookies should have a rich, deep chocolate color with a slightly crackly top.
Pro Tips For Making Chocolate Cookie Recipe Betty Crocker
- Chill the Dough: I learned this the hard way—popping warm dough in the oven gives you flat, sad cookies. Give it 30 minutes in the fridge so the butter firms up and the flavors meld.
- Measure Cocoa Right: Spoon your unsweetened cocoa powder into the measuring cup, then level it off—don’t scoop directly from the container or you’ll pack it down and end up with bitter, dry cookies.
- Watch the Butter: Use room temperature unsalted butter, but not too soft—it should dent when pressed, not look greasy. After burning a batch, I finally figured out that melted butter changes the texture completely.
- Rotate the Trays: Halfway through baking, switch the trays top to bottom and front to back. My first few batches had some burnt edges and pale centers until I started doing this—now they bake evenly every time.
Essential Equipment for Great chocolate cookie recipe betty crocker
Stand Mixer Essentials
A reliable stand mixer is your best friend for this recipe. I’ve used my KitchenAid Artisan Series for years—it handles the thick dough without straining. The paddle attachment creams butter and sugar to perfection in 3-4 minutes on medium speed. 💪
Precision Measuring
Accurate measurements matter in baking. I use OXO Good Grips measuring cups for dry ingredients and spoons for spices. For the 1 cup butter, a standard stick equals ½ cup, so two sticks will do. Level off flour with a knife to avoid compacting it.
Chilling Tools
Chilling the dough is non-negotiable. Use plastic wrap to cover the bowl tightly, pressing it directly onto the surface to prevent a skin from forming. A large mixing bowl with a lid works too. I often portion the dough first, then chill for easier scooping later.
Baking Sheets
Invest in heavy-duty half-sheet pans—I recommend Nordic Ware or USA Pan. They distribute heat evenly and prevent burning. Line them with parchment paper for easy cleanup and to prevent cookies from sticking. Always preheat for 10 minutes before baking.
Cooling Racks
A wire cooling rack lets air circulate around the cookies, preventing soggy bottoms. I place mine over a baking sheet to catch any stray chocolate. Let cookies cool for 5 minutes on the pan first, then transfer to the rack to finish cooling completely.
Bonus Gadgets
A cookie scoop ensures uniform portions—I use a #40 scoop for 2-tablespoon portions. A silicone spatula helps scrape every last bit of dough from the bowl. And don’t forget a timer to track those 11-13 minutes precisely. ⏰
Frequently Asked Questions
Why chill the dough before baking?
Chilling firms the butter, preventing excessive spreading during baking. It also allows flour to hydrate fully for better texture. Skip this, and your cookies may flatten too much.
Can I use natural cocoa instead of Dutch-process?
Yes, but expect a slightly different texture and flavor. Natural cocoa is more acidic, which can affect the rise and taste. Dutch-process gives a smoother, richer result.
How do I know when they’re done?
Look for set edges with centers that still appear slightly underdone. They’ll finish cooking on the hot pan. Overbaking leads to dry cookies.
Can I freeze the dough?
Portion into balls, freeze on a tray, then transfer to a bag. They’ll keep for 3 months. Bake straight from frozen, adding 1-2 minutes to the time.
Nutrition Facts

- BBQ Oysters Recipe Grill: Smoky Garlic Butter Bliss - September 28, 2026
- Crock Pot Mac and Cheese Recipe Paula Deen: Ultra Creamy Southern-Style Comfort - September 28, 2026
- Beyond Burger Recipe Ideas: Plant-Based Creativity for Every Meal - September 28, 2026