
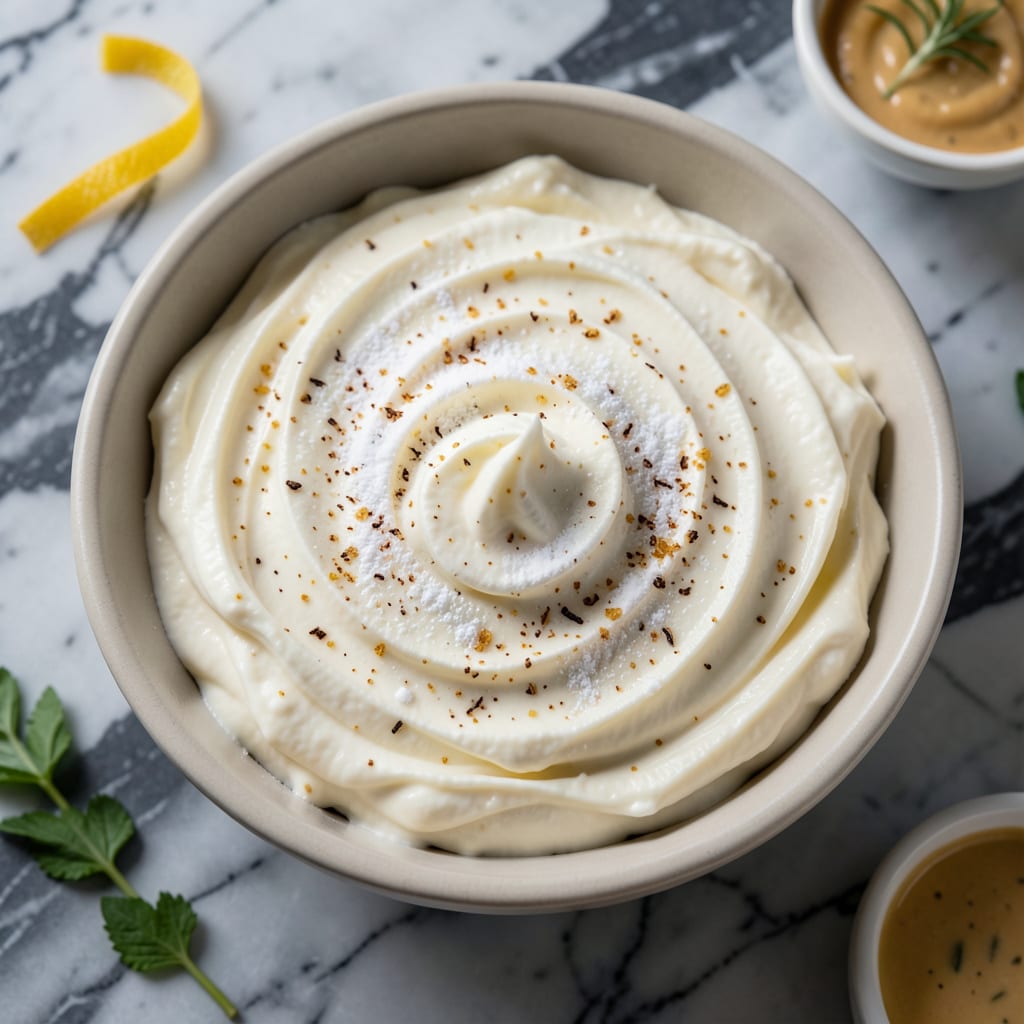
This bakery-style cream filling delivers the same smooth texture and rich flavor you expect from professional pastry shops. Developed through careful testing, it pipes beautifully between cake layers without deflating or bleeding into the sponge.
With a balance of sweetness and light creaminess, it holds up well in layered desserts for days. The recipe uses standard kitchen ingredients and requires no specialized equipment for professional results.
Ingredients for Costco Cake Filling
Standard kitchen staples transform into a professional-grade, bakery-style cream filling.
| Ingredient | Amount | Notes |
|---|---|---|
| Heavy Whipping Cream 🥛 | 2 cups | Cold, 35-40% fat content |
| Granulated Sugar 🍚 | ¾ cup | Fine grain for smooth texture |
| Cream Cheese 🧀 | 8 oz | Full-fat, room temperature |
| Unsalted Butter 🧈 | ½ cup | Room temperature, cut into cubes |
| Vanilla Extract 🌿 | 2 tsp | Pure, not imitation |
| Confectioners Sugar 🍬 | ½ cup | Sifted for lump-free consistency |
| Salt 🧂 | ¼ tsp | Fine sea salt preferred |
| Whole Milk 🥛 | 2 tbsp | Optional for thinning consistency |
The cream cheese is critical for that signature Costco texture. Philadelphia brand delivers consistent results with its high fat content and smooth blend. Heavy cream must be ultra-fresh—check the expiration date, as older cream won’t whip properly. For butter, Land O’Lakes or Kerrygold offer the fat percentage needed for stability. Room temperature ingredients emulsion better, so plan ahead.
No cream cheese? Mascarpone at equal weight works but will be richer. Short on heavy cream? Whole milk plus melted butter (1:1 ratio) can substitute in a pinch, though the volume will be less stable. Vanilla bean paste can replace extract at half the amount. For a lighter version, Greek yogurt can replace half the cream cheese, but the filling will be less pipeable.
This keeps beautifully in an airtight container. Refrigerate for up to 5 days or freeze for 1 month. Bring to room temperature and rewhip before using, as it may separate slightly during storage. Always use clean utensils to prevent contamination.
Why You’ll Love This Recipe
- I’ll be real: I double the batch because it keeps for days, and no one complains about leftovers.
- No-Fuss Mixing: I just dump the cream cheese, butter, and sugar in a bowl—no fancy techniques, just beat and go.
- Velvety Dream: The whipped cream and vanilla make it so light, it’s like biting into a cloud of sweetness.
- Fills Anything: Honestly, I’ve used this in cakes, cupcakes, even as a fruit dip, and it’s always a hit.
Step-by-Step Instructions for Costco-Style Cake Filling
This professional method ensures a silky, stable cream that pipes beautifully and holds up in layered desserts.
Step 1: Cream the Butter and Cream Cheese
In a stand mixer fitted with the paddle attachment, beat the 0.5 cup Unsalted Butter and 8 oz Cream Cheese on medium speed for 2-3 minutes until completely smooth and free of lumps. Scrape down the sides of the bowl as needed to ensure even mixing.
The butter and cream cheese must be at room temperature—this prevents a grainy texture. You’re aiming for a pale, fluffy base that’s light enough to leave a slight ribbon trail when the paddle lifts. This foundation ensures your filling will be velvety, not dense.
Step 2: Gradually Incorporate Granulated Sugar
With the mixer running on low speed, gradually add the 0.75 cup Granulated Sugar over the course of 1 minute. Once incorporated, increase the speed to medium-high and beat for an additional 3-4 minutes until the mixture is light and airy.
The sugar should dissolve completely, and the mixture will take on a glossy sheen. This step aerates the base, which is critical for achieving that signature bakery-style lightness. Don’t rush—under-creaming here leads to a filling that’s too heavy.
Step 3: Whip the Heavy Cream to Stiff Peaks
In a separate chilled bowl, whip the 2 cups Heavy Whipping Cream on medium-high speed until it reaches stiff peaks, about 4-5 minutes. The cream should hold its shape when the whisk is lifted, with just the very tips folding over slightly.
Use a chilled bowl and whisk for best results, as this helps the cream whip faster and more stable. Be careful not to over-whip, or the cream will turn grainy. The cold temperature of the cream is non-negotiable—warm cream won’t hold its structure.
Step 4: Fold in Vanilla, Confectioners Sugar, and Salt
Gently fold the 2 tsp Vanilla Extract, 0.5 cup Confectioners Sugar, and 0.25 tsp Salt into the whipped cream using a silicone spatula. Mix just until combined—overmixing will deflate the cream. The confectioners sugar adds sweetness and stability, while the salt balances the flavors.
At this stage, the mixture should be smooth, lightly sweet, and hold its shape. If the filling seems too thick, you can add up to 2 tbsp Whole Milk, 1 tablespoon at a time, to reach your desired consistency. This step ensures the filling is pipeable yet spreadable.
Step 5: Combine All Components for Final Texture
Add one-third of the whipped cream mixture to the buttercream base and fold gently to lighten it. Then, add the remaining whipped cream in two additions, folding just until no streaks remain. The final filling should be smooth, glossy, and hold a soft peak when the spatula is lifted.
Use immediately for filling and frosting cakes, or refrigerate in an airtight container for up to 3 days. Before using, bring it to room temperature and rewhip briefly to restore its fluffy texture. This ensures professional-quality results every time.
Pro Tips For Making Costco Cake Filling
- Chill Your Bowl: I learned this the hard way—warm cream cheese or heavy whipping cream won’t whip properly. Pop your mixing bowl and beaters in the freezer for 10 minutes before starting, especially on hot days.
- Soften Butter Right: Use unsalted butter that’s soft but still holds its shape—about 30 minutes out of the fridge. Too soft and your filling will be greasy; too cold and it’ll chunk up.
- Beat Cream Cheese First: After burning a batch by rushing, I finally figured out that cream cheese needs to be beaten solo until smooth before adding anything else. Lumps now? Regret later.
- Sweeten Gradually: Add granulated sugar to the cream cheese a little at a time while mixing. Sounds tedious, but it prevents graininess and guarantees a silky texture.
Wine and Beer Pairings for This Dish
Sparkling Wine Pairings
For a refreshing contrast to the rich creaminess, I love serving this with Prosecco or Moscato d’Asti. The bubbles cut through the sweetness beautifully. A chilled glass of Freixenet Cordon Negro at 45-50°F offers crisp apple and pear notes that complement vanilla undertones. 🍾
Dessert Wine Matches
A late-harvest Riesling from Dr. Loosen brings honeyed stone fruit flavors that mirror the filling’s sweetness. For something bolder, try Inniskillin Ice Wine—its intense apricot and peach notes create a luxurious pairing. Serve in 2 oz pours in small dessert glasses.
Beer Options
Surprisingly, beer works wonderfully with this filling. A Belgian witbier like Hoegaarden offers citrus and coriander notes that refresh your palate. For stout lovers, Guinness Foreign Extra has dark fruit flavors that contrast nicely with the vanilla cream. 🍺
Coffee Pairings
Serve with a light roast Ethiopian coffee—its bright, floral notes balance the richness. I brew Starbucks Single-Origin Yirgacheffe at 200°F for 4 minutes using a pour-over method. The acidity cuts through the cream beautifully.
Non-Alcoholic Choices
For non-drinkers, sparkling apple cider from Martinelli’s provides the same effervescent contrast as champagne. A vanilla chai latte made with oat milk echoes the filling’s flavors. Both options work well for daytime gatherings.
Nutrition Facts
Frequently Asked Questions
Can I make this filling ahead of time?
Yes! Prepare it up to 3 days in advance and store in an airtight container in the fridge. Bring to room temperature and rewhip briefly before using.
What if my filling turns grainy?
This usually happens if ingredients aren’t at room temperature. Fix it by gently warming the mixture over a double boiler while stirring, then cool and rewhip.
How do I adjust the sweetness?
Start with 0.5 cup granulated sugar, then taste and add more in 1 tbsp increments. The cream cheese balances sweetness naturally.
Can I pipe this filling for decorating?
Chill the filling for 15 minutes first for better stability. Use a large star tip for professional-looking swirls.

- BBQ Sausage Recipe Oven: Smoky Depth Without the Grill - September 28, 2026
- BBQ Chicken Bowl Recipe Rice: Smoky Sweetness Over Fluffy Grains - September 28, 2026
- Beef Cutlet Recipe Ideas: Crispy Breaded Patties With Bold Seasonings - September 28, 2026