
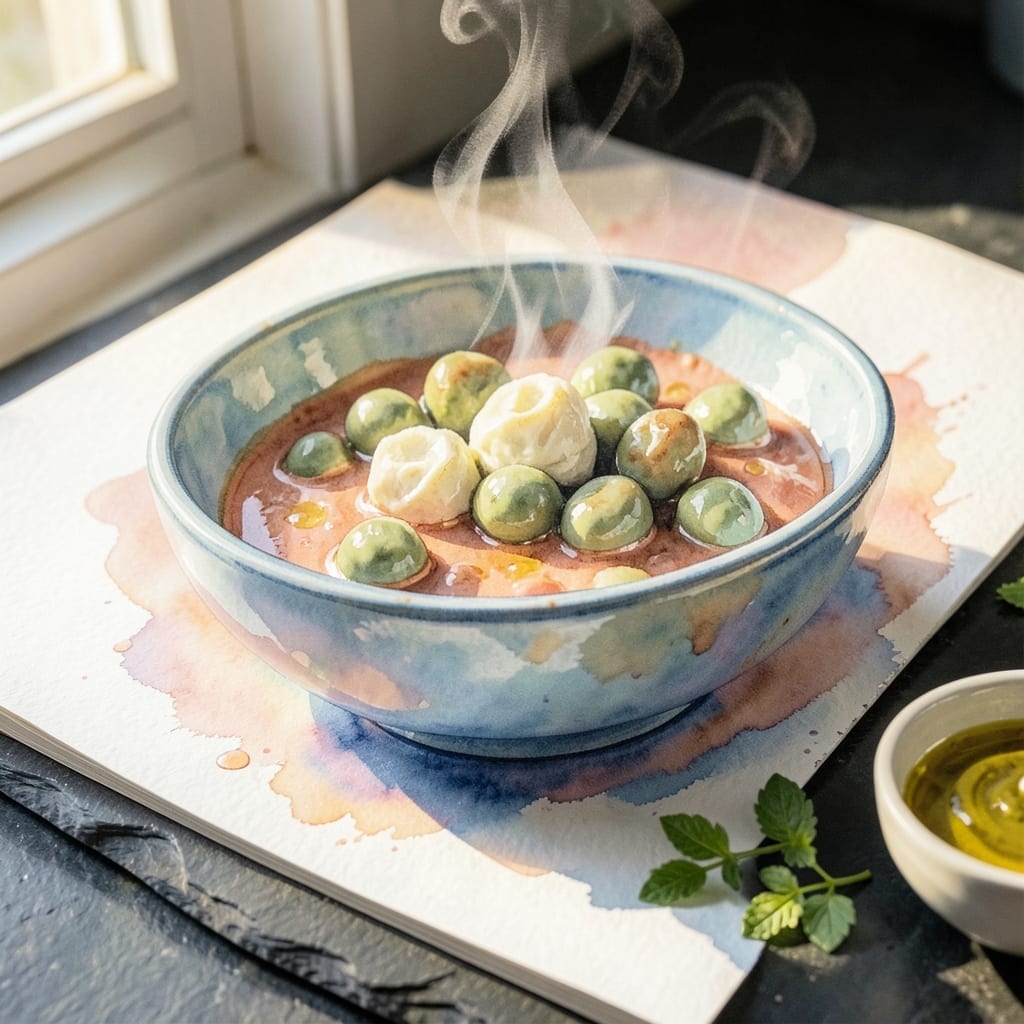
This Southern-style side dish transforms humble canned peas into something truly special. The secret lies in a simple yet creamy sauce that elevates the peas with rich, comforting flavor.
I developed this recipe to capture the essence of traditional Southern cooking without the fuss. With just a few pantry staples and 15 minutes, you can create a dish that tastes like it simmered all afternoon.
The peas absorb the velvety sauce, becoming tender and full of flavor. Each bite delivers that familiar, home-style taste that pairs perfectly with fried chicken, roast beef, or meatloaf.
This is the kind of simple, satisfying side that belongs on every dinner table. Here’s how to make it right every time.
Ingredients for Cream Peas Recipe with Canned Peas
Pantry staples plus a few fresh touches make this Southern classic sing.
| Ingredient | Amount | Notes |
|---|---|---|
| Canned Sweet Peas 🌱 | 4 cans | 15 oz each, drained and rinsed |
| Unsalted Butter 🧈 | 4 tbsp | Or salted with reduced salt |
| All-Purpose Flour 🌾 | 2 tbsp | For thickening the sauce |
| Whole Milk 🥛 | 1 ½ cups | Full-fat for creaminess |
| Chicken Broth 🍲 | ½ cup | Vegetable broth for vegetarian |
| Granulated Sugar 🍚 | 1 tsp | Balances the richness |
| Salt 🧂 | 1 tsp | Adjust to taste |
| Black Pepper 🌶️ | ½ tsp | Freshly ground preferred |
| Onion Powder 🧅 | ½ tsp | Or fresh minced onion |
| Garlic Powder 🧄 | ½ tsp | Or fresh minced garlic |
| Dried Thyme 🌿 | ¼ tsp | Or fresh thyme leaves |
The peas are key here—Le Sueur or Allen’s are my go-to brands for that perfect sweetness and tenderness. I grab mine from Walmart or any major grocery store (the canned aisle usually has them). Full-fat milk is non-negotiable for that creamy texture we’re after. The broth adds depth, so use low-sodium if you’re watching salt. Butter? Just get the good stuff (land o’ lakes is solid).
No chicken broth? Vegetable broth works just as well, or even water in a pinch. Fresh onion and garlic are great if you’ve got them—just sauté them in the butter first. The flour can be swapped for cornstarch (1 tbsp does the trick) for a gluten-free version. Out of thyme? A pinch of dried rosemary or sage adds a similar warmth. Milk alternatives like oat or almond work too (use unsweetened).
Leftovers taste even better the next day once the flavors meld. Keeps 3-4 days in the fridge, and honestly, I’ve never had it last longer than that. Doesn’t freeze well since the sauce can separate, so it’s best made fresh. Reheat gently on the stove with a splash of milk if it thickens too much.
Why You’ll Love This Recipe
- No-Fuss Cooking: I just drain the canned peas and stir them into the creamy butter-flour base—no chopping, no peeling.
- Velvety Comfort: The whole milk and broth blend into this rich, smooth sauce that clings to every pea.
- Weeknight Hero: Between us, this works as a side for roast chicken or poured over mashed potatoes when I’m short on time.
- Budget Stretcher: One can of peas feeds my family of four, and the pantry staples keep the cost way down.
Step-by-Step Instructions for Southern-Style Cream Peas
This method guarantees a silky sauce and perfectly seasoned peas every time.
Step 1: Sauté Aromatics for Flavor Base
Melt all 4 tbsp Unsalted Butter in a large skillet over medium heat. As it foams, add the 0.5 whole Onion, finely diced, and cook for 4-5 minutes until translucent and just starting to soften.
Add the 2 cloves Garlic Cloves, minced, and cook for 30 seconds until fragrant but not browned. This base builds the deep, savory foundation that makes this dish special. Watch carefully—garlic burns quickly and turns bitter.
Step 2: Create the Creamy Roux
Sprinkle in all 2 tbsp All-Purpose Flour and stir constantly for 1-2 minutes to cook off the raw flour taste. You’re aiming for a light golden color, not dark brown—this isn’t a gravy.
The mixture will look thick and paste-like at first, but it thins out as it cooks. This step thickens the sauce and prevents lumps. Keep the heat at medium to avoid scorching.
Step 3: Build the Sauce with Dairy
Slowly pour in all 1.5 cups Whole Milk, whisking continuously to prevent lumps. Then add all 0.5 cup Heavy Cream. Stir in the 1 tsp Chicken Bouillon Granules, 1 tsp Sugar, 1 tsp Salt, and 0.5 tsp Black Pepper.
Bring to a gentle simmer over medium heat, then reduce to low. Let it cook for 3-4 minutes until the sauce thickens enough to coat the back of a spoon. The mixture should look velvety and smooth.
Step 4: Finish with Peas and Simmer
Add all 4 cups Canned Green Peas, drained and rinsed, to the sauce. Stir gently to coat every pea. Let the mixture simmer for 5-7 minutes on low heat—just enough to warm the peas through and let the flavors meld.
Don’t boil vigorously or the cream can separate. The peas should be tender but still bright green, and the sauce should cling to them beautifully. Taste and adjust seasoning if needed, though the bouillon and salt should have it just right.
Step 5: Rest and Serve
Remove from heat and let it sit for 2-3 minutes before serving. This brief rest allows the sauce to reach its final, perfect consistency. The peas will absorb just enough of the creamy sauce to be rich but not soupy.
Serve warm as a comforting side dish. The sauce should be thick enough to hold its shape briefly when spooned, then cascade beautifully over the peas. This is Southern comfort at its finest.
Pro Tips For Making Cream Peas Recipe With Canned Peas
- Drain and Rinse: Always drain and rinse the canned peas under cold water to remove excess starch and sodium—I learned this the hard way after one overly salty batch.
- Make a Roux First: Cook the butter and flour together for 2-3 minutes on medium heat before adding liquid to avoid a pasty, lumpy sauce.
- Warm the Milk: Take the chill off the whole milk by microwaving it for 30 seconds first; cold milk can cause the sauce to thicken unevenly.
- Thin with Broth: If the cream sauce gets too thick, whisk in a splash of chicken broth instead of more milk—it adds depth without watering it down.
Pro Cooking Tips for Great cream peas recipe with canned peas
Roux Perfection
Cook your 2 tbsp flour in melted butter for exactly 1-2 minutes over medium heat. Stop when it reaches a pale golden color—any darker and you risk a bitter taste. I use a flat wooden spoon to keep it moving constantly. 🔥
Preventing Lumps
Whisk the 1.5 cups milk into the roux slowly—a thin stream works best. If lumps form, don’t panic! Just switch to a wire whisk and break them up before they set. The key is patience at this stage.
Sauce Consistency
Your sauce should coat the back of a spoon but still drip slowly. If it’s too thick, add 1-2 tbsp broth. Too thin? Let it simmer 1-2 extra minutes. I check consistency by running my finger through the sauce on the spoon.
Pea Timing
Add the drained peas only after the sauce is fully thickened. They only need 5-7 minutes to warm through—any longer and they’ll lose their bright color. Stir gently to avoid breaking them.
Seasoning Adjustment
Taste before serving and adjust with salt or pepper as needed. The chicken broth adds depth, but sometimes an extra pinch of sugar balances the richness perfectly.
Resting Matters
Let the dish rest 2-3 minutes off heat before serving. This final step lets the sauce thicken just enough to cling beautifully to each pea. The difference is noticeable! 💫
Nutrition Facts
Frequently Asked Questions
Can I use frozen peas instead of canned?
Yes, but thaw and drain them first to prevent watery sauce. Frozen peas may need 1-2 extra minutes of simmering to reach the same tenderness as canned.
How do I make this gluten-free?
Replace the 2 tbsp flour with 1 tbsp cornstarch. Mix it with cold milk first to prevent clumping. The texture will be just as smooth.
Why does my sauce turn out lumpy?
This happens when milk is added too quickly to the roux. Pour it in slowly while whisking constantly. If lumps appear, switch to a wire whisk to break them up before they set.
Can I make this ahead of time?
Best served fresh, but leftovers keep 3-4 days refrigerated. Reheat gently on the stove with a splash of milk to restore creaminess.

- BBQ Sausage Recipe Oven: Smoky Depth Without the Grill - September 28, 2026
- BBQ Chicken Bowl Recipe Rice: Smoky Sweetness Over Fluffy Grains - September 28, 2026
- Beef Cutlet Recipe Ideas: Crispy Breaded Patties With Bold Seasonings - September 28, 2026