
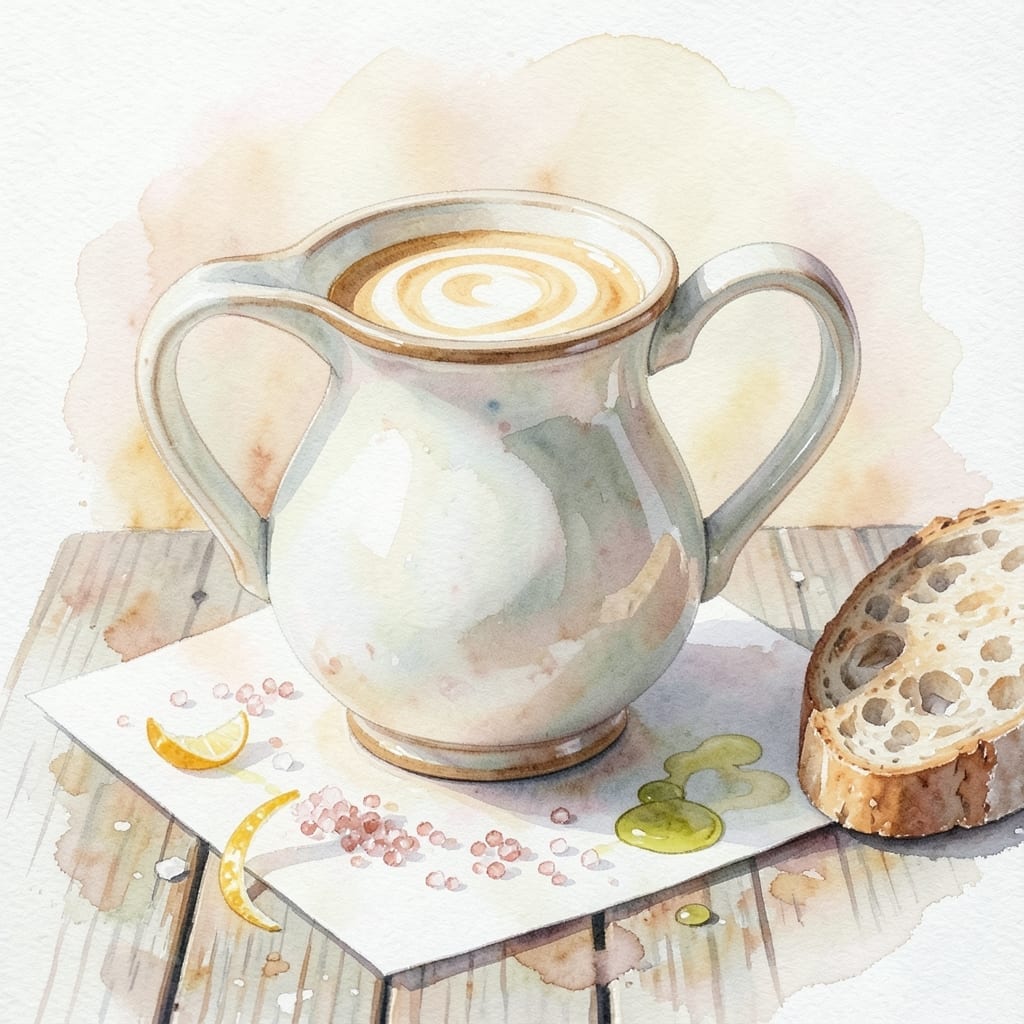
There’s a simple elegance to crafting your own coffee creamer that store-bought versions can’t match. This recipe transforms basic evaporated milk into a smooth, rich addition for your daily cup, with complete control over sweetness and flavor.
Using evaporated milk creates a creamer that blends seamlessly into hot coffee without curdling, unlike some dairy alternatives. The process takes less than 10 minutes and requires just a few pantry staples, making it as practical as it is delicious.
You’ll end up with a velvety creamer that enhances rather than overpowers your coffee’s natural flavors. The beauty lies in its versatility—customize the sweetness or add vanilla for a personal touch that commercial brands can’t replicate.
Store it in the fridge for up to two weeks, shaking well before each use. Here’s how to make this barista-worthy creamer at home.
Ingredients for Creamer Recipe with Evaporated Milk
Six simple ingredients create this velvety, barista-worthy coffee companion at home.
| Ingredient | Amount | Notes |
|---|---|---|
| Evaporated Milk 🥛 | 1 can | 12 oz, full-fat preferred |
| Granulated Sugar 🍚 | ¼ cup | Adjust to taste preference |
| Pure Vanilla Extract 🌿 | 1 tsp | High-quality for best flavor |
| Heavy Cream 🥛 | ¼ cup | Optional for extra richness |
| Unsalted Butter 🧈 | 1 tbsp | Melted, for smooth texture |
| Pinch of Salt 🧂 | 1 pinch | Balances sweetness |
The evaporated milk is the foundation—Carnation or Pet are reliable brands with consistent thickness. Full-fat keeps the creamer from separating in your coffee. I grab mine from Walmart or Target (canned goods aisle). If you’re using low-fat, add that extra tablespoon of heavy cream to compensate. Always shake the can before measuring—it settles during storage.
Out of evaporated milk? Half-and-half reduced by half on the stove works in a pinch (simmer gently, don’t boil). No vanilla extract? Vanilla bean paste adds speckles and more depth. For a sugar-free version, maple syrup or agave at a 1:1 swap. Skip the butter if you prefer a lighter texture—just know it won’t be as silky.
Seal it in a glass jar or bottle with a tight lid. Keeps fresh for up to 2 weeks in the fridge—shake well before each use. For longer storage, freeze in ice cube trays, then transfer to a bag for up to 3 months (thaw overnight in the fridge).
Why You’ll Love This Recipe
- 5-Minute Mix: I can stir this together while my coffee brews—just evaporated milk, sugar, and vanilla.
- Richest Sip Ever: The butter and heavy cream make it taste like a café mocha without the price tag.
- Fridge Staple: I keep a jar ready so my morning rush feels like a treat.
- Pennywise Luxury: Honestly, it costs less than store-bought and tastes twice as good.
Step-by-Step Instructions for Creamer With Evaporated Milk
This homemade version comes together quickly with just a few quality ingredients.
Step 1: Combine Evaporated Milk and Heavy Cream
Pour the 1 can Evaporated Milk into a medium saucepan. I prefer full-fat for the richest texture, but any variety will work. Add the 0.25 cup Heavy Cream to the pan—this boosts the richness and creates that velvety mouthfeel you expect from a premium creamer.
Set the pan over medium-low heat and warm gently, stirring occasionally with a silicone spatula. You want to heat this slowly to avoid scorching the dairy. Watch for tiny bubbles to form around the edges of the pan—that’s your cue that it’s warm enough.
Step 2: Incorporate the Sweet and Salty Elements
Once the dairy mixture is warm, add the 0.25 cup Granulated Sugar. I use a whisk here to dissolve it completely, which takes about 2-3 minutes. The sugar should disappear entirely into the liquid, with no grainy texture remaining.
Stir in the 1 pinch Pinch of Salt. This might seem counterintuitive in a sweet creamer, but it actually enhances all the other flavors. The salt balances the sweetness and rounds out the vanilla notes you’ll add next. Taste as you go—you can always adjust the sugar later if needed.
Step 3: Add Butter and Vanilla for Richness
Remove the saucepan from heat and stir in the 1 tbsp Unsalted Butter until fully melted. The butter adds a subtle depth and helps create a smoother, more luxurious texture. I always use unsalted to control the salt content precisely.
Now add the 1 tsp Pure Vanilla Extract. Use high-quality vanilla here—it makes a noticeable difference. The aroma will be incredible at this stage. Stir well to distribute the vanilla evenly throughout the mixture. You should see small ripples on the surface as the flavors meld.
Step 4: Cool and Store Your Homemade Creamer
Let the creamer cool to room temperature, which takes about 30 minutes. I speed this up by placing the saucepan in a shallow ice bath and stirring occasionally. The mixture will thicken slightly as it cools, which is exactly what you want.
Once cool, transfer to a clean glass jar or bottle with a tight-fitting lid. Store in the refrigerator for up to 2 weeks. Give it a good shake before each use, as the ingredients may separate slightly over time. The flavor actually improves after a day in the fridge as everything marries together.
Pro Tips For Making Creamer Recipe With Evaporated Milk
- Warm the Evaporated Milk: Heat the evaporated milk gently to just below simmering—around 180°F—before mixing with other ingredients. I learned this the hard way after my first batch separated because the cold milk shocked the butter.
- Use Room Temp Butter: Take the unsalted butter out 30 minutes before starting so it blends smoothly into the warm mixture. Sounds obvious, but I’ve ruined a creamer batch by microwaving cold butter in a hurry.
- Skip Cheap Vanilla: Splurge on pure vanilla extract, not imitation—it’s the thing that actually changes the outcome in a creamer this simple. My grandmother swore by this, and she was right.
- Whisk, Don’t Stir: Use a whisk and a steady circular motion when combining ingredients to fully emulsify the fats. After burning three batches from uneven mixing, I finally figured out this non-negotiable step.
Regional Styles of This Dish
Southern Comfort Style
In the South, we often add a touch of cinnamon or nutmeg to our creamer for that cozy, spiced flavor. Just whisk in ½ tsp of either spice while warming the dairy mixture. This variation pairs beautifully with bold, dark roasts. 💛
Mexican Café de Olla
For a Latin twist, stir in 1 tsp ground cinnamon and ½ tsp vanilla as the mixture cools. This mimics the warm spice notes of traditional Mexican coffee. I love how it adds a subtle complexity to my morning cup.
French Vanilla
Double the vanilla to 2 tsp and add 1 tsp almond extract for a French-inspired version. The almond adds a sophisticated depth that feels luxurious. Use Madagascar bourbon vanilla for the best flavor profile.
New England Maple
Replace granulated sugar with ⅓ cup pure maple syrup and add ¼ tsp maple extract. This creates a creamer that tastes like autumn in New England. The maple flavor shines through without being overpowering.
Midwest Caramel
Add 2 tbsp caramel sauce to the warm mixture and stir until fully incorporated. This sweet, buttery version is a Midwest favorite. I recommend Smucker’s caramel topping for consistent quality.
Nutrition Facts
Frequently Asked Questions
Can I use sweetened condensed milk instead?
No, sweetened condensed milk is much thicker and sweeter. It would overpower your coffee and change the texture dramatically. Stick with evaporated milk for the right consistency.
Why does my creamer separate in the fridge?
This is normal! The dairy and sugar can separate over time. Just shake vigorously before each use to reincorporate everything. It won’t affect the flavor or quality.
Can I make this dairy-free?
Yes! Substitute coconut milk for evaporated milk and use coconut oil instead of butter. The texture will be slightly different but still delicious in coffee.
How long does it last in the fridge?
Your homemade creamer stays fresh for up to 2 weeks when stored in an airtight container. For longer storage, freeze in ice cube trays for up to 3 months.

- BBQ Sausage Recipe Oven: Smoky Depth Without the Grill - September 28, 2026
- BBQ Chicken Bowl Recipe Rice: Smoky Sweetness Over Fluffy Grains - September 28, 2026
- Beef Cutlet Recipe Ideas: Crispy Breaded Patties With Bold Seasonings - September 28, 2026