
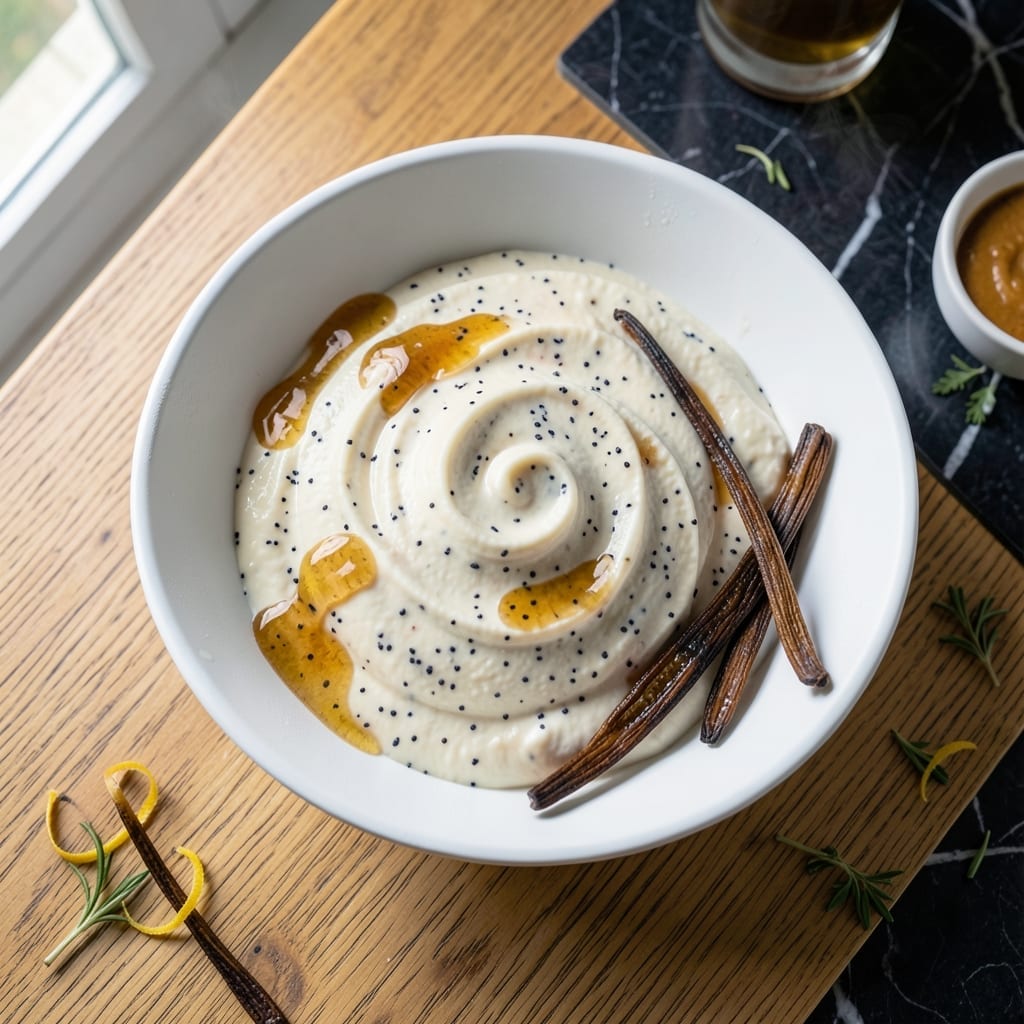
There’s a reason vanilla bean ice cream remains the gold standard of frozen desserts. This recipe delivers authentic creaminess with real bean specks throughout, proving simplicity often beats complexity.
Using a Cuisinart machine ensures smooth, consistent texture every time. The vanilla bean’s natural oils infuse the base with rich, aromatic depth that extract simply can’t match.
Ingredients for Cuisinart Vanilla Ice Cream Recipe Vanilla Bean
Nine ingredients create authentic, bean-flecked vanilla ice cream with restaurant-quality depth and texture.
| Ingredient | Amount | Notes |
|---|---|---|
| Heavy Cream 🥛 | 2 cups | Full-fat for optimal texture |
| Whole Milk 🥛 | 1 cup | Cold, fresh preferred |
| Granulated Sugar 🍚 | ¾ cup | Fine white sugar |
| Vanilla Bean 🌿 | 1 whole | Split and scraped |
| Large Egg Yolks 🥚 | 6 whole | Room temperature preferred |
| Pure Vanilla Extract 💧 | 1 tsp | For enhanced flavor depth |
| Pinch of Salt 🧂 | 1 pinch | Fine sea salt |
| Whole Egg 🥚 | 1 whole | Optional, for stability |
| Unsalted Butter 🧈 | 2 tbsp | Melted, for richness |
The vanilla bean is non-negotiable for authentic flavor. Look for plump, moist pods at specialty stores like Whole Foods or Sur La Table—avoid dry, brittle beans. Heavy cream and whole milk provide the base; opt for organic or local dairy if available. The egg yolks must be fresh, as their fat content is crucial for that luxurious mouthfeel this dish demands.
No vanilla bean? Use 1 tbsp pure vanilla extract as a substitute, though the specks will be missing. For a lighter version, swap half the cream for additional milk (texture will be less rich). The sugar can be reduced slightly, but don’t go below 2/3 cup or the mixture may ice over. Butter is optional but adds a subtle depth that complements the vanilla beautifully.
The custard base can be made 2 days ahead and refrigerated. Churn immediately after cooling for best texture. Once spun, store in an airtight container for up to 1 week. For longer storage, press plastic wrap directly on the surface to prevent ice crystals.
Why You’ll Love This Recipe
- One-Bowl Wonder: I just whisk the egg yolks, sugar, and vanilla bean right in the Cuisinart bowl—no extra dishes, no fuss.
- Speckled Vanilla Luxury: The real vanilla bean leaves those tiny black specks and a depth of flavor store-bought can’t touch.
- Freezer Stash: Honestly, I always double the batch because homemade vanilla ice cream disappears fast in my house.
- Smart Splurge: Heavy cream and whole milk sound fancy, but the cost per serving is still cheaper than premium pints.
Step-by-Step Instructions for Cuisinart Vanilla Ice Cream
Master the technique for rich, authentic vanilla bean ice cream with professional results.
Step 1: Infuse the Cream with Vanilla Bean
In a medium saucepan, combine the 2 cups Heavy Cream and 1 cup Whole Milk over medium heat. Split the 1 whole Vanilla Bean lengthwise with a sharp knife and scrape the seeds into the cream mixture, then add the pod as well.
Heat the mixture until it just begins to simmer at the edges—small bubbles will form around the perimeter. Remove from heat, cover, and let steep for 15 minutes to allow the vanilla to fully infuse. This creates the authentic bean-flecked appearance and deep vanilla flavor that defines this recipe.
Step 2: Temper the Egg Yolks and Whole Egg
In a separate bowl, whisk together the 6 whole Large Egg Yolks, 1 whole Whole Egg, and 0.75 cup Granulated Sugar until the mixture turns pale yellow and slightly thickens. This process incorporates air for a lighter texture.
Slowly pour about 1 cup of the hot cream mixture into the egg mixture while whisking constantly. This tempering prevents the eggs from curdling when exposed to heat. Once combined, pour the tempered egg mixture back into the saucepan with the remaining cream.
Step 3: Cook the Custard Base to Ribbon Stage
Return the saucepan to medium-low heat and cook, stirring constantly with a wooden spoon or silicone spatula, until the custard thickens enough to coat the back of the spoon. This should take 8-10 minutes.
When you run your finger through the custard on the back of the spoon, it should leave a clean path that holds its shape. Remove from heat and stir in the 2 tbsp Unsalted Butter, 1 tsp Pure Vanilla Extract, and 1 pinch Pinch of Salt until the butter is fully melted and incorporated.
Step 4: Chill the Custard Thoroughly
Strain the custard through a fine-mesh sieve into a clean bowl to remove the vanilla pod and any cooked bits of egg. Press plastic wrap directly onto the surface of the custard to prevent a skin from forming.
Refrigerate for at least 4 hours, or preferably overnight. This chilling step is crucial for achieving the smoothest texture. The custard should be 40°F or below before churning in your Cuisinart ice cream maker.
Step 5: Churn and Freeze to Perfection
Pour the chilled custard into your Cuisinart ice cream maker and churn according to the manufacturer’s instructions, typically 20-25 minutes. The ice cream is ready when it reaches a soft-serve consistency and holds its shape when scooped.
Transfer to a lidded container and freeze for at least 4 hours to firm up. For the best texture, let it sit at room temperature for 5-10 minutes before serving to allow for easy scooping. The result should be creamy with visible vanilla bean specks throughout.
Pro Tips For Making Cuisinart Vanilla Ice Cream Recipe Vanilla Bean
- Temper the Yolks: Slowly whisk about 1/2 cup of the hot cream mixture into the egg yolks before combining everything—I learned this the hard way after scrambling yolks in my first three batches.
- Scrape the Bean: Split the vanilla bean lengthwise and scrape every last speck of pulp with the back of your knife; those tiny black flecks carry most of the flavor.
- Skip the Boil: Heat the cream mixture just until it steams and tiny bubbles form at the edges—boiling it can curdle the custard and ruin the texture.
- Chill Overnight: After straining the custard, refrigerate it at least 8 hours or overnight; this deepens the vanilla flavor and guarantees a smoother churn in your Cuisinart.
Troubleshooting Great cuisinart vanilla ice cream recipe vanilla bean
Grainy Texture Fix
If your ice cream turns out grainy, the custard likely wasn’t chilled enough before churning. Ensure it reaches 40°F or below—I always use an instant-read thermometer. Also, check that your sugar fully dissolved during cooking. 🌡️
Ice Crystals Prevention
To avoid ice crystals, press plastic wrap directly onto the custard surface during chilling. When storing, use an airtight container and press more plastic wrap on the ice cream surface before sealing.
Egg Curdling Rescue
If your eggs curdle during tempering, immediately remove from heat and whisk vigorously. To prevent this, pour the hot cream very slowly while whisking constantly. I find a fine stream from a spouted measuring cup helps.
Soft Serve Issues
If your ice cream stays too soft after churning, your Cuisinart bowl may not have been fully frozen. Pre-freeze for 24 hours minimum. Also, check that your freezer maintains 0°F or below.
Flavor Too Mild
For stronger vanilla flavor, increase the vanilla bean to 2 pods or add an extra 1 tsp extract. Let the custard steep longer during chilling—overnight infuses maximum flavor. 💡
Butter Separation
If you see butter separating, ensure it’s fully melted and emulsified into the custard. Whisk vigorously when adding it off the heat. Using room temperature butter helps it incorporate smoothly.
Frequently Asked Questions
Can I use vanilla extract instead of a bean?
Yes, but the flavor will be less complex. Replace 1 bean with 1 tbsp extract. You won’t get the signature black specks though.
Why is my custard lumpy?
Lumps appear when eggs curdle during tempering. Always pour hot cream very slowly while whisking. Strain through a sieve for extra insurance.
How long does it keep in the freezer?
Store in an airtight container with plastic wrap on the surface. It stays fresh for up to 1 week. After that, ice crystals may form.
Can I reduce the sugar?
Don’t go below 2/3 cup. Sugar affects both sweetness and texture. Less sugar risks an icy finish.
Nutrition Facts

- BBQ Sausage Recipe Oven: Smoky Depth Without the Grill - September 28, 2026
- BBQ Chicken Bowl Recipe Rice: Smoky Sweetness Over Fluffy Grains - September 28, 2026
- Beef Cutlet Recipe Ideas: Crispy Breaded Patties With Bold Seasonings - September 28, 2026