
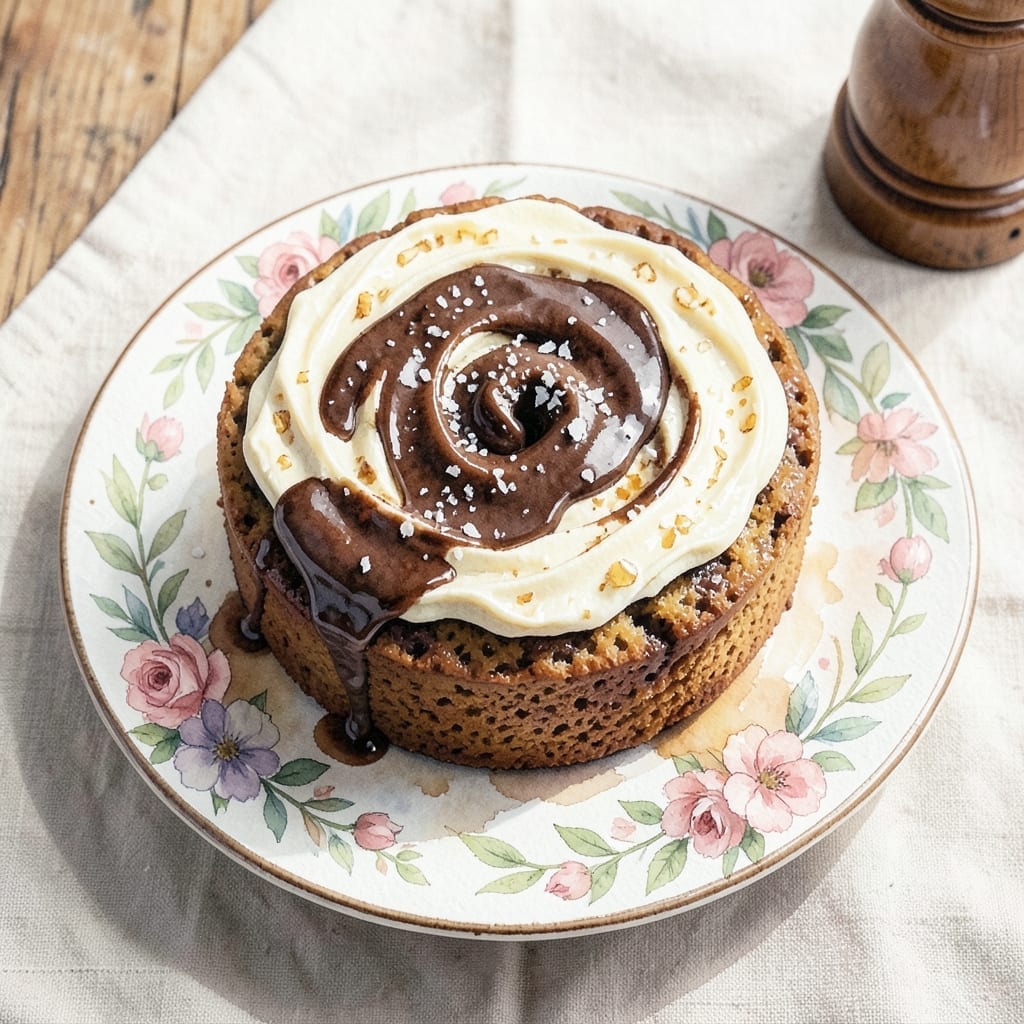
This cake delivers the classic flavors of a Ding Dong in a stunning layered dessert. I developed this version to capture that nostalgic taste with a creamy filling that’s even better than the original.
The chocolate layers are rich and moist, perfectly complementing the light, fluffy filling. A simple technique ensures the cake stays tender while the filling sets properly between layers.
What you get is a showstopping dessert that looks impressive but comes together with straightforward steps. The combination of chocolate and creamy filling creates a perfect balance in every bite.
Serve this at your next gathering and watch it disappear. The layers hold up beautifully when sliced, making it ideal for parties or special occasions.
Ingredients for Ding Dong Cake Recipe Paula Deen
Rich cocoa layers meet that signature fluffy filling in this nostalgic dessert masterpiece.
| Ingredient | Amount | Notes |
|---|---|---|
| All-Purpose Flour 🌾 | 2 ½ cups | Sifted for lighter texture |
| Granulated Sugar 🍚 | 2 cups | Fine white sugar preferred |
| Unsweetened Cocoa Powder 🍫 | ¾ cup | Dutch-process for richness |
| Baking Soda 🧂 | 2 tsp | Ensures proper rise |
| Salt 🧂 | 1 tsp | Balances sweetness |
| Large Eggs 🥚 | 2 whole | Room temperature for even mixing |
| Vegetable Oil 🫒 | 1 cup | Or melted butter |
| Buttermilk 🥛 | 1 cup | Full-fat for moisture |
| Vanilla Extract 🌿 | 2 tsp | Pure extract recommended |
| Hot Water 💧 | 1 cup | Freshly boiled for cocoa |
| Unsalted Butter 🧈 | 1 cup | Softened for filling |
| Powdered Sugar 🍬 | 3 cups | Sifted for smoothness |
| Marshmallow Fluff ⚪ | 1 jar | 7 oz jar for filling |
| Heavy Cream 🥛 | ½ cup | Whipped for stability |
| Semisweet Chocolate Chips 🍫 | 1 cup | For ganache topping |
The cocoa powder is the foundation here. Hershey’s Special Dark gives that deep, fudgy flavor Paula Deen loves. Most grocery stores carry it in the baking aisle. If you’re making this for a crowd, Costco’s Kirkland brand cocoa is a solid bulk option. The flour should be all-purpose—no need for cake flour here. Just make sure it’s fresh (old flour loses its lift).
No buttermilk? Milk with 1 tbsp vinegar or lemon juice gets you close. Out of marshmallow fluff? Homemade 7-minute frosting works in a pinch. The chocolate chips can be semi-sweet or bittersweet—Ghirardelli or Guittard are my go-tos. Want extra richness? Swap the vegetable oil for melted coconut oil (trust me on this one).
The cake layers freeze beautifully—wrap them tight in plastic. The filling is best fresh, but the whole cake keeps 3-4 days in the fridge. Bring to room temp before serving for that perfect creamy texture (worth the wait).
Why You’ll Love This Recipe
- I’ll be real: it tastes even better the next day, and it freezes like a dream for last-minute cravings.
- One Bowl Wonder: I mix everything right in the same bowl—flour, cocoa, sugar, the works—and it’s ready for the oven in minutes.
- Rich Chocolate Hit: That deep cocoa flavor from the unsweetened powder makes it taste like a fancy dessert, not a pantry-staple cake.
- Crowd Pleaser: Honestly, I’ve served this at birthdays, potlucks, and even just because it’s Tuesday.
Step-by-Step Instructions for Decadent Chocolate Layers with Creamy Filling
This method delivers that signature creamy center with rich chocolate layers every time.
Step 1: Prepare the Chocolate Cake Layers
Preheat your oven to 350°F and grease two 9-inch round cake pans, then line the bottoms with parchment paper. In a large bowl, whisk together the 2.5 cups All-Purpose Flour, 2 cups Granulated Sugar, 0.75 cup Unsweetened Cocoa Powder, 2 tsp Baking Soda, and 1 tsp Salt until fully combined.
Add the 2 whole Large Eggs, 1 cup Vegetable Oil, 1 cup Buttermilk, and 2 tsp Vanilla Extract, mixing until the batter is smooth. Slowly pour in the 1 cup Hot Water while stirring—this creates a thin batter, but don’t worry, it’s supposed to be this way. Divide the batter evenly between the prepared pans.
Step 2: Bake and Cool the Cake Layers
Bake for 30-35 minutes or until a toothpick inserted into the center comes out clean. The layers should spring back lightly when touched. Remove from the oven and let them cool in the pans for 10 minutes before transferring to a wire rack to cool completely.
I always let the layers cool entirely before assembling—this prevents the filling from melting into the cake. If you’re in a hurry, you can pop them in the fridge for 30 minutes to speed things up, but room-temperature cooling is ideal.
Step 3: Make the Creamy Marshmallow Filling
In a large bowl, beat the 1 cup Unsalted Butter until light and fluffy, about 2-3 minutes. Gradually add the 3 cups Powdered Sugar, mixing on low until combined, then increase to medium speed and beat for another 2 minutes until smooth.
Fold in the 1 jar Marshmallow Fluff until fully incorporated. The filling should be thick but spreadable. If it’s too stiff, add a splash of the 0.5 cup Heavy Cream to loosen it slightly. This filling is what gives the cake its signature creamy center, so take your time to get it just right.
Step 4: Assemble the Cake with Filling and Ganache
Place one cake layer on a serving plate and spread the marshmallow filling evenly over the top, leaving a ½-inch border around the edge. Place the second cake layer on top and press down gently to create a flat surface.
For the ganache, heat the 0.5 cup Heavy Cream in a small saucepan until it just begins to simmer. Pour it over the 1 cup Semisweet Chocolate Chips in a heatproof bowl, let it sit for 1 minute, then stir until smooth. Pour the ganache over the top of the cake, letting it drip down the sides. Let it set for 15 minutes before slicing.
Pro Tips For Making Ding Dong Cake Recipe Paula Deen
- Sift the Cocoa: I learned this the hard way—unsifted cocoa powder leaves pesky lumps in your batter, so take 30 seconds to sift it with the flour and baking soda.
- Room Temp Ingredients: Sounds weird, but it works: pull your eggs and butter out an hour before baking to guarantee a smoother, more even cake texture.
- Test Early: After burning three batches, I finally figured out this cake bakes faster than expected—start checking for doneness at 25 minutes with a toothpick.
- Swap for Dutch Process: My grandmother swore by this, and she was right: Dutch process cocoa gives a richer flavor than natural unsweetened cocoa in this recipe.
Essential Equipment for This Recipe
Mixing Bowls
You’ll need at least two large mixing bowls—one for dry ingredients and one for wet. I recommend stainless steel with non-slip bases, like the Cuisinox set from Williams Sonoma. They’re durable and won’t absorb odors like plastic can. 💪
Cake Pans
Two 9-inch round cake pans are essential for even baking. I use Fat Daddio’s anodized aluminum pans—they heat evenly and release cakes cleanly. Always line them with parchment paper to prevent sticking.
Electric Mixer
A stand mixer makes this recipe a breeze, especially for the filling. The KitchenAid Classic handles the thick marshmallow mixture without straining. If you’re using a hand mixer, opt for a heavy-duty model like the Cuisinart Power Advantage.
Whisk and Spatula
A sturdy balloon whisk ensures smooth batter without lumps. I prefer the OXO Good Grips whisk for comfort. A silicone spatula is perfect for folding in the marshmallow fluff and scraping bowls clean.
Cooling Rack
Proper cooling prevents soggy layers. A wire cooling rack allows air circulation underneath. The Wilton Excelle Elite is my go-to—it’s sturdy and fits most cake pans. Let layers cool completely before assembling. 💡
Saucepan
For the ganache, a small, heavy-bottomed saucepan ensures even heating. I use an All-Clad 1.5-quart pan—it’s the perfect size and distributes heat beautifully. Avoid nonstick for this step to prevent hot spots.
Nutrition Facts
Frequently Asked Questions
Can I use a different pan size?
You can use 8-inch round pans, but you’ll need to bake for 40-45 minutes. For sheet cakes, a 9×13-inch pan works—bake for 25-30 minutes and adjust filling layers accordingly.
How do I prevent the filling from oozing out?
Chill the filling for 30 minutes before assembling and ensure cake layers are completely cool. Leave a ½-inch border when spreading to create a dam effect.
Can I make this ahead of time?
Bake layers 1 day in advance and store at room temperature. Assemble with filling 6 hours before serving. The ganache is best added fresh but can be made 2 hours ahead.
What if my ganache is too thick?
Add 1-2 tablespoons of warm cream and stir until smooth. If too thin, chill for 10 minutes before pouring. The perfect consistency should coat the back of a spoon.

- BBQ Sausage Recipe Oven: Smoky Depth Without the Grill - September 28, 2026
- BBQ Chicken Bowl Recipe Rice: Smoky Sweetness Over Fluffy Grains - September 28, 2026
- Beef Cutlet Recipe Ideas: Crispy Breaded Patties With Bold Seasonings - September 28, 2026