
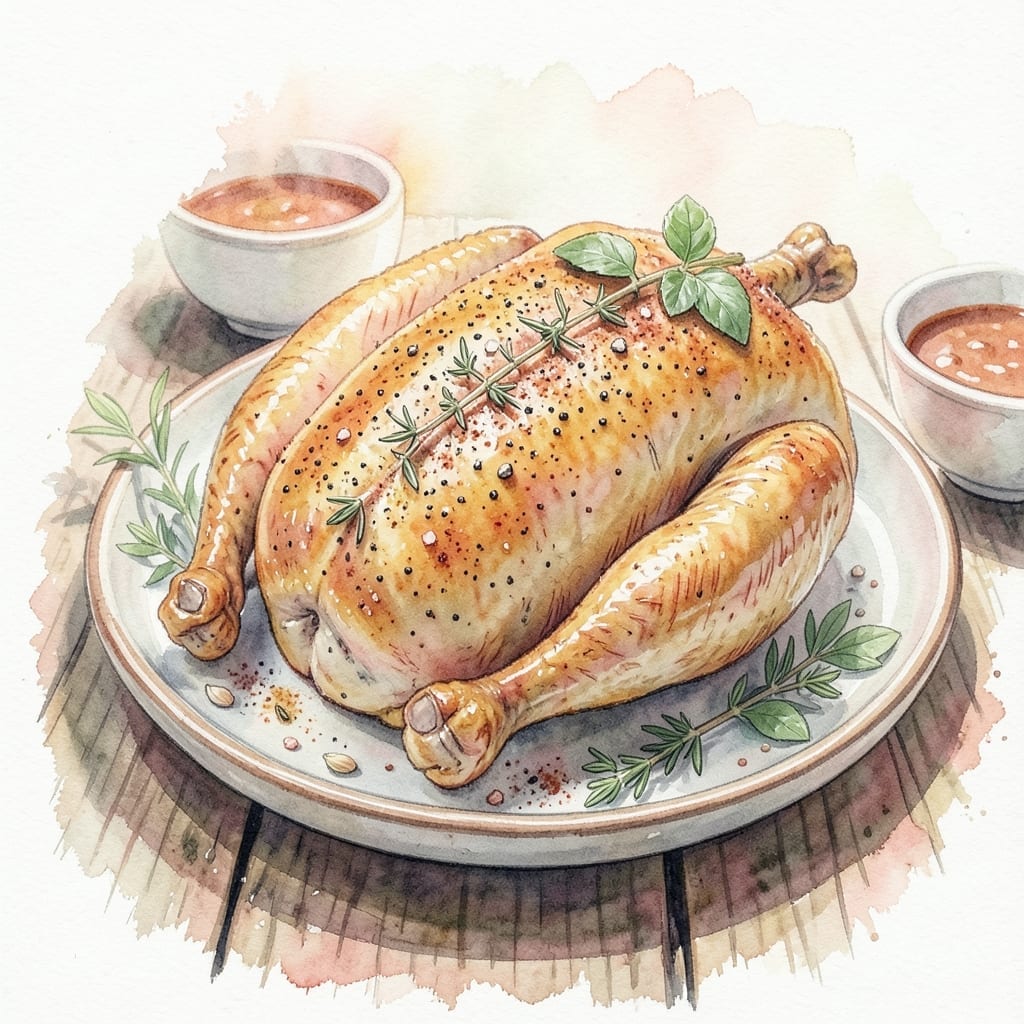
This dry brine method transforms ordinary chicken into a masterpiece with juicy meat and crispy skin every time. No fancy techniques required—just salt, time, and a simple approach that works like magic.
I’ve tested this process countless times, and it consistently delivers restaurant-quality results. The salt penetrates the meat, breaking down proteins to lock in moisture while ensuring the skin turns perfectly golden.
The beauty of dry brining is its simplicity. Just season the chicken ahead of time, let it rest in the fridge, then roast. The result is flavorful, tender meat with skin so crisp it shatters with every bite.
Whether you’re cooking a whole bird or just thighs, this technique guarantees the best texture and taste. Here’s how to do it right.
Ingredients for Dry Brine Recipe for Chicken
Simple ingredients, extraordinary results. Salt, time, and a few herbs transform any chicken.
| Ingredient | Amount | Notes |
|---|---|---|
| Whole Chicken 🍗 | 3 ½ lb | Patted dry, skin-on |
| Diamond Crystal Kosher Salt 🧂 | 2 tbsp | For even brining distribution |
| Freshly Ground Black Pepper 🌶️ | 1 tsp | Coarse grind preferred |
| Garlic Powder 🧄 | 1 tsp | Not garlic salt |
| Onion Powder 🧅 | 1 tsp | Fine grind for even coating |
| Dried Thyme 🌿 | 1 tsp | Crushed between fingers |
| Dried Rosemary 🌿 | 1 tsp | Crushed for better release |
| Paprika 🌶️ | 1 tsp | Sweet or smoked variety |
| Unsalted Butter 🧈 | 4 tbsp | Melted, for basting |
| Fresh Lemon 🍋 | 1 whole | Zested and juiced |
| Fresh Thyme Sprigs 🌿 | 4 whole | Optional garnish |
| Olive Oil 🫒 | 1 tbsp | For high-heat roasting |
The salt is non-negotiable—Diamond Crystal kosher salt dissolves perfectly for even brining. Whole chickens from local butchers or Whole Foods have better skin integrity than pre-cut pieces. Pat the bird completely dry (paper towels work) to ensure maximum crispness. I prefer air-chilled birds, which don’t retain excess moisture that can inhibit browning.
No Diamond Crystal? Morton’s kosher salt at half the amount works, but avoid table salt—it’s too dense. Fresh herbs can replace dried (use triple the quantity), but dried are more reliable for consistent results. The butter isn’t strictly necessary, but basting with melted butter during roasting adds richness and accelerates browning.
Dry-brined chicken keeps in the fridge for 24–48 hours before cooking. Leftovers stay moist when stored airtight for 3–4 days. For best results, bring the chicken to room temperature before roasting (about 1 hour on the counter).
Why You’ll Love This Recipe
- Set It and Forget: I rub the chicken with salt, pepper, garlic and onion powder the night before and let the fridge do the work.
- Crispy, Juicy Perfection: The dry brine pulls moisture to the surface for skin that cracks like glass while keeping the meat succulent.
- Weeknight to Sunday: I’ve served this roast chicken for quick family dinners and fancier gatherings with equal applause.
- Leftovers That Shine: The seasoned meat turns into killer tacos or soup, so nothing goes to waste.
Step-by-Step Instructions for Dry Brined Chicken
This method guarantees crispy golden skin and juicy meat with minimal effort.
Step 1: Prepare and Season the Chicken
Begin by thoroughly patting the 3.5 lb Whole Chicken dry inside and out with paper towels. Moisture is the enemy of crispy skin, so take your time. I always check the cavity and under the wings where water tends to collect.
In a small bowl, combine the 2 tbsp Diamond Crystal Kosher Salt, 1 tsp Freshly Ground Black Pepper, 1 tsp Garlic Powder, 1 tsp Onion Powder, 1 tsp Dried Thyme, 1 tsp Dried Rosemary, and 1 tsp Paprika. Rub this mixture evenly over every surface of the chicken, including inside the cavity. The salt will penetrate the meat, seasoning it deeply and improving moisture retention.
Step 2: Dry Brine in the Refrigerator
Place the seasoned chicken on a wire rack set over a baking sheet. This setup allows air to circulate around the entire bird, which is crucial for drying the skin. Refrigerate uncovered for 12 to 24 hours. The longer it sits, the more pronounced the seasoning and drying effects will be.
During this time, the salt draws moisture to the surface, where it combines with the seasonings to create a concentrated brine. This brine then reabsorbs into the meat, resulting in a juicier, more flavorful chicken. The skin will also dry out, which is key to achieving that desired crispy texture when roasted.
Step 3: Prep for Roasting
Remove the chicken from the refrigerator and let it sit at room temperature for 30 minutes. This ensures more even cooking. Preheat your oven to 425°F during this time.
Zest the 1 whole Fresh Lemon and mix the zest with the 4 tbsp Unsalted Butter until well combined. Gently separate the chicken skin from the breast meat and rub about half of the lemon butter underneath. This step infuses the meat with flavor from within. Rub the remaining butter on the outside of the chicken.
Step 4: Roast to Perfection
Place the chicken breast-side up on the wire rack in a roasting pan. Brush the outside with 1 tbsp Olive Oil for extra crispiness. Roast in the preheated oven for 1 hour to 1 hour 15 minutes, or until the internal temperature reaches 165°F in the thickest part of the thigh.
Baste the chicken with the pan juices and any remaining lemon butter halfway through the cooking time. You’ll know it’s done when the skin is deep golden brown and crisp to the touch, and the juices run clear when the thigh is pierced. For extra flavor, add the 4 whole Fresh Thyme Sprigs to the pan during the last 20 minutes of roasting.
Step 5: Rest and Serve
Transfer the chicken to a cutting board and let it rest for 15 minutes before carving. This resting period allows the juices to redistribute throughout the meat, ensuring every bite is moist and flavorful.
Carve the chicken and serve immediately. The skin should be crispy and golden, while the meat remains juicy and tender. The dry brine method ensures that the seasoning penetrates deeply, providing a well-balanced flavor in every bite.
Pro Tips For Making Dry Brine Recipe For Chicken
- Salt Overnight: I learned this the hard way—give the chicken at least 12 hours in the fridge with the salt, or you’re missing out on juicier meat and crispier skin.
- Pat It Dry: After brining, thoroughly pat the chicken with paper towels before seasoning; moisture is the enemy of good browning.
- Skip the Wet Brine: Resist the urge to add water—dry brining with just salt and spices gives better flavor without diluting the seasoning.
- Rest Before Cooking: Pull the chicken from the fridge 30-45 minutes before roasting so it cooks evenly—cold meat seizes up and dries out.
Common Mistakes When Making This Dish
Over-Salting the Bird
One of the biggest mistakes I see is using too much salt. Stick to 2 tbsp Diamond Crystal kosher salt for a 3.5 lb chicken. More than this can make your meat unpleasantly salty. Remember, the salt penetrates deeply during the brining process. 🧂
Skipping the Drying Step
Never skip patting the chicken completely dry before seasoning. Any moisture left on the skin will prevent proper brining and crisping. Use paper towels and check under wings and in the cavity where water often collects.
Covering During Brining
Always refrigerate your chicken uncovered on a wire rack. Covering it traps moisture, preventing the skin from drying out. This air circulation is crucial for achieving that perfect crispy skin when roasted.
Rushing the Process
Dry brining needs time. I recommend at least 12 hours, but 24 hours gives the best results. The salt needs this time to properly penetrate the meat and draw out moisture for the brine effect.
Uneven Seasoning
Skipping the Rest
After roasting, always let your chicken rest for 15 minutes before carving. This allows the juices to redistribute, ensuring every bite stays moist. Cutting too soon lets all those precious juices escape. 💡
Nutrition Facts
Frequently Asked Questions
How long should I dry brine chicken?
For best results, dry brine for 12 to 24 hours in the fridge. This gives the salt enough time to penetrate and season the meat deeply while drying the skin.
Do I need to rinse the chicken after dry brining?
No rinsing is necessary! The salt and seasonings form a flavorful crust. Simply pat it dry again if any moisture appears during brining.
Can I use this method for chicken pieces?
Yes! Use 1 tsp kosher salt per pound for pieces. The process works the same, though pieces may need slightly less brining time.
Why is my skin not crispy?
Ensure the skin is completely dry before seasoning and uncovered during brining. Roast at 425°F for maximum crispiness.

- BBQ Sausage Recipe Oven: Smoky Depth Without the Grill - September 28, 2026
- BBQ Chicken Bowl Recipe Rice: Smoky Sweetness Over Fluffy Grains - September 28, 2026
- Beef Cutlet Recipe Ideas: Crispy Breaded Patties With Bold Seasonings - September 28, 2026