
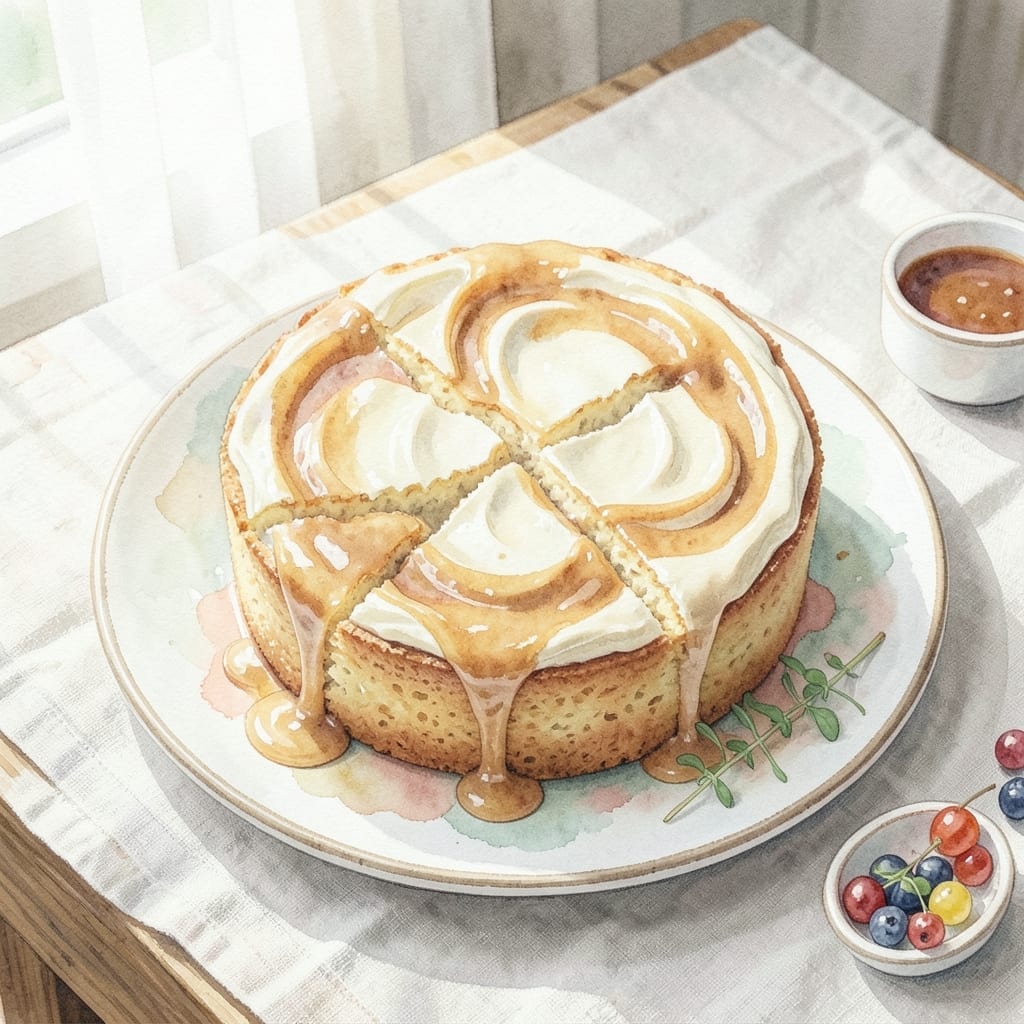
This three-layer cake brings caramel dreams to life with minimal effort. The secret lies in using store-bought dulce de leche to create that rich, velvety filling without hours of stirring.
What makes this recipe special is its foolproof assembly. You’ll bake simple vanilla cake layers, then sandwich them with sweet caramel filling and a light whipped cream frosting. The contrast between the moist cake and creamy dulce de leche is irresistible.
Each bite delivers perfectly balanced sweetness with a texture that melts in your mouth. The layers stay stable yet tender, making it ideal for celebrations or a special weekend treat.
Ready in under 2 hours, this dessert proves that impressive results don’t require complicated techniques.
Ingredients for Dulce De Leche Cake Recipe Easy
Simple vanilla cake layers meet creamy caramel and light frosting for pure indulgence.
| Ingredient | Amount | Notes |
|---|---|---|
| All-Purpose Flour 🌾 | 2 ½ cups | Sifted for lighter texture |
| Granulated Sugar 🍚 | 1 ½ cups | Divided for cake and frosting |
| Unsalted Butter 🧈 | 1 cup | Room temperature, softened |
| Large Eggs 🥚 | 4 whole | Room temperature preferred |
| Baking Powder 🧂 | 2 ½ tsp | For proper cake rise |
| Vanilla Extract 💧 | 2 tsp | Pure extract for best flavor |
| Whole Milk 🥛 | 1 cup | Full-fat for richness |
| Store-Bought Dulce De Leche 🥫 | 14 oz | 1 can, for filling layers |
| Heavy Whipping Cream 🥛 | 2 cups | Chilled for stiff peaks |
| Powdered Sugar 🍚 | ½ cup | For sweetening whipped cream |
| Salt 🧂 | ½ tsp | Balances sweetness |
| Baking Soda 🧂 | ½ tsp | Helps with cake structure |
The dulce de leche is the star here—La Salamandra or Nestlé brands are my go-to for consistent texture. For the cake, King Arthur Flour gives the best rise, but any all-purpose works. Butter should be unsalted and properly softened (not melted) for the fluffiest layers. Most supermarkets carry everything, but Whole Foods has great organic options if that’s your preference.
No dulce de leche? Caramel sauce plus sweetened condensed milk (simmered together) works in a pinch. Swap milk for buttermilk for extra tang. Heavy cream can be coconut cream if avoiding dairy. For the vanilla, pure extract beats imitation every time—splurge on the good stuff. Cake flour can replace all-purpose at a 1:1 ratio for a finer crumb.
Baked layers stay fresh 3 days at room temperature (wrapped tight) or 5 days refrigerated. The assembled cake is best eaten within 48 hours. Freeze unfrosted layers for up to 3 months—thaw before assembling (worth the extra minute).
Why You’ll Love This Recipe
- One Bowl Wonder: I love that I can mix everything—flour, sugar, butter, eggs—right in one bowl and still get a perfect crumb every time.
- Caramel Cloud: The dulce de leche swirl turns this simple butter cake into something dangerously addictive with that sticky, sweet depth.
- Crowd Pleaser: I’ve served this at birthdays, brunches, even just because—it’s the kind of cake everyone grabs seconds of without hesitation.
- Leftovers? Unlikely: Honestly, it’s so good that half the pan disappears the first day, but if it lingers, it stays moist and delicious for days.
Step-by-Step Instructions for Three-Layer Caramel Cake
This method keeps things simple while delivering that bakery-quality result you’re after.
Step 1: Prepare the Cake Batter
Preheat your oven to 350°F and grease three 8-inch round cake pans, lining the bottoms with parchment paper. In a large bowl, whisk together the 2.5 cups all-purpose flour, 1.5 cups granulated sugar, 2.5 tsp baking powder, 0.5 tsp salt, and 0.5 tsp baking soda until fully combined.
In a separate bowl, cream the 1 cup unsalted butter until smooth, then mix in the 4 whole large eggs, 1 cup whole milk, and 2 tsp vanilla extract. Gradually fold the wet ingredients into the dry mixture, mixing just until combined—overmixing will make the cake dense.
Step 2: Bake the Cake Layers
Divide the batter evenly among the prepared pans, smoothing the tops with a spatula. Bake for 25-30 minutes, or until a toothpick inserted into the center comes out clean and the tops spring back when lightly pressed.
I always rotate the pans halfway through baking to ensure even browning. Once done, let the layers cool in the pans for 10 minutes, then transfer them to a wire rack to cool completely. This cooling step is crucial—if the layers are warm, they’ll crumble when you assemble the cake.
Step 3: Assemble with Dulce de Leche Filling
Place the first cake layer on a serving plate and spread a generous layer of the 14 oz store-bought dulce de leche over the top, leaving a small border around the edge. Repeat with the second layer, then add the final cake layer on top.
If the dulce de leche is too thick to spread easily, microwave it for 15-20 seconds to soften it slightly. Be careful not to overheat it, or it’ll become runny and soak into the cake layers.
Step 4: Whip the Cream and Frost the Cake
In a chilled bowl, whip the 2 cups heavy whipping cream with the 0.5 cup powdered sugar until stiff peaks form. This should take about 3-4 minutes with an electric mixer on medium-high speed.
Spread the whipped cream evenly over the top and sides of the assembled cake. For a rustic look, use a spatula to create swirls and peaks in the frosting. Chill the cake for at least 1 hour before slicing to let the layers set and the flavors meld together.
Pro Tips For Making Dulce De Leche Cake Recipe Easy
- Room Temperature Eggs: Take your eggs out 30 minutes before baking—cold eggs don’t cream properly with the butter and sugar, and you’ll end up with a denser cake.
- Cream Butter Thoroughly: Beat the butter and sugar for at least 3-4 minutes until pale and fluffy. I learned this the hard way—skipping this step gives you a flat, tough cake.
- Don’t Overmix Flour: Once you add the flour, mix just until it disappears. Overworking the batter makes the cake tough, and nobody wants a chewy dulce de leche cake.
- Use Store-Bought Dulce: Sounds weird, but it works: a high-quality store-bought dulce de leche saves hours and tastes just as good as homemade in this recipe.
Storing and Reheating This Recipe
Room Temperature Storage
Keep the assembled cake in an airtight container at room temperature for up to 2 days. The whipped cream frosting holds up well in cool, dry conditions. I always place mine in the center of the fridge to avoid warm spots. ❄️
Refrigerator Storage
For longer storage, refrigerate the cake in a covered container for up to 5 days. The dulce de leche filling stays creamy, and the cake retains moisture. Let it sit at room temperature for 30 minutes before serving for the best texture.
Freezing Unfrosted Layers
Wrap individual cake layers tightly in plastic wrap and freeze for up to 3 months. Thaw overnight in the fridge before assembling. This method preserves the cake’s freshness without drying it out.
Reheating Slices
Microwave individual slices for 15-20 seconds if you prefer a slightly warm dessert. The dulce de leche softens beautifully, and the whipped cream stays stable. Avoid reheating the entire cake at once. 🔥
Frosting Storage Tip
If storing the cake without frosting, keep the whipped cream in a separate container in the fridge for up to 2 days. Re-whip briefly before applying to refresh the texture and volume.
Serving After Storage
Always garnish with a fresh dusting of powdered sugar or a drizzle of extra dulce de leche after storage. This revives the presentation and adds a touch of freshness to each serving.
Nutrition Facts
Frequently Asked Questions
Can I use homemade dulce de leche instead of store-bought?
Homemade works perfectly if you simmer sweetened condensed milk for 2-3 hours. Just ensure it cools completely before spreading to avoid a runny filling. Store-bought saves time but both deliver rich flavor.
How do I prevent the cake layers from sticking to the pan?
Grease pans thoroughly with butter or nonstick spray, then line the bottoms with parchment paper. Let layers cool for 10 minutes before removing to prevent breakage. This ensures clean release every time.
Can I make this a two-layer cake instead?
Yes! Bake two thicker layers for 30-35 minutes and use half the filling between them. Adjust whipped cream accordingly. The texture remains moist and flavorful with fewer layers.
Why did my whipped cream turn runny?
This usually happens if the cream wasn’t cold enough or over-whipped. Chill your bowl and beaters for 15 minutes first, and stop at stiff peaks. Fix runny cream by re-whipping briefly.

- BBQ Sausage Recipe Oven: Smoky Depth Without the Grill - September 28, 2026
- BBQ Chicken Bowl Recipe Rice: Smoky Sweetness Over Fluffy Grains - September 28, 2026
- Beef Cutlet Recipe Ideas: Crispy Breaded Patties With Bold Seasonings - September 28, 2026