
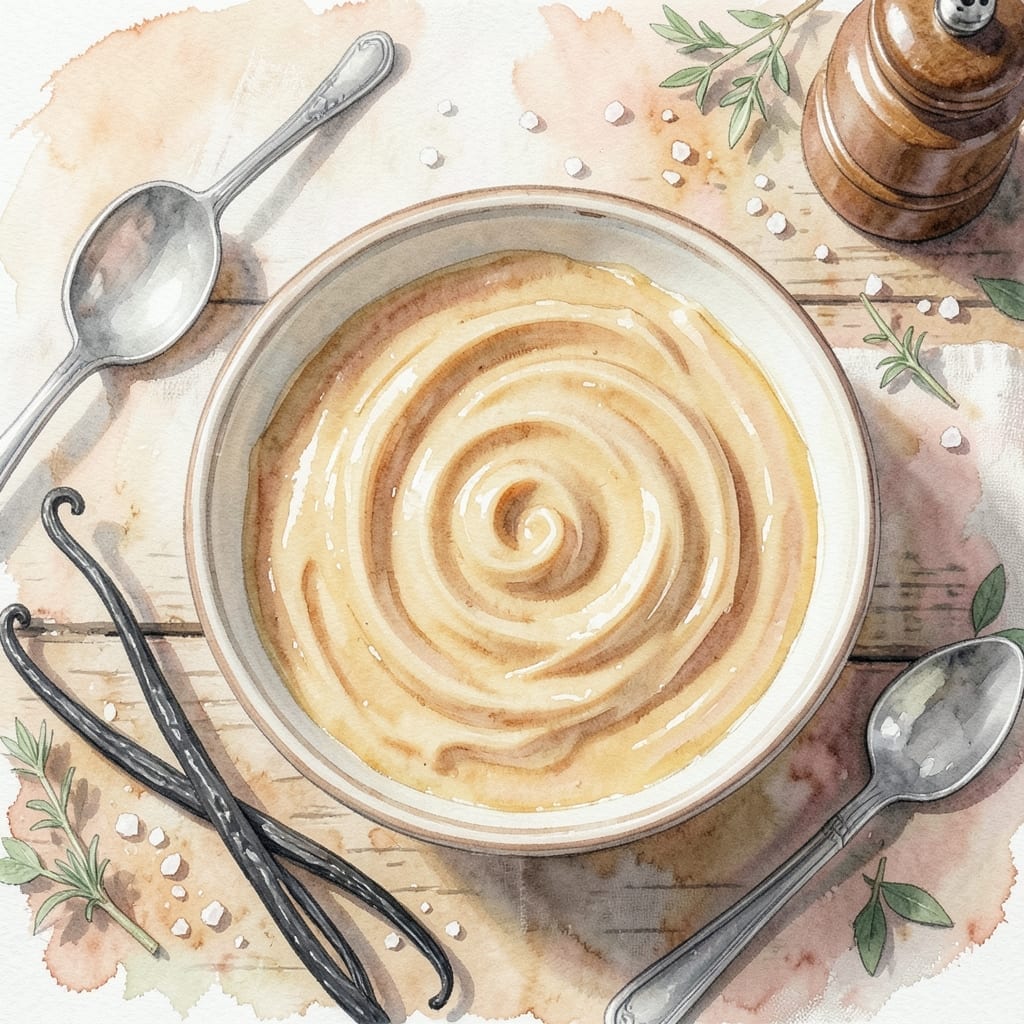
This Instant Pot method transforms simple ingredients into rich, velvety caramel with minimal effort. The pressure cooker speeds up the traditional process while maintaining that deep, complex flavor you expect from authentic dulce de leche.
With just two ingredients and 90 minutes of hands-off cooking, you’ll achieve a smooth, golden sauce that’s perfect for desserts, coffee, or straight from the spoon. No constant stirring, no risk of scorching—just set it and forget it.
The result is a thick, luxuriously creamy caramel that’s more consistent than stovetop versions. It keeps beautifully in the fridge for up to three weeks, ready to elevate any dish.
Whether drizzling over ice cream or filling pastries, this sauce delivers restaurant-quality results every time.
Ingredients for Dulce De Leche Recipe Instant Pot
Six ingredients. One pressure cooker. Luxurious caramel every single time.
| Ingredient | Amount | Notes |
|---|---|---|
| Sweetened Condensed Milk 🥛 | 2 cans | Full-fat, 14 oz each |
| Vanilla Bean 🌿 | 1 whole | Split and scraped |
| Sea Salt 🧂 | ¼ tsp | Fine grain preferred |
| Baking Soda 🧪 | ¼ tsp | Balances acidity |
| Heavy Cream 🥛 | ¼ cup | Optional, for smoother texture |
| Water 💧 | 1 cup | For pressure cooking |
The condensed milk is non-negotiable—Eagle Brand or Borden are the gold standards for consistent results. Full-fat is essential here; low-fat versions won’t caramelize properly. Vanilla bean elevates the flavor, but pure vanilla extract at 2 tsp works in a pinch. Look for condensed milk in the baking aisle, not the international section (that’s often sweetened coconut milk).
No vanilla bean? Vanilla paste or extract are fine substitutes. Want a deeper color? Add 1 tbsp light corn syrup—it won’t affect the flavor. The baking soda isn’t traditional, but it prevents curdling and keeps the texture silky. Heavy cream is optional but adds a velvety finish if you’re drizzling this over desserts.
Store in an airtight jar in the fridge for up to 3 weeks. The caramel thickens as it cools—microwave for 20-30 seconds to loosen before using. Freezes for 6 months if you somehow have leftovers.
Why You’ll Love This Recipe
- Set and Forget: Honestly, I just dump the cans in, press a button, and walk away—no stirring, no babysitting.
- Deep Caramel Magic: The vanilla bean and sea salt turn the condensed milk into this rich, complex caramel that’s way better than store-bought.
- Dessert MVP: I drizzle it over ice cream, swirl it into brownies, or just eat it with a spoon—it’s my secret weapon for last-minute treats.
- Doubles Easily: One batch makes two jars, so I always have extra for gifts or sudden ice cream cravings.
Step-by-Step Instructions for Instant Pot Dulce De Leche
This method delivers consistently smooth, rich caramel with minimal effort and maximum safety.
Step 1: Prepare the Sweetened Condensed Milk
Pour the 2 cans Sweetened Condensed Milk into a heatproof bowl or glass measuring cup with a pour spout. I use a 4-cup Pyrex measuring cup for easy pouring and to minimize spills. This preparation step ensures you can transfer the milk to jars without making a mess.
If using the 1 whole Vanilla Bean, split it lengthwise with a sharp knife and scrape the seeds into the milk. Add the pod as well for maximum vanilla infusion. The vanilla deepens the caramel flavor complexity, but you can omit it for a classic version.
Step 2: Add Seasonings and Distribute
Whisk the 0.25 tsp Sea Salt and 0.25 tsp Baking Soda into the milk mixture. The baking soda serves a crucial function here—it neutralizes the acidity in the milk, preventing curdling during the pressure cooking process and promoting even browning.
Divide the mixture evenly between two clean 16-ounce mason jars (or one large heatproof container if using a 6-quart Instant Pot). Leave at least 1 inch of headspace in each jar to allow for expansion. This headspace is critical for safety and proper cooking.
Step 3: Pressure Cook with Water Bath
Pour the 1 cup Water into the Instant Pot insert. Place the trivet inside, then carefully position the jars on top. I recommend using a sling or canning jar lifter to lower the jars gently to avoid thermal shock. Secure the lid and set the valve to sealing position.
Cook on high pressure for 45 minutes. After the cooking cycle completes, allow for a natural pressure release for 15 minutes, then carefully quick-release any remaining pressure. The natural release period helps prevent sudden temperature changes that could affect the texture of your creation.
Step 4: Incorporate Cream and Finish
Once safe to open, carefully remove the jars from the Instant Pot using heatproof gloves or utensils. The contents will be extremely hot. Stir the 0.25 cup Heavy Cream into one or both jars for an ultra-smooth, luxurious texture. This step is optional but highly recommended for a velvety finish.
Let the mixture cool to room temperature, then refrigerate for at least 2 hours to thicken completely. The dulce de leche will continue to thicken as it cools. You’ll know it’s ready when it has the consistency of a thick caramel sauce that coats the back of a spoon beautifully.
Pro Tips For Making Dulce De Leche Recipe Instant Pot
- Use Full-Fat Cans: I learned this the hard way—low-fat sweetened condensed milk won’t caramelize properly. Stick to full-fat for that rich, thick dulce de leche texture. —
- Add Baking Soda Last: Sounds weird, but it works: Mix in the baking soda after the milk is in the Instant Pot to prevent over-foaming during cooking. —
- Vent Then Release: After cooking, let the pressure release naturally for 10 minutes, then quick-release. This prevents burnt edges and keeps the color even. —
- Whisk While Hot: Once it’s done, whisk the mixture vigorously while still warm to smooth out any lumps from the vanilla bean or salt.
Perfect Pairings for This Recipe
Dessert Pairings
Drizzle this creation over vanilla bean ice cream for a classic combination that never fails. I also love it with churros—dip warm, crispy churros into the chilled caramel for a perfect contrast of textures and temperatures. 💫
Breakfast Upgrades
Stir 2 tablespoons into your morning coffee for a rich, creamy sweetener that transforms your daily brew. Spread it on toast or pancakes for a quick, indulgent breakfast treat. It pairs especially well with brioche or challah.
Baking Enhancements
Use it as a filling for alfajores cookies or as a layer in tres leches cake. I also love swirling it into cheesecake batter before baking for a caramel marble effect. A ¼ cup is perfect for most cake recipes.
Beverage Pairings
Beyond coffee, try it in hot chocolate for an ultra-decadent drink. For adults, add 1 ounce to a glass of bourbon or rum for a caramel-infused cocktail. The sweetness balances the boldness of the spirits beautifully. 🍺
Fruit Combinations
Dip sliced apples or pears into this sauce for a simple yet elegant dessert. It also pairs wonderfully with bananas foster—just add it to the pan during the final minute of cooking. The caramel complements the fruit’s natural sweetness.
Nutrition Facts
Frequently Asked Questions
Can I use just one can of sweetened condensed milk?
Yes, but the cooking time remains the same. Use a 16-ounce jar and maintain the 1-inch headspace. The texture may be slightly less consistent with a single can.
Why is baking soda added to the recipe?
The baking soda neutralizes acidity in the milk, preventing curdling. It also promotes even browning for a smooth, golden finish.
How do I know when it’s done?
After cooling, it should coat the back of a spoon thickly. If too thin, pressure cook for an additional 15 minutes and retest.
Can I skip the water bath?
No, the 1 cup water creates steam for even cooking. Without it, the jars may overheat or cook unevenly.

- BBQ Sausage Recipe Oven: Smoky Depth Without the Grill - September 28, 2026
- BBQ Chicken Bowl Recipe Rice: Smoky Sweetness Over Fluffy Grains - September 28, 2026
- Beef Cutlet Recipe Ideas: Crispy Breaded Patties With Bold Seasonings - September 28, 2026