
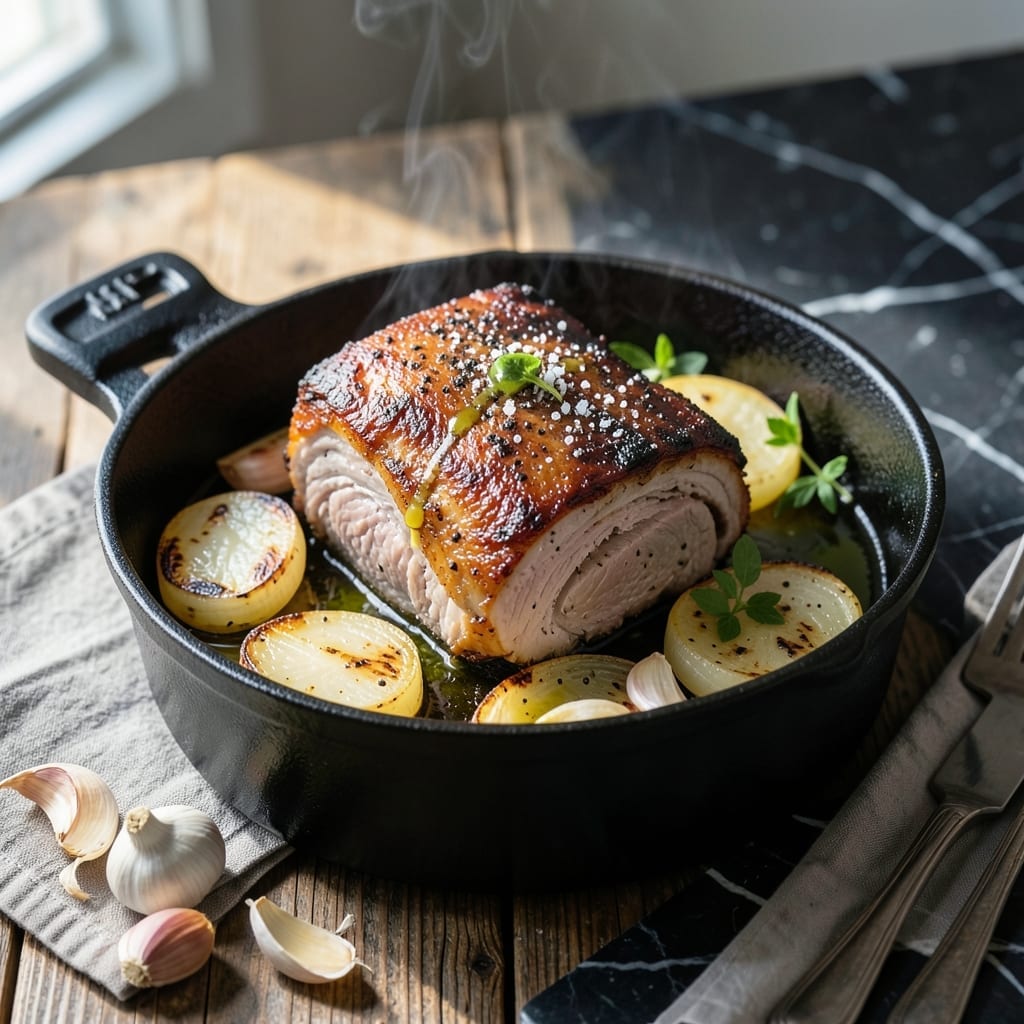
There’s a reason pork shoulder remains a chef’s favorite for slow cooking—it transforms tough cuts into something extraordinary. This method uses a Dutch oven to create fall-off-the-bone tenderness with deeply caramelized edges.
The process is straightforward: sear the meat first to build a flavorful crust, then let it braise gently at 325°F until the collagen melts into rich, velvety sauce. A mix of aromatics and liquid ensures every bite is packed with depth.
What emerges is succulent pork with crispy bits where the meat meets the pan, all bathed in a reduced, savory jus. The Dutch oven locks in moisture while allowing the surface to develop that coveted texture.
Serve it shredded on sandwiches, over mashed potatoes, or alongside roasted vegetables. The result speaks for itself.
Ingredients for Dutch Oven Pork Shoulder
Transform humble pork shoulder into extraordinary with these carefully selected ingredients.
| Ingredient | Amount | Notes |
|---|---|---|
| Pork Shoulder 🐖 | 3 lb | Bone-in, skin-on preferred |
| Kosher Salt 🧂 | 1 ½ tbsp | Diamond Crystal preferred |
| Black Pepper 🌶️ | 1 ½ tsp | Freshly ground |
| Olive Oil 🫒 | 2 tbsp | High smoke point |
| Yellow Onion 🧅 | 1 whole | Large, diced |
| Garlic Cloves 🧄 | 6 cloves | Peeled, smashed |
| Carrots 🥕 | 2 whole | Peeled, chopped |
| Celery Stalks 🥬 | 2 whole | Chopped |
| Dry White Wine 🍷 | 1 cup | Or substitute chicken stock |
| Low-Sodium Chicken Stock 🥣 | 2 cups | Homemade preferred |
| Tomato Paste 🍅 | 2 tbsp | Double-concentrated preferred |
| Fresh Rosemary 🌿 | 2 sprigs | Whole |
| Fresh Thyme 🍃 | 4 sprigs | Whole |
| Bay Leaf 🌿 | 1 whole | Dried |
The pork shoulder quality is paramount. Bone-in, skin-on cuts from Whole Foods or Costco provide superior marbling and flavor. Look for pieces with even fat distribution (about 20-30%) for optimal tenderness. Professional kitchens often source from local butchers who can provide custom-cut portions. Ensure the meat is fresh, with a bright pink color and minimal odor.
No white wine? Substitute with additional chicken stock plus 1 tbsp apple cider vinegar for acidity. Fresh herbs are ideal, but dried at one-third the quantity works in a pinch. For the tomato paste, San Marzano double-concentrated offers the best balance of sweetness and depth. If unavailable, standard tomato paste is acceptable (use 1 additional tablespoon).
Pork shoulder can be stored in the refrigerator for 3-4 days before cooking. After cooking, the dish keeps for 4-5 days refrigerated or 3 months frozen. The rendered fat from the pork makes excellent cooking oil for future use (strain and store in the fridge).
Why You’ll Love This Recipe
- Set and Forget: I just season the pork shoulder with salt, pepper, and a drizzle of olive oil, then let the Dutch oven work its magic for hours.
- Feeds the Whole Crew: This makes enough for a family dinner with leftovers for sandwiches or tacos the next day.
Step-by-Step Instructions for Dutch Oven Pork Shoulder
This method delivers tender meat with crispy edges through precise timing and temperature control.
Step 1: Season and Sear the Pork Shoulder
Pat the 3 lb Pork Shoulder dry with paper towels to ensure proper browning. Rub it evenly with the 1.5 tbsp Kosher Salt and 1.5 tsp Black Pepper, pressing the seasoning into the meat so it adheres well during cooking.
Heat the 2 tbsp Olive Oil in a Dutch oven over medium-high heat until shimmering. Add the pork shoulder and sear for 4-5 minutes per side until deeply browned and crispy. This step builds the foundation of flavor and creates those promised crispy bits. Don’t rush—wait until it releases easily from the pot before turning.
Step 2: Build the Aromatic Base
Remove the pork and set it aside. In the same pot, add the diced Yellow Onion, chopped Carrots, and chopped Celery Stalks. Cook for 5-6 minutes until the vegetables soften and begin to caramelize, stirring occasionally.
Add the 6 cloves Garlic Cloves and 2 tbsp Tomato Paste, stirring constantly for 1-2 minutes until the tomato paste darkens slightly and becomes fragrant. This deepens the flavor base and prevents raw garlic notes in the finished dish.
Step 3: Deglaze and Braise
Pour in the 1 cup Dry White Wine and scrape up all the browned bits from the bottom of the pot with a wooden spoon. Let it simmer for 3-4 minutes until reduced by about half. This deglazing step captures all the concentrated flavors from searing.
Return the pork to the pot. Add the 2 cups Low-Sodium Chicken Stock, 2 sprigs Fresh Rosemary, 4 sprigs Fresh Thyme, and 1 whole Bay Leaf. The liquid should come about halfway up the pork. Bring to a gentle simmer.
Step 4: Slow Cook to Perfection
Cover the Dutch oven and transfer it to a preheated 325°F oven. Braise for 2.5-3 hours, turning the pork occasionally, until it’s fork-tender and the internal temperature reaches 195-200°F. The meat should pull apart easily with minimal resistance.
For the final 30 minutes, remove the lid to allow the liquid to reduce and concentrate, which helps create those crispy edges on the pork. This also intensifies the sauce’s flavor as it reduces slightly.
Step 5: Rest and Serve
Carefully transfer the pork to a cutting board and let it rest for 15-20 minutes before shredding or slicing. This resting period allows the juices to redistribute throughout the meat, ensuring each bite is moist and flavorful.
Skimming excess fat from the braising liquid gives you a rich, concentrated sauce to serve alongside the pork. The crispy bits from the initial sear will have infused the entire dish with deep, caramelized flavors that deliver on the promise of both tenderness and texture.
Pro Tips For Making Dutch Oven Pork Shoulder
- Dry the Pork: Pat the pork shoulder thoroughly dry with paper towels before seasoning—I learned this the hard way after my first few attempts resulted in a steamed, pale exterior instead of a crisp crust.
- Don’t Rush the Sear: Use medium-high heat and give the pork a deep golden sear on all sides, about 4-5 minutes per side. It’s tempting to speed this up, but a proper sear builds the flavor base for the entire dish.
- Use More Salt: Kosher salt the pork aggressively the night before—about 1 tablespoon per pound sounds like a lot, but it’s the only way to get the seasoning deep into the meat.
- Add Liquid Later: Skip adding liquid at the start; the pork releases enough moisture as it cooks. I add a cup of broth or water halfway through if the onions start to stick, and that’s it.
Wine and Beer Pairings for This Dish
Bold Red Wines
A rich Zinfandel from California pairs beautifully—the bold fruit flavors and peppery notes complement the caramelized edges. I love Ravenswood Old Vine for its jammy intensity. The wine’s acidity cuts through the pork’s richness while matching its depth. 🍷
Smooth Whites
Surprisingly, a buttery Chardonnay works wonders here. Look for one with oaked vanilla notes, like Kendall-Jackson Vintner’s Reserve. The creamy texture mirrors the pork’s tenderness, creating a perfect balance.
Craft Beer Picks
A malty amber ale like Fat Tire enhances the dish’s savory qualities with its caramel and toasted bread notes. The moderate carbonation refreshes your palate between each rich, tender bite.
Light Beer Options
For a crisp contrast, try a pilsner such as Stella Artois. Its clean finish and subtle hoppiness won’t compete with the pork’s deep flavors. Serve it chilled to 40-45°F for maximum refreshment. ❄️
Non-Alcoholic Pairings
Sparkling apple cider offers a sweet-tart contrast that many find refreshing. I recommend Martinelli’s Gold—its effervescence and fruit notes complement the dish without overpowering it.
Nutrition Facts
Frequently Asked Questions
What’s the ideal internal temperature for tenderness?
Aim for 195-200°F internally. This ensures collagen fully breaks down into gelatin, creating that fall-off-the-bone texture. Use a meat thermometer for accuracy.
Can I use a slow cooker instead?
Yes, but you’ll miss the crispy bits. Sear first, then transfer to slow cooker with liquid. Cook on low for 8-10 hours.
Should I add liquid halfway through cooking?
Only if the braising liquid reduces too much. Check at the 2-hour mark and add 1 cup of warm stock if needed.
How do I get crispier skin?
Pat the skin very dry before searing, and finish uncovered for the last 30-45 minutes at 375°F.

- BBQ Sausage Recipe Oven: Smoky Depth Without the Grill - September 28, 2026
- BBQ Chicken Bowl Recipe Rice: Smoky Sweetness Over Fluffy Grains - September 28, 2026
- Beef Cutlet Recipe Ideas: Crispy Breaded Patties With Bold Seasonings - September 28, 2026