
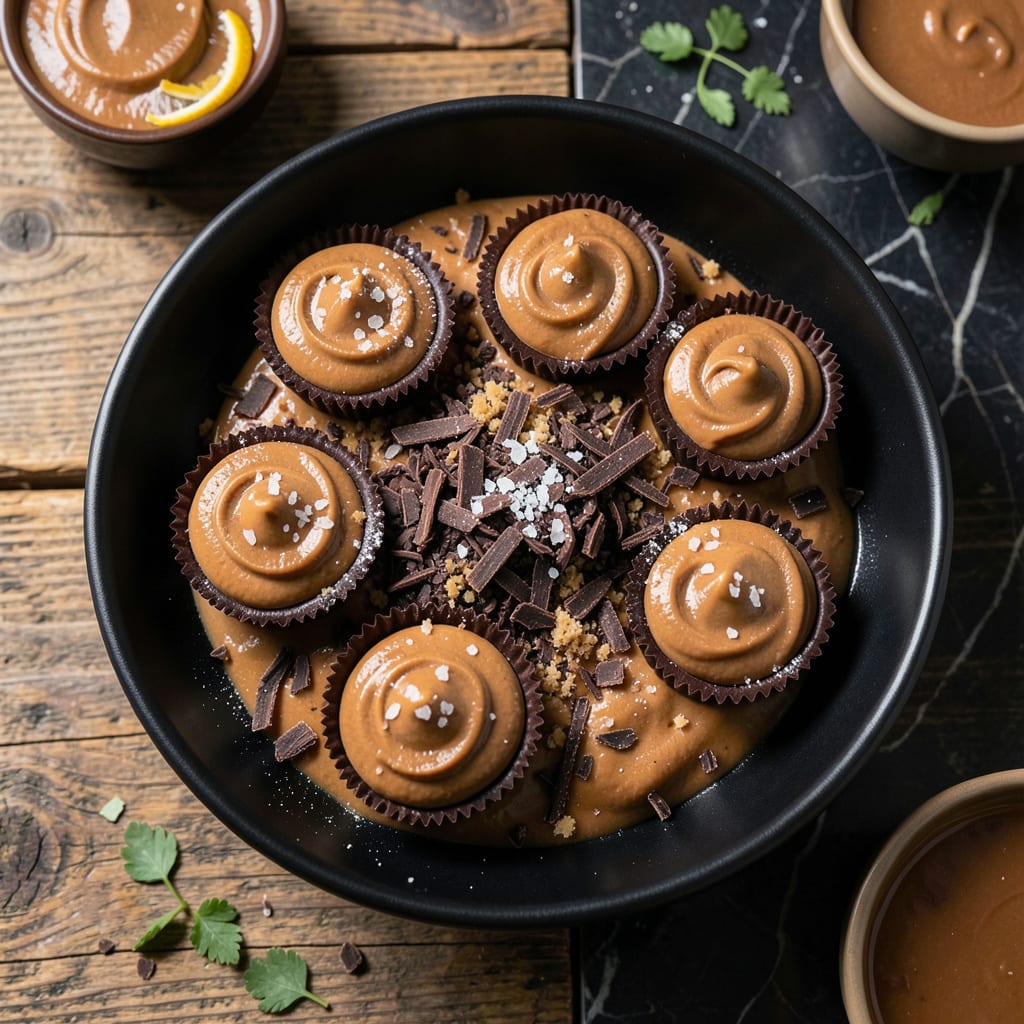
This no-bake peanut butter cup recipe delivers restaurant-quality results with minimal effort. The secret lies in using high-quality chocolate and a precise tempering method that ensures a glossy finish and satisfying snap.
With only 5 ingredients and 15 minutes of active prep time, you’ll create creamy peanut butter centers encased in smooth chocolate shells. The combination of rich chocolate and salty-sweet peanut butter is impossible to resist.
Ingredients for Easy Peanut Butter Cup
Five simple yet premium ingredients create these indulgent no-bake chocolate peanut butter cups.
| Ingredient | Amount | Notes |
|---|---|---|
| High-Quality Dark Chocolate 🍫 | 12 oz | 60-70% cacao, chopped finely |
| Creamy Peanut Butter 🥜 | ¾ cup | Natural or commercial, no added sugar |
| Unsalted Butter 🧈 | 2 tbsp | Room temperature for smooth texture |
| Powdered Sugar 🍚 | ¼ cup | Sifted for lump-free filling |
| Pure Vanilla Extract 🌿 | ½ tsp | For depth of flavor |
| Flaky Sea Salt 🧂 | ¼ tsp | For finishing touch |
The chocolate quality is non-negotiable here. Ghirardelli or Guittard deliver consistent tempering results for that signature snap, but Lindt 70% works beautifully too (avoid chips—they contain stabilizers that disrupt tempering). For peanut butter, Jif Natural or Smucker’s Natural offer the ideal creamy texture without oil separation. Skip the reduced-fat versions—they lack the richness needed for proper set.
No dark chocolate on hand? Semi-sweet chocolate chips at half the quantity can substitute, though the tempering won’t be as clean. The peanut butter must be creamy—crunchy varieties alter the texture. For a vegan version, Earth Balance butter works perfectly. Powdered sugar can be replaced with confectioners’ sugar substitute (like Swerve) for a sugar-free option, but expect a slight texture difference.
Store finished cups in an airtight container at room temperature for up to 1 week, or refrigerate for 2 weeks. Freezing extends shelf life to 3 months—thaw at room temperature for 30 minutes before serving to restore that perfect snap.
Why You’ll Love This Recipe
- No Fuss Melting: I just melt the chocolate and peanut butter together—no fancy equipment, just a bowl and a microwave.
- Rich Chocolate-PB Fix: That first bite where the dark chocolate snaps and the creamy peanut butter center gives way? Worth every second.
- Gift or Snack: I make a big batch for teacher gifts, then sneak one or two for myself when no one’s looking.
- Pantry Staples: Between us, I always have these ingredients on hand, so cravings never stand a chance.
Step-by-Step Instructions for Peanut Butter Cups
These no-bake treats come together quickly with professional technique for perfect texture every time.
Step 1: Melt and Temper the Dark Chocolate
Finely chop the 12 oz High-Quality Dark Chocolate and place it in a heatproof bowl. Create a double boiler by setting the bowl over a saucepan of barely simmering water, ensuring the bottom doesn’t touch the water.
Stir occasionally with a silicone spatula until about three-quarters of the chocolate is melted. Remove from heat and continue stirring until completely smooth. This gentle method prevents scorching and maintains the chocolate’s gloss and snap. The melted chocolate should reach 115°F for proper tempering.
Step 2: Prepare the Peanut Butter Filling
In a medium bowl, combine the 0.75 cup Creamy Peanut Butter, 2 tbsp Unsalted Butter, 0.25 cup Powdered Sugar, and 0.5 tsp Pure Vanilla Extract. Use a hand mixer or wooden spoon to beat until smooth and fully incorporated.
The mixture should be thick but pliable, with no visible butter streaks. I’ve found that room temperature butter blends seamlessly into the peanut butter, creating a luscious, pipeable consistency. Taste and adjust sweetness if needed, though the powdered sugar provides just enough without overpowering the rich peanut flavor.
Step 3: Assemble the Peanut Butter Cups
Spoon about 1 teaspoon of melted chocolate into each paper liner in a mini muffin tin. Use the back of the spoon to coat the bottom and about halfway up the sides. Chill in the refrigerator for 5 minutes until set but not completely hardened.
Add a 1 teaspoon portion of peanut butter filling to each chocolate shell, pressing down gently to create an even layer. The filling should sit slightly below the rim to allow for the final chocolate layer. Return to the refrigerator while you use the remaining melted chocolate.
Step 4: Seal and Finish
Divide the remaining melted chocolate evenly among the cups, completely covering the peanut butter filling. Tap the pan gently on the counter to remove air bubbles and create a smooth surface. Sprinkle with 0.25 tsp Flaky Sea Salt for a sophisticated contrast to the sweetness.
Refrigerate for 20 minutes or until the chocolate is completely firm. The finished cups should have a glossy exterior with a slight dome, indicating proper tempering. Store in an airtight container in the refrigerator for up to one week, bringing to room temperature 10 minutes before serving for the best texture.
Pro Tips For Making Easy Peanut Butter Cup
- Temper the Chocolate: After burning a batch by microwaving full power, I now melt the dark chocolate in 20-second bursts at 50% power, stirring between each. It stays smooth and glossy every time.
- Use Room-Temp Peanut Butter: Cold peanut butter seizes up when mixed with powdered sugar—let it sit out for 30 minutes first so it blends effortlessly into a creamy filling.
- Skip the Overmixing: I learned this the hard way: stir the filling just until combined, or the butter and sugar will separate and leave a greasy mess in your cups.
- Chill Between Layers: Give the chocolate base 10 minutes in the freezer before adding peanut butter filling—it prevents the layers from bleeding together.
Common Mistakes When Making This Dish
Overheating Chocolate
Never melt chocolate directly in a saucepan over heat. It burns easily above 120°F, creating a seized, grainy texture. Always use a double boiler with barely simmering water, and remove from heat once most pieces melt. I ruined my first batch this way—lesson learned the hard way! 🌡️
Skipping the Tempering
Untempered chocolate loses its snap and gloss, resulting in dull, soft cups. Even with a microwave, heat in 20-second bursts stirring between each. The tempering process at 115°F ensures that professional finish we all love.
Uneven Layering
Press peanut butter filling too high and your cups won’t seal properly. Keep it ¼ inch below the rim to allow for the final chocolate layer. Use a small cookie scoop for consistent portions—this small tool makes a huge difference.
Rushing the Chilling
Each layer needs proper setting time. The initial chocolate base requires 5 minutes in the fridge, while the final cups need 20 minutes. Skipping this causes the layers to mix, creating a muddy appearance instead of distinct layers.
Using Cold Ingredients
Cold butter or peanut butter creates a lumpy filling that’s hard to work with. Always bring your 2 tbsp unsalted butter to room temperature first. I take mine out 30 minutes before starting for perfect consistency.
Wrong Storage
Storing in the fridge without an airtight container leads to condensation, which makes the chocolate bloom. Use parchment paper between layers and seal tightly. They’ll keep beautifully for up to 1 week at room temperature too. 💡
Nutrition Facts
Frequently Asked Questions
Can I use milk chocolate instead?
Yes, but reduce the amount by 2 oz as milk chocolate contains more sugar. Expect a sweeter flavor and slightly softer texture. The tempering temperature should be 110°F instead of 115°F.
Why did my chocolate turn white?
This is called “blooming” and happens when chocolate gets too warm or cold. Store in an airtight container at room temperature. Avoid refrigeration unless necessary.
How do I make these vegan?
Swap the butter for coconut oil and use vegan dark chocolate. Ensure your peanut butter has no honey or dairy additives. The texture remains perfect with these substitutions.
Can I add mix-ins to the filling?
Try crushed pretzels for saltiness or mini chocolate chips for extra richness. Fold in 1-2 tbsp per 0.75 cup of peanut butter mixture. Don’t overfill the cups.

- BBQ Sausage Recipe Oven: Smoky Depth Without the Grill - September 28, 2026
- BBQ Chicken Bowl Recipe Rice: Smoky Sweetness Over Fluffy Grains - September 28, 2026
- Beef Cutlet Recipe Ideas: Crispy Breaded Patties With Bold Seasonings - September 28, 2026